Real-time messaging has become a core feature in modern web applications—whether you’re building a SaaS product, a marketplace, a community platform, or an internal collaboration tool. But building chat in Angular from scratch quickly becomes complex. You’re dealing with WebSockets, real-time state synchronization, message ordering, presence, scalability, offline handling, and a polished UI that performs well under load.
That’s a lot of moving parts, even for experienced Angular teams.
The good news? You no longer need to build chat infrastructure from the ground up.
CometChat simplifies real-time chat development by providing a production-ready messaging platform that handles the heavy lifting for you. You get everything users expect from modern chat, media sharing, read receipts, typing indicators, presence, group chat, moderation tools, and more, without reinventing the wheel.
When adding chat to an Angular application, CometChat gives you two powerful integration paths, depending on how much control you want over the UI and architecture:
Angular Chat UI Kit: for fast, component-based integration
JavaScript Chat SDK: for building a fully custom chat experience from scratch
We will walk you through both approaches and help you decide which one fits your Angular app best.
Angular Chat in Weeks, Not Months: The UI Kit Approach
The Angular Chat UI Kit is a collection of prebuilt, production-ready Angular components that let you drop chat directly into your application. These components come with all the required real-time logic already wired in.
Think of it as a complete chat interface out of the box: conversation lists, message views, composers, and user interactions, ready to use and easy to customize.
Why Use the Angular Chat UI Kit
Angular-first components: Built specifically for Angular, following Angular module and component patterns.
Built-in real-time logic: Presence, typing indicators, message sync, and WebSocket connections are handled automatically.
Supports 1:1 and group chat: Start private conversations or group discussions without additional setup.
Easily themeable and customizable: Light and dark themes, fonts, colors, and UI overrides to match your design system.
Modular architecture: Use high-level components or compose your own layouts using individual UI blocks.
Production-ready by default: Designed to scale with real users and real traffic.
Who the Angular UI Kit Is Ideal For
Use the Angular Chat UI Kit if:
You want to ship chat features quickly without building infrastructure.
You’d rather focus on product logic and UX than messaging internals.
Your app doesn’t need deeply custom chat workflows (at least initially).
You want a solid, extensible foundation that you can customize later.
How to Get Started with Angular Chat UI Kit
Here’s a high-level overview of the setup flow using the Angular UI Kit.
Step 1: Set up your CometChat account
Create a CometChat app from the dashboard and note your App ID, Region, and Auth Key.
Step 2: Install the Angular UI Kit
(For older npm versions, install required peer dependencies as well.)
Step 3: Link UI Kit assets
Add the UI Kit assets path inside the assets section of your angular.json file so styles and resources load correctly.
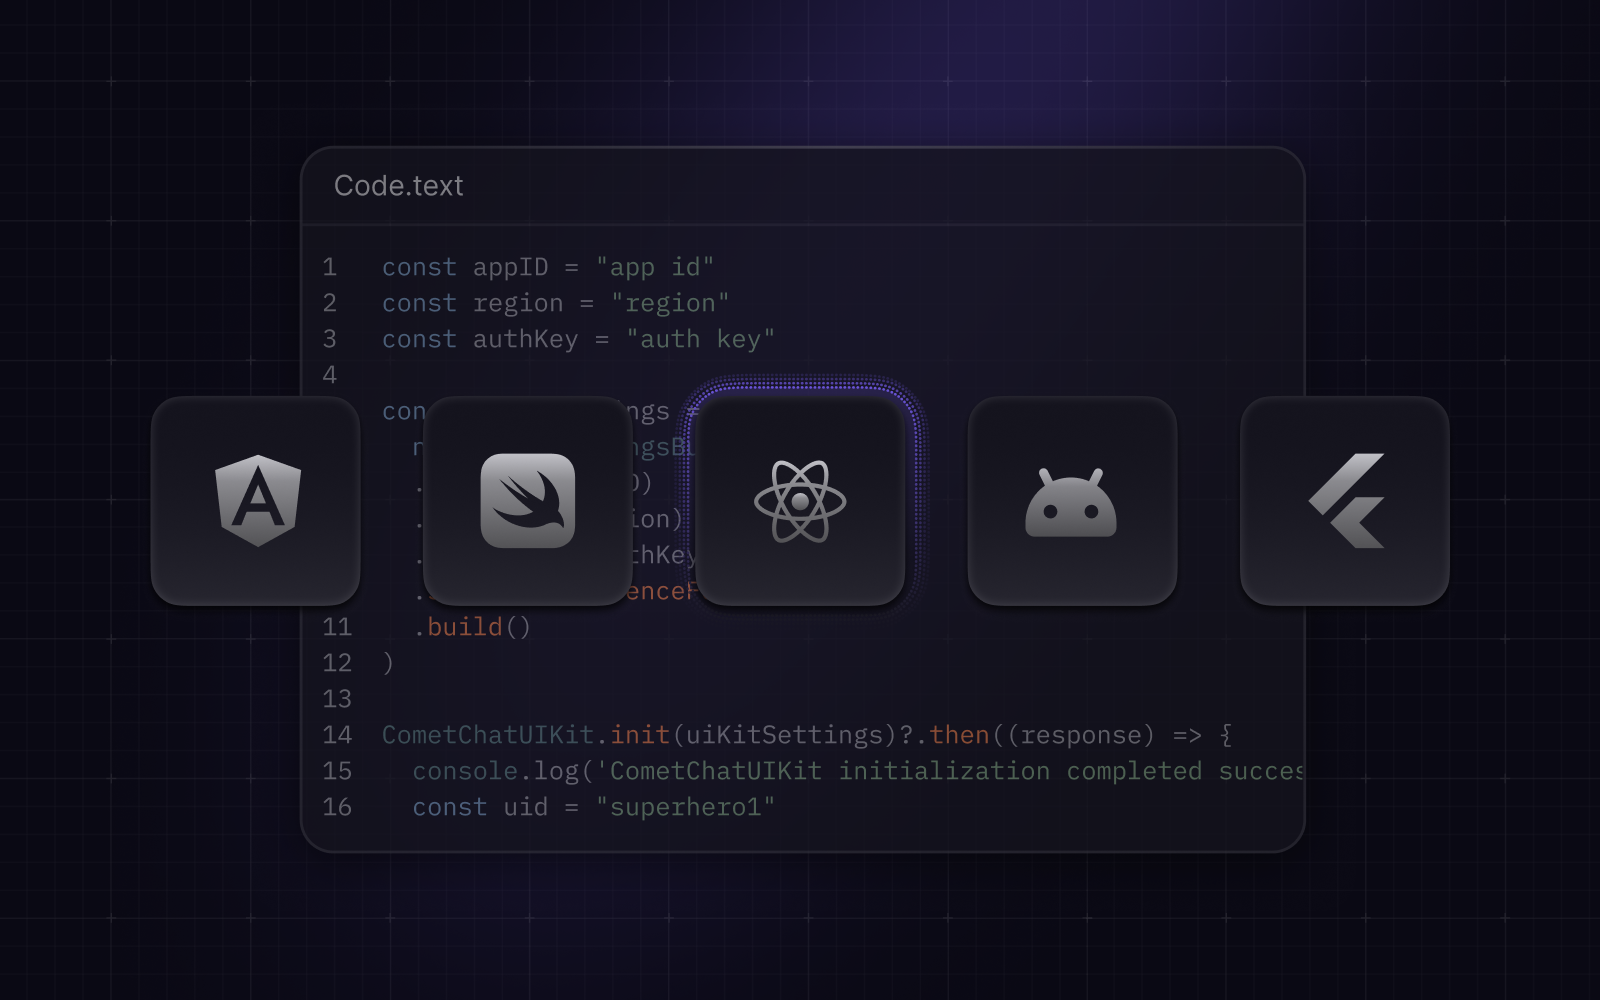
Step 4: Initialize CometChat
Initialize the UI Kit once at app startup using UIKitSettingsBuilder, passing your App ID, Region, and Auth Key.
Step 5: Log in a user
Log in using a UID (you can create users via the dashboard or API). The UI Kit handles session management for you.
Step 6: Render chat
Drop the <cometchat-conversations-with-messages> component into your Angular template. It automatically renders conversations and messages and fetches data on load.
Step 7: Customize and go live
Adjust themes, layout, and component behavior to match your app. You can ship quickly and iterate as your product grows.
Build Fully Custom Angular Chat: The SDK Approach
If you need total control over how your chat looks, feels, and behaves, the JavaScript Chat SDK is the right choice.
The SDK is the low-level foundation behind CometChat’s UI Kits. It gives you programmatic access to every messaging capability while leaving all UI decisions in your hands. You design the components, manage state your way, and integrate chat deeply into your application workflows.
Why Use the JavaScript Chat SDK
Granular control: Full access to users, messages, groups, presence, roles, and permissions.
Framework flexibility`; Use the SDK seamlessly inside Angular services, components, or state management layers.
Unlimited UI customization: Build chat interfaces that exactly match your brand and UX requirements.
Workflow-driven integration: Ideal when chat needs to interact closely with business logic or backend systems.
Enterprise-ready: Supports webhooks, real-time events, moderation, and advanced deployment scenarios.
Who the SDK Is Ideal For
Use the JavaScript Chat SDK if:
You’re building a chat-first or communication-heavy product.
Your UI needs to be completely custom and tightly integrated.
You need fine-grained control over performance or WebSocket behavior.
You operate in regulated environments with specific security or compliance needs.
You want chat to feel native to your product—not a bolt-on feature.
How to Get Started with JavaScript Chat SDK (Angular)
Step 1: Create a CometChat app
Set up an app and collect your App ID, Region, and Auth Key.
Step 2: Install the SDK
Step 3: Initialize the SDK
Call CometChat.init() at app startup (for example, in main.ts or an initialization service).
You’ll configure:
App ID
Region (mandatory)
Presence subscription
WebSocket handling (auto-managed by default)
Step 4: Authenticate users
Create users, log them in, and manage sessions using SDK methods.
Step 5: Build your chat UI
Design and implement your own Angular components for:
Conversation lists
Message threads
Input and composer logic
Use SDK listeners to handle real-time events like incoming messages, typing indicators, and presence updates.
Step 6: Add advanced features
Extend your implementation with:
Media and file attachments
Read receipts and reactions
Push notifications
Moderation and webhooks
Step 7: Test, deploy, and scale
Once stable, deploy to production. The SDK is designed to support high concurrency and complex real-time use cases.
Angular UI Kit vs JavaScript SDK: Which Should You Choose?
| If you want | Choose |
|---|---|
Fastest time-to-market
| Angular Chat UI Kit
|
Minimal setup and maintenance
| Angular Chat UI Kit
|
Fully custom UI and workflows
| JavaScript Chat SDK
|
Deep integration with app logic
| JavaScript Chat SDK
|
A hybrid approach
| Start with UI Kit, extend with SDK
|
Many teams start with the UI Kit to launch quickly, then gradually introduce SDK-driven customizations as requirements evolve.
Final Thoughts
Real-time chat is no longer a “nice-to-have”—it’s a core engagement feature. With CometChat, Angular developers don’t have to choose between speed and control. You can launch fast using the Angular Chat UI Kit or build a fully tailored experience with the JavaScript SDK.
Whichever path you choose, you’re backed by a scalable, battle-tested messaging infrastructure—so you can focus on building great products instead of managing chat complexity.

Haris Kumar
Lead Content Strategist , CometChat