This tutorial is outdated. We're currently working on an updated version. In the meantime, for instructions on building a chat app using CometChat, please visit our documentation.
This tutorial will provide you an opportunity to learn how to build a chat application with jQuery and PHP. We will start by downloading a starter application built with PHP and contains enough code and logic to authenticate a user. Afterward, I will walk you through a step by step guide on how to integrate CometChat into this application and make it a functional chat application.
At the close of this tutorial, you would have gathered enough knowledge on how to build a chat application leveraging CometChat infrastructure and can easily integrate with an existing or new project. Take a look at the image below:
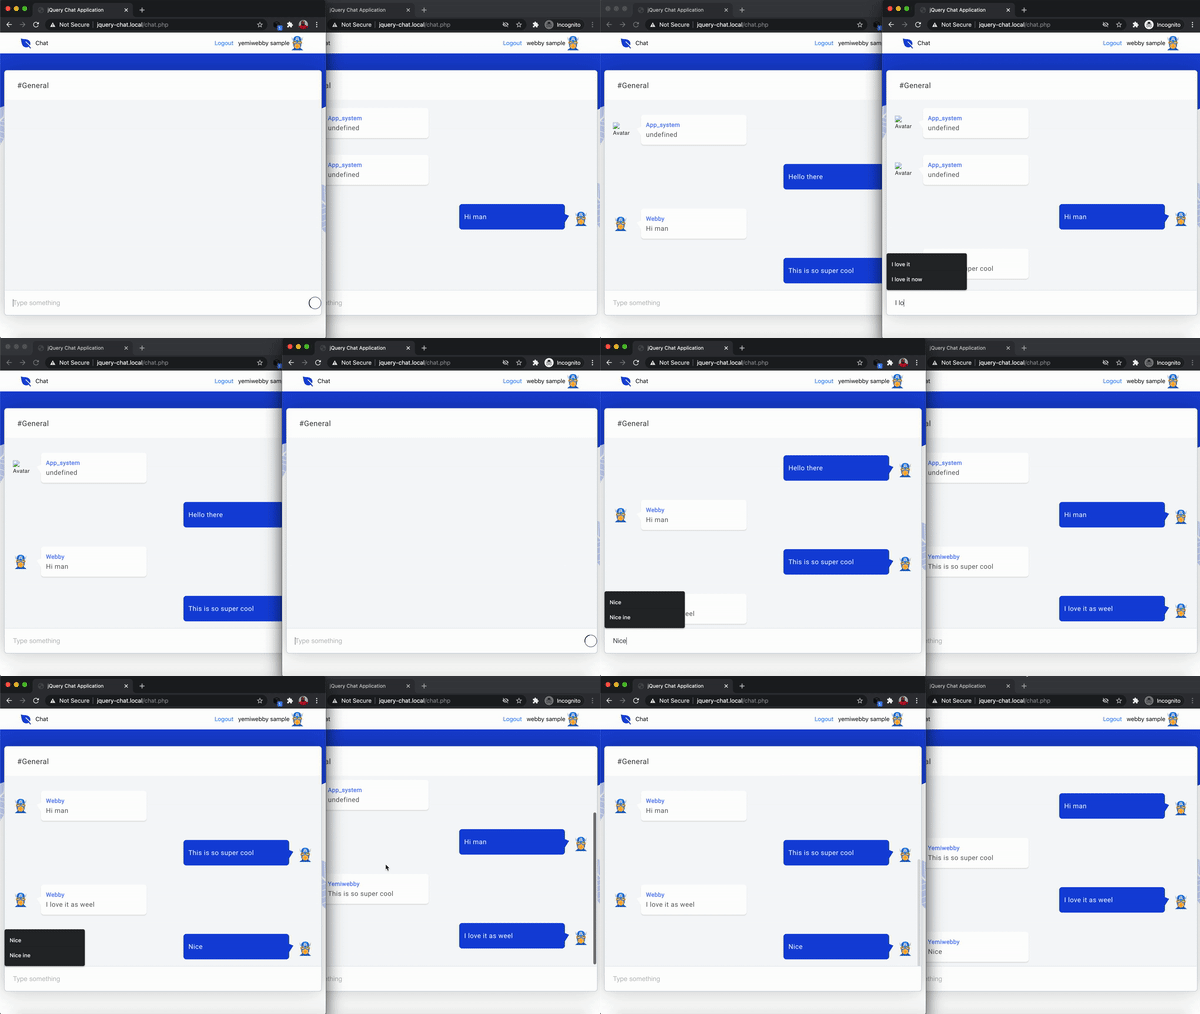
Check out the complete code for the project built in this tutorial on the completed branch of this repository on GitHub.
Clone the starter repository
First things first, download or clone the starter repository earlier mentioned by issuing the following command:
git clone https://github.com/yemiwebby/jquery-cometchat-starter.git
The preceding command will download the project into a folder named jquery-cometchat-starter. This project already contains the following files and folders:
index.php: The homepage of the application. For the sake of this tutorial, it will house the login form.
register.php: The form and logic to register a user and save his or her details in the database was defined within this file.
chat.php: This file contains the layout for our application’s chat view.
logout.php: Contains the code to end the session of the currently logged in user and redirect to the homepage.
connection.php: The necessary credentials to successfully connect to a MySQL database was defined here.
css: This is a folder that houses the stylesheet with the right amount of code to make our chat application appealing.
js: This folder contains, the chatService.js and script.js files. The contents of these files will be responsible for manipulating the DOM, rendering chat updates and connecting with CometChat SDK.
assets: This folder contains assets such as the background image and logos.
Create and connect to a database
Having perused the details of the files within the starter repository, we need to configure and set up a connection to a database. First, create a local database and run the following script from a MySQL terminal to create users table.
Here, we set up a connection with the created database using MySQLi. Replace the YOUR_DB_USERNAME, YOUR_DB_PASSWORD and YOUR_DB_NAME placeholders with yours
Once you are done, open the index.php file for this project within a browser.
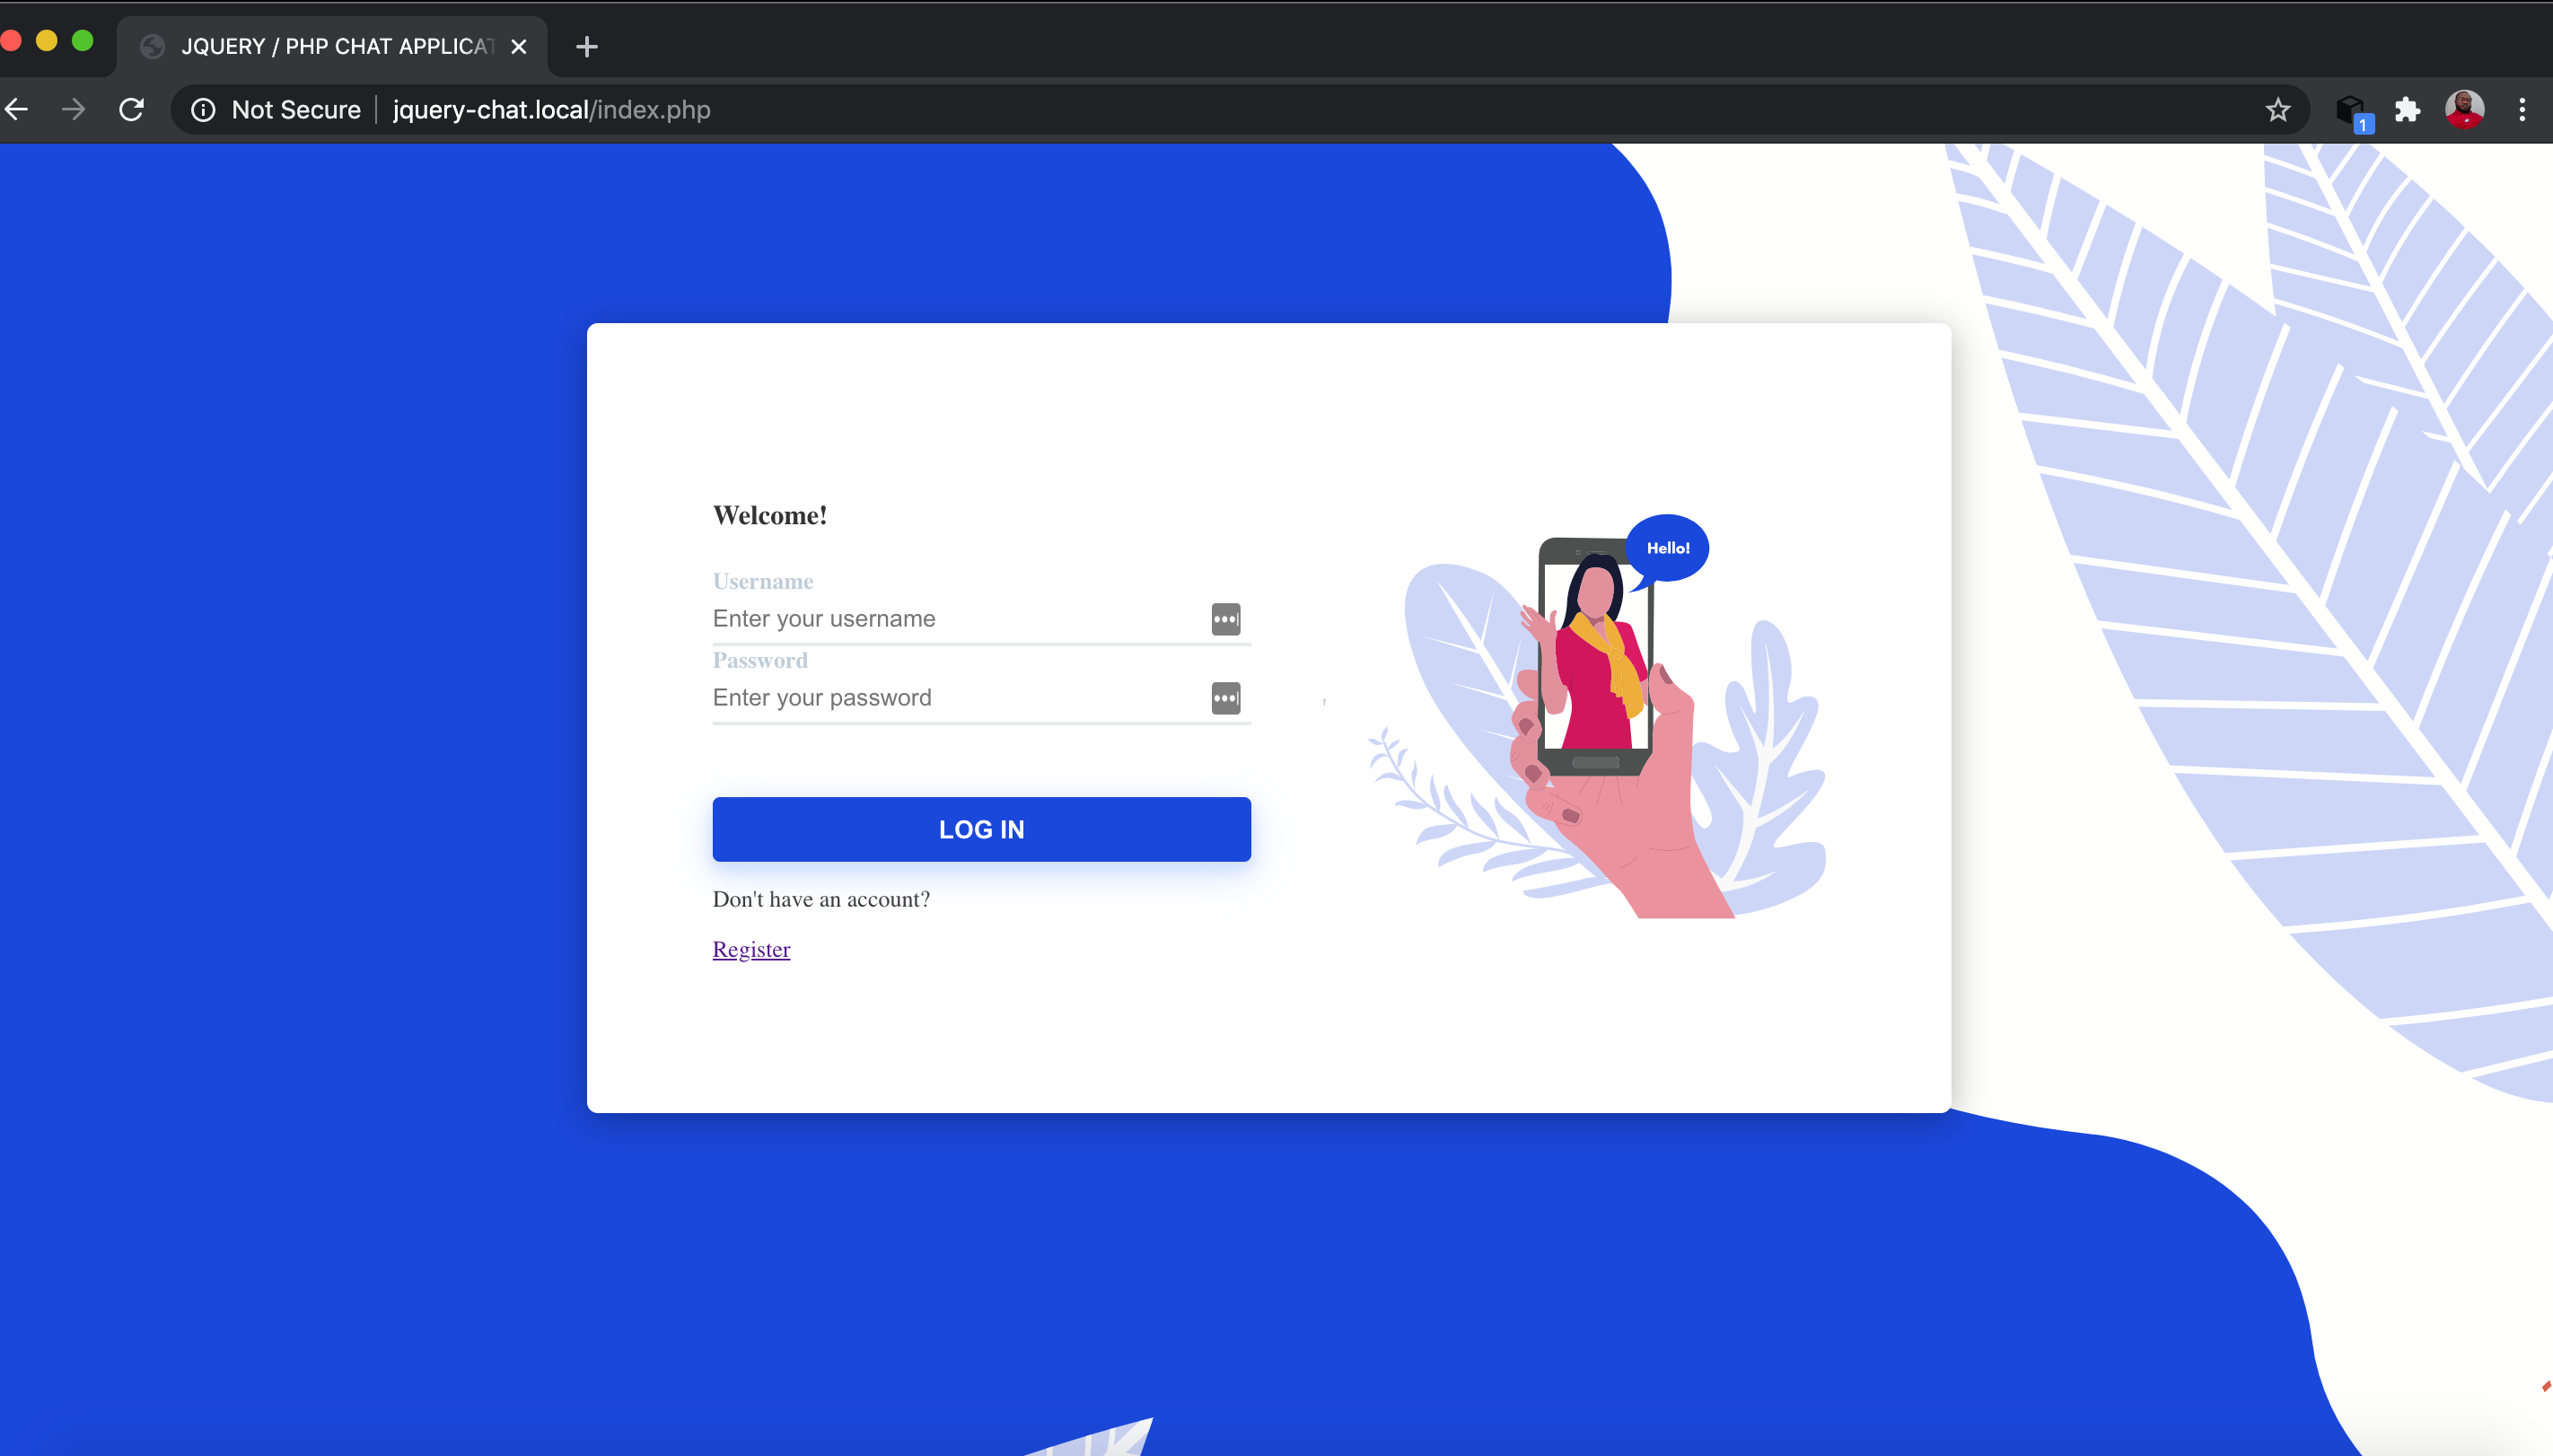
Go ahead and click on the Register link to access the registration form and create an account. You will be redirected to the homepage afterward. Now enter your credentials to login and you will be able to view the chat view depicted by the image below:
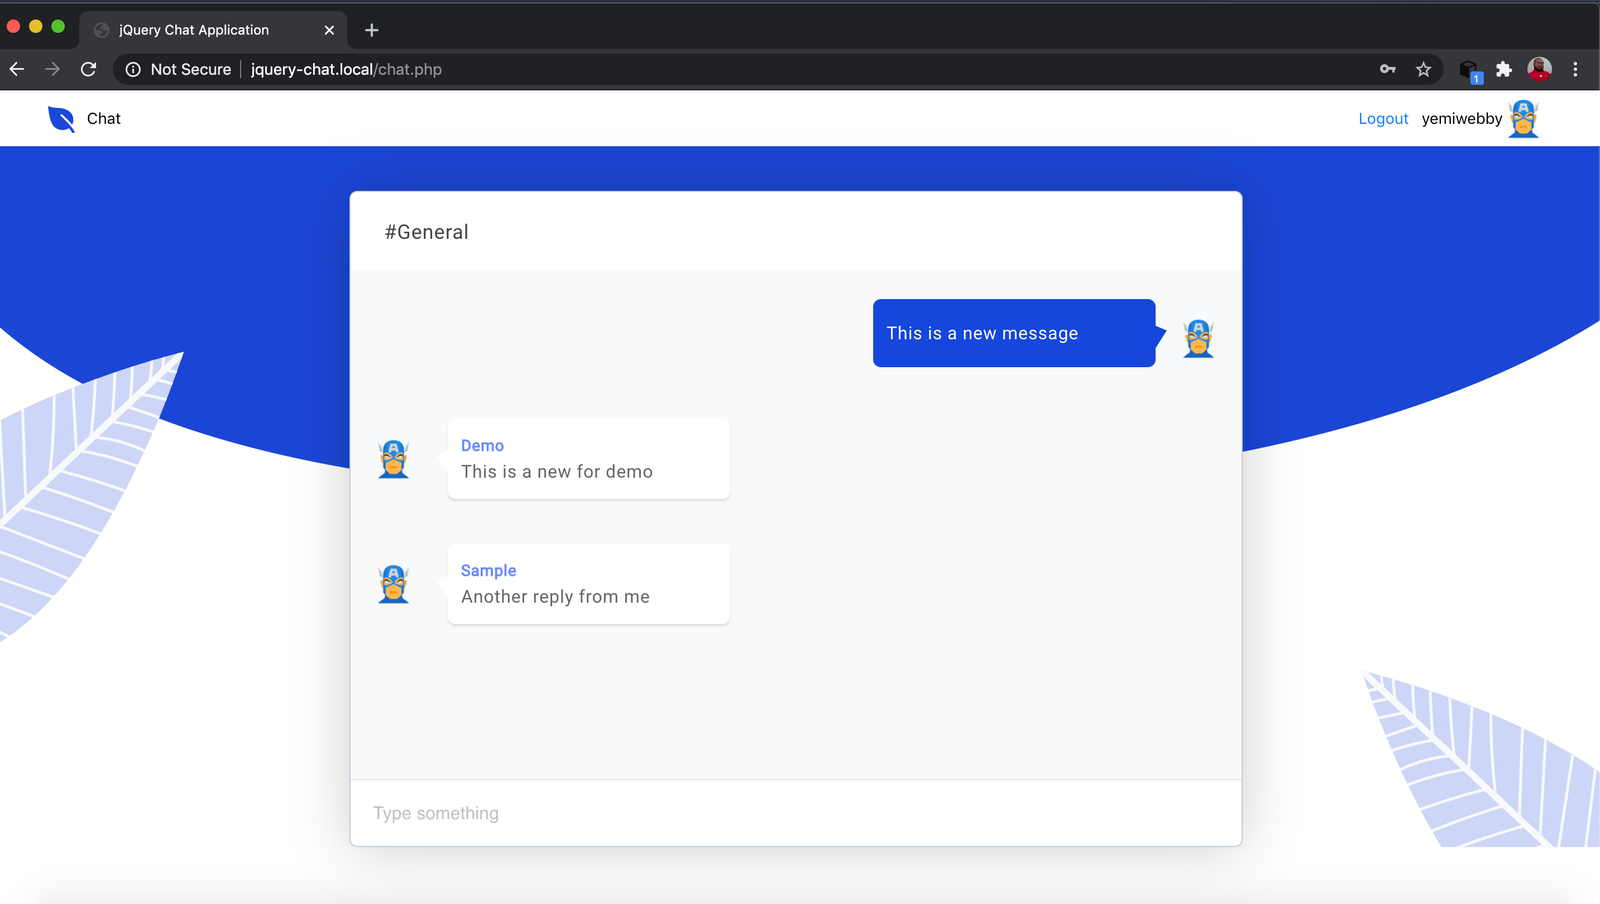
This is a chat page with dummy data hardcoded into the page. Our main task in this tutorial will be to make this app fully functional by connecting it with CometChat.
Create CometChat Account
Before we proceed, you will need a CometChat account. For that, do the following:
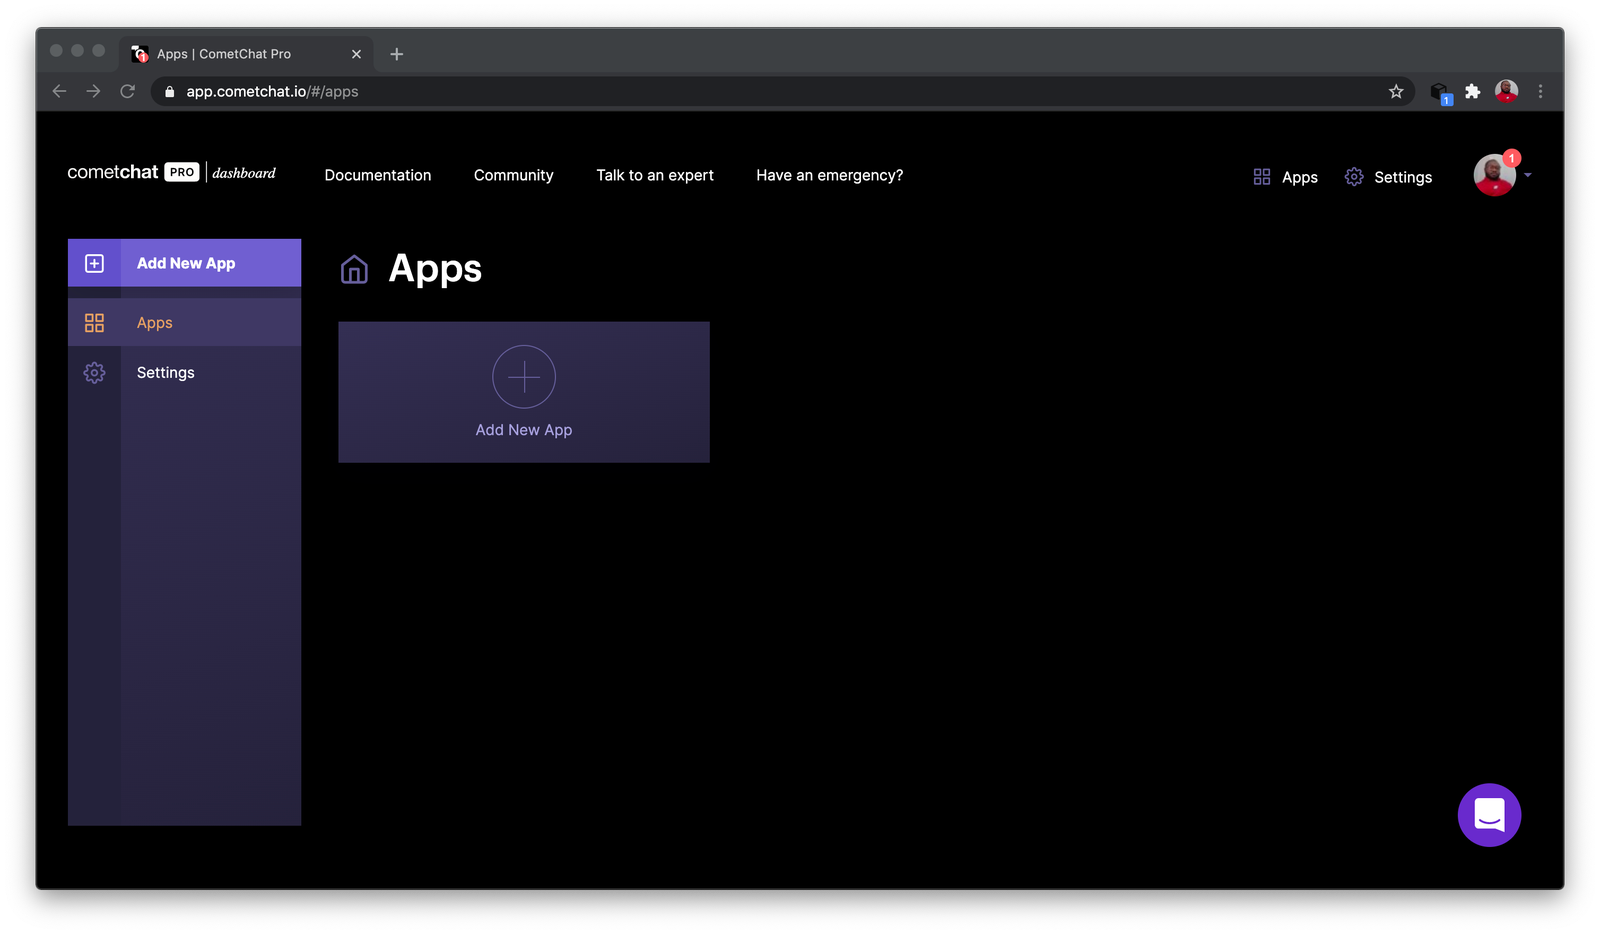
Enter the desired name for your application, select a region, technology, and a use case. Once you are done, click on the Add App button to complete the process.
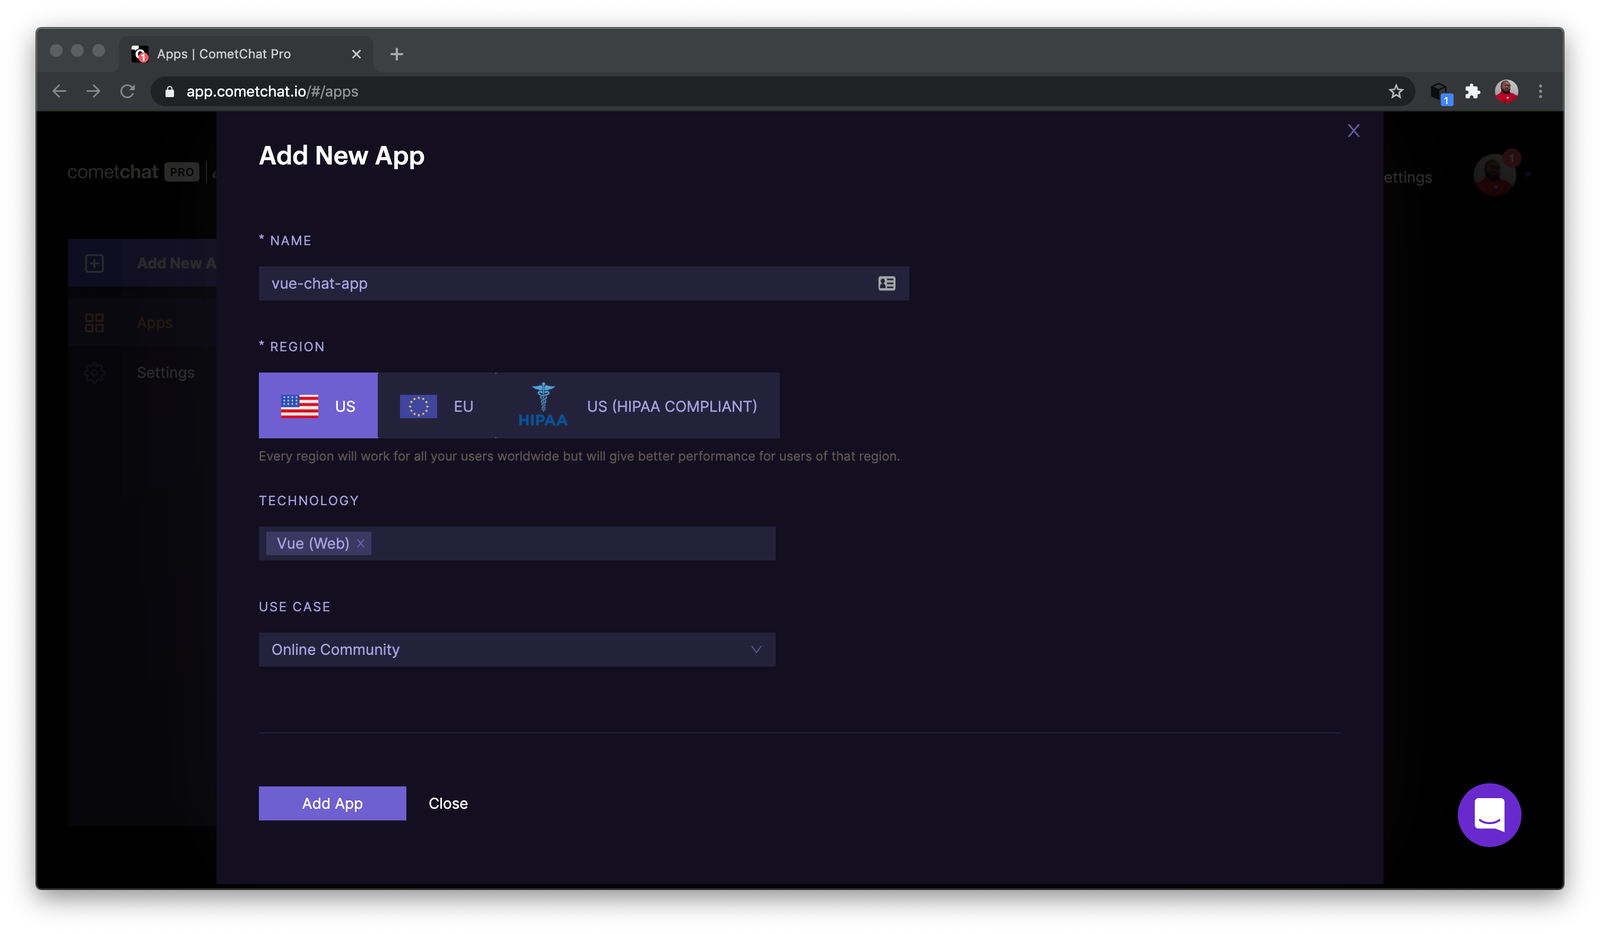
This will automatically spin up a new application for you on CometChat and take you to the quick start guide. CometChat Quick Start guide does a wonderful job in explaining the steps in detail.
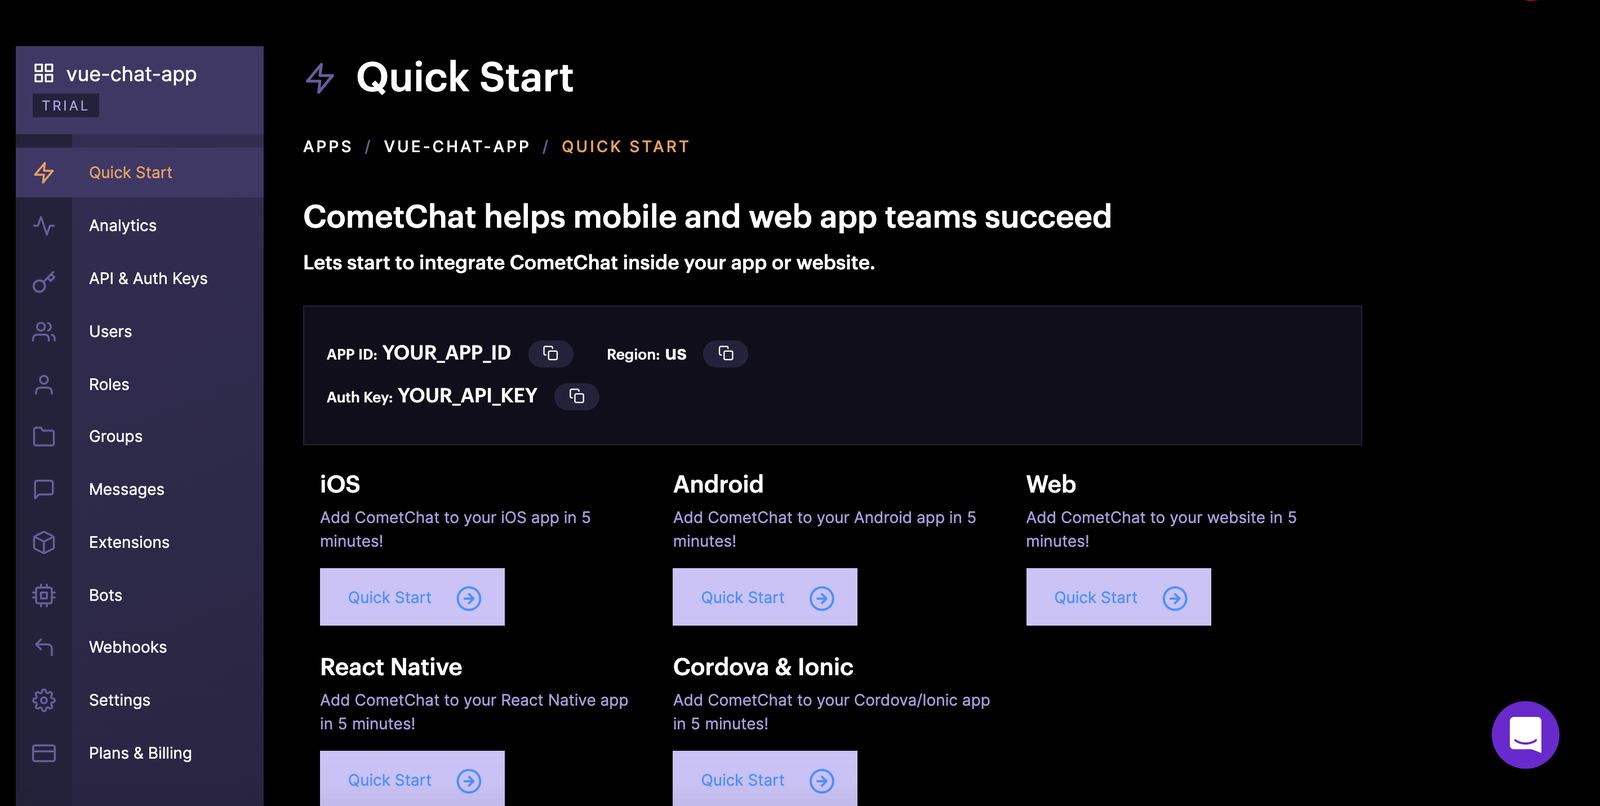
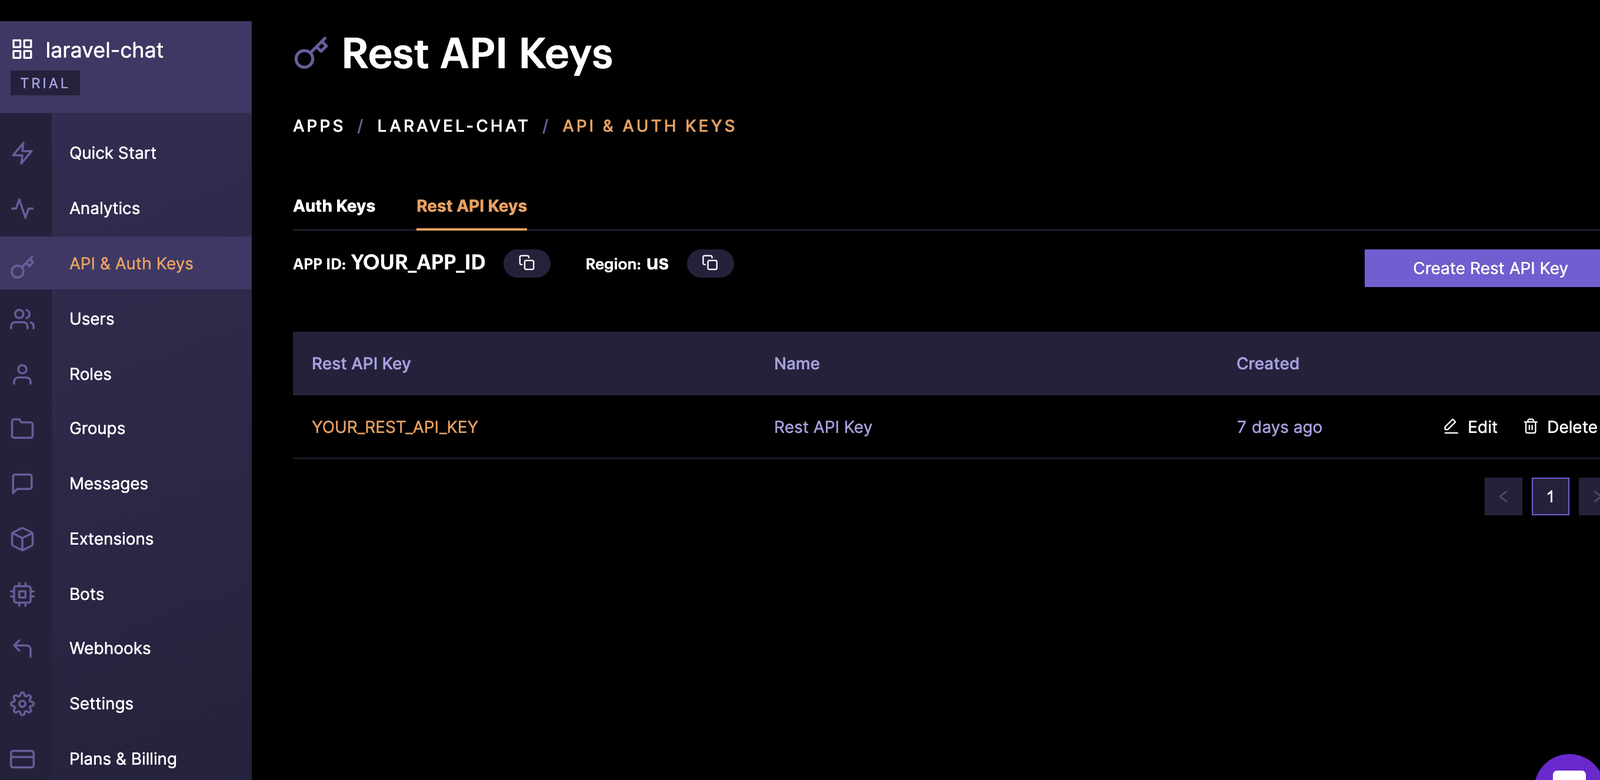
Copy your APP_ID, API_KEY and APP_REGION details. Keep this information safe as it will be required later in this tutorial.
Please be sure to use the value of your REST API Key instead of the Auth Key:
Application logic
For a better understanding of what we intend to achieve in this tutorial, these are the steps to follow. Once a user is logged in, we will:
Retrieve the user’s details using the username as the UID. If the user exists, we will obtain the authToken and use it to log the user in on CometChat before they can start a chat. If the user does not exists, we will
Create the user on CometChat
Add the user to a group
Generate a unique authToken for the user and
Log the user in on CometChat
Initialize CometChat
To begin, one of the key concepts of CometChat is that it must be initialized within your project using the unique APP_ID obtained from the CometChat dashboard as one of the arguments to the init() method from CometChat JavaScript SDK. But before that, navigate to chat.php file and include the CometChat JavaScript library via CDN:
Don’t forget to replace the placeholders YOUR_APP_ID and YOUR_APP_REST_API_KEY with the appropriate values from your CometChat dashboard. Also, ensure that the scripts above is placed immediately after the JQuery CDN.
With that in place, open js/chatService.js file and replace its content with the following:
Here, we called the init() method from CometChat with the appropriate App ID and Region**.** Please ensure that you replace the region defined here in .setRegion("US") method, if your app belongs to a different region.
Noticed the retrieveUserDetails() method? It is a function that we will define to retrieve the details of a particular user and make a decision based on the result. Next, copy the following code and paste it immediately after the initializeApp() function:
To ascertain if the user with the username specified during authentication already exists on CometChat, the defined function will be used to get the user. If the user does not exist, a function to programmatically create such user on CometChat will be called, otherwise, we will obtain the authToken from the user object returned from CometChat SDK to automatically log the user in.
Create User on CometChat and generate Auth Token
In this section, we will define the functions required to create a user on CometChat, add such user to a particular group, generate an authentication token, and finally log the user in on CometChat respectively. For these purposes, update the chatService by including the following code:
From the code snippet above, we defined the following functions:
createUserOnCometChat(): This function takes in the unique username of a user as an argument. Within it, we made a POST HTTP call to CometChat REST API for creating users on the fly. For proper authentication, we passed the APP_ID and REST_API_KEY of our application on the dashboard with the Header.
addUserToAGroup(): This method was defined to add a user to a group on our CometChat application.
generateAuthToken(): Again we used the CometChat REST API to automatically generate authentication token for the newly created user.
authLoginUser(): Lastly, we logged the user in to CometChat by passing the retrieved authToken to CometChat.login() method. This is one of the two means of authenticating users on CometChat.
Get logged in user and fetch messages
After a successfully login, add the following code to get the currently logged-in user, show his or her username on the navigation bar and then fetch messages from the group that the participant belongs to:
If there are no messages to be fetched for the group, we will show an empty chat with an input field for the user to enter text and start a chat.
Send a message and update the view
In this section, we will define the appropriate logic to send a message to a group. Update the ChatService with the following code:
Here, we obtained the text typed in by the user and send it to the group in which he or she belonged. With this in place, every other participant will receive this message and be able to respond.
Just like we did earlier, having changed and restructured the initialisation process and enhanced your local application with CometChat, you need to update the ./js/scripts.js file to initialize the application once the DOM is ready and then proceed to listen for onSubmit event on the chat HTML form. To achieve this, replace the content of scripts.js with the following code:
Test the application
Open the index.php again and refresh the page. Next, open two different browsers and register two different users.
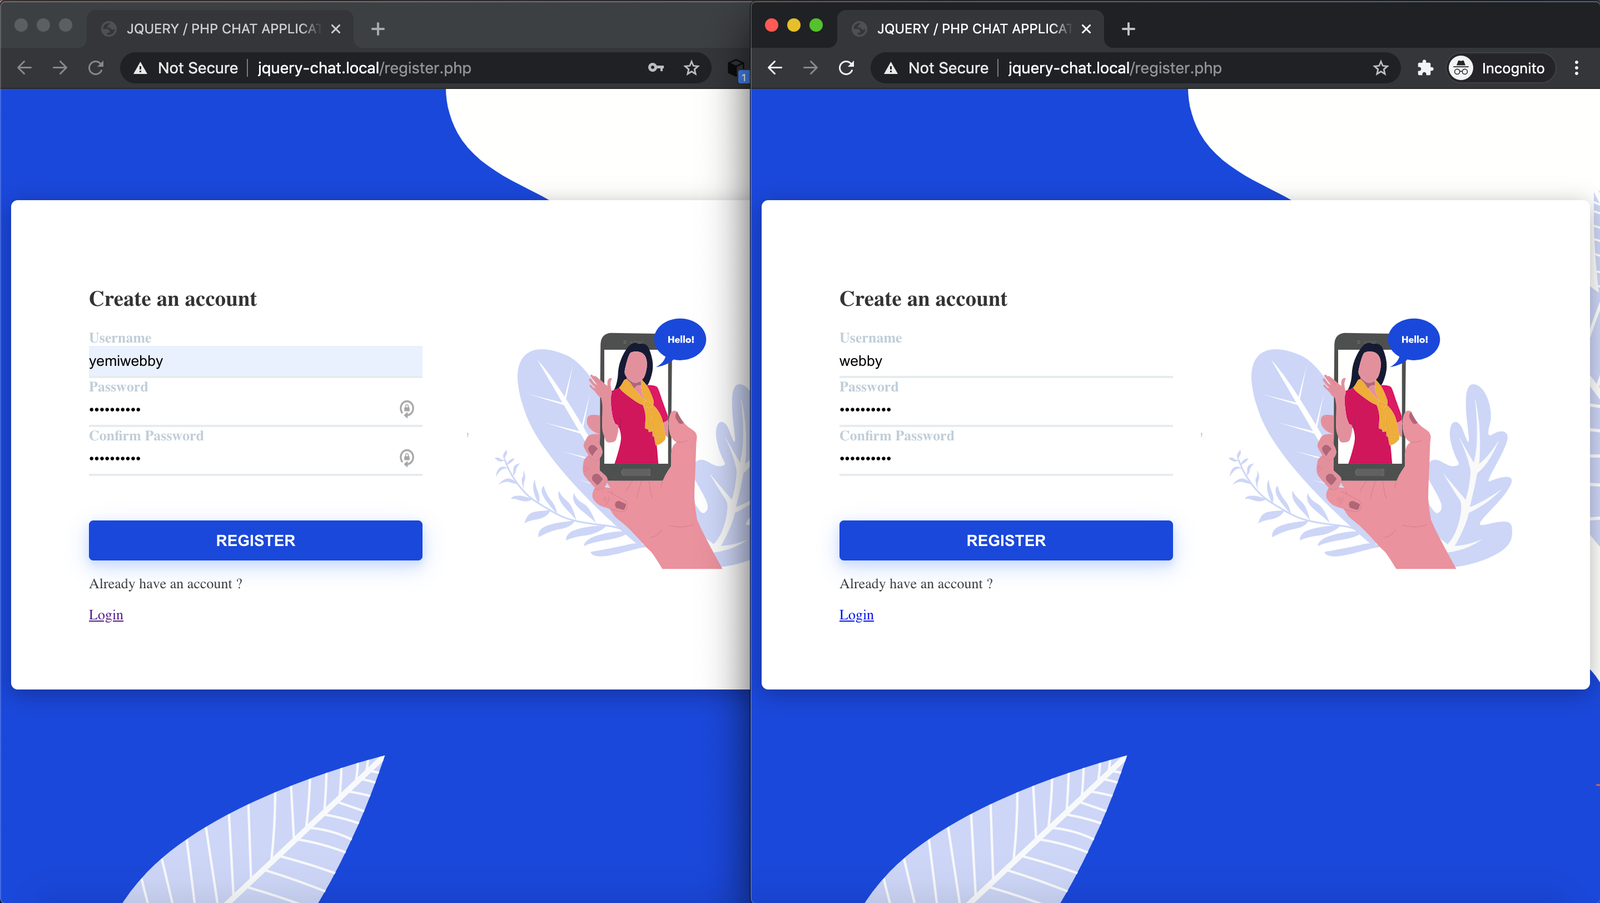
Now log in using the details of the created users and you should see the chat view:
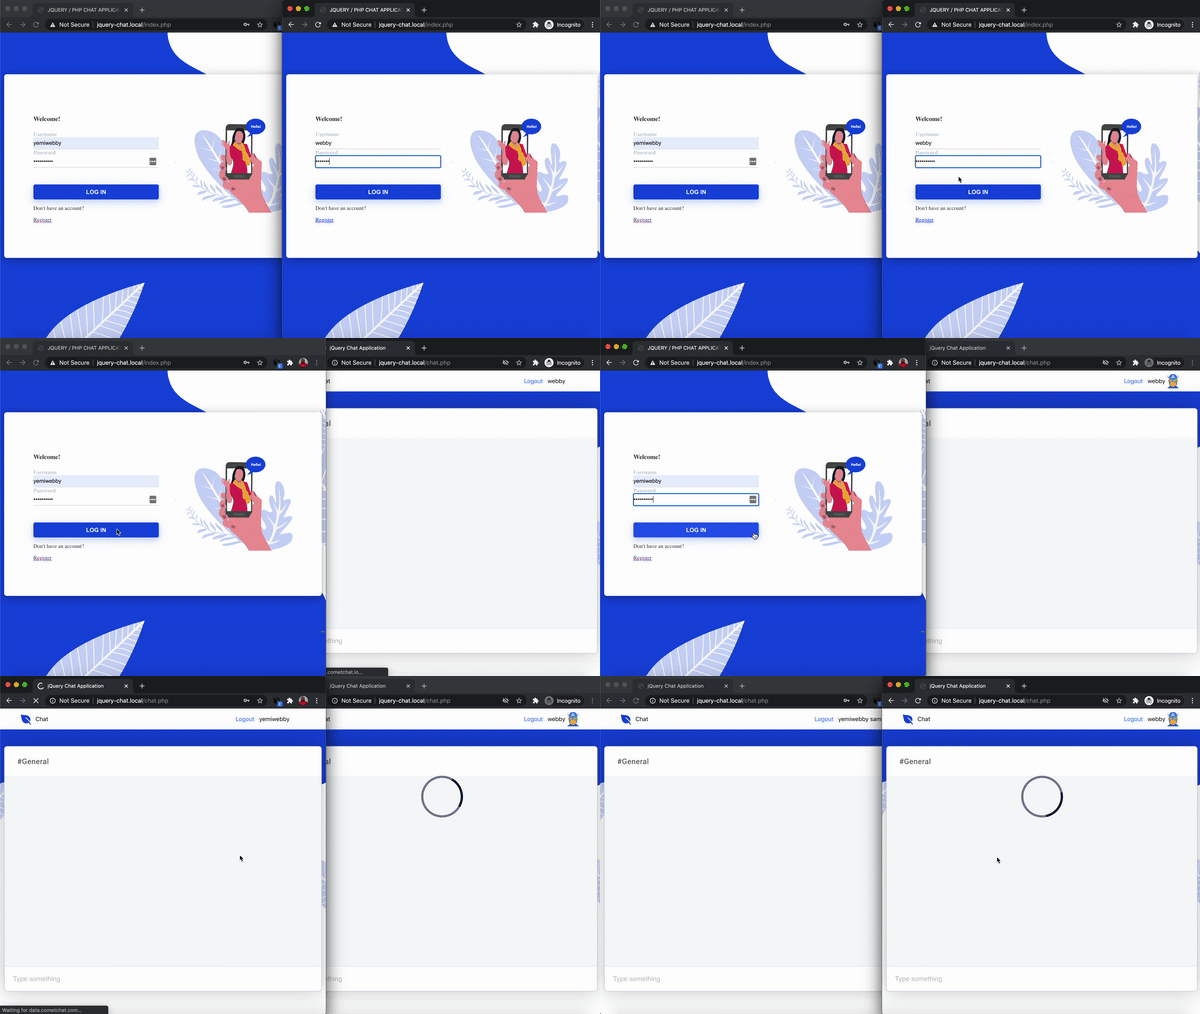
Send a message to start a chat.

Conclusion
In this tutorial, we improved a basic PHP application by implementing a chat feature powered by CometChat with ease. This application can create, add, and generate an authentication token for a new user on CometChat.
Feel free to download the source code for the application built here from the complete branch of this repository on GitHub. You can add new exciting features as you deem fit. To explore further, check the official documentation of CometChat Pro for more chat related features.
Check out the complete code for the project built in this tutorial on the completed branch of this repository on GitHub.

Olususi Oluyemi
CometChat