This tutorial is outdated. We're currently working on an updated version. In the meantime, for instructions on building a chat app using CometChat, please visit our documentation.
In this tutorial, we will be building a chat application using CometChat and Next.js that will serve as a primary WhatsApp clone. In the chat app, a user can register/login and begin chatting with their contacts. Moreover, the user can create a group chat and video call their contacts.
The idea of cloning WhatsApp comes in because it plays an important role in messaging and communication. WhatsApp allows users to send chats, voice notes and have a voice/video call with their contacts at any point in time. Combining that accessibility with the services rendered at CometChat and your communication is limitless.
What is CometChat?
CometChat is a robust Chat API & In-App Messaging SDK for Mobile & Web Apps. It readily integrates with over 92+ platforms and comes with inbuilt monetization, moderation, collaboration, and administration tools. CometChat also comes with a Chat UI kit with a fully customizable source code.
Prerequisites
Step 1: Creating a Next.js Application
We will start by creating a new Next.js application using create-next-app. Open your terminal and enter the command below:
Once the application is created, we can go on and run the following commands:
Step 2: Installing and Configuring CometChat
Before installing CometChat in our application, we need to create a new CometChat app from the CometChat dashboard, then grab your keys such as APP_ID, auth_key, API_KEY and region, which we will use later in the application.
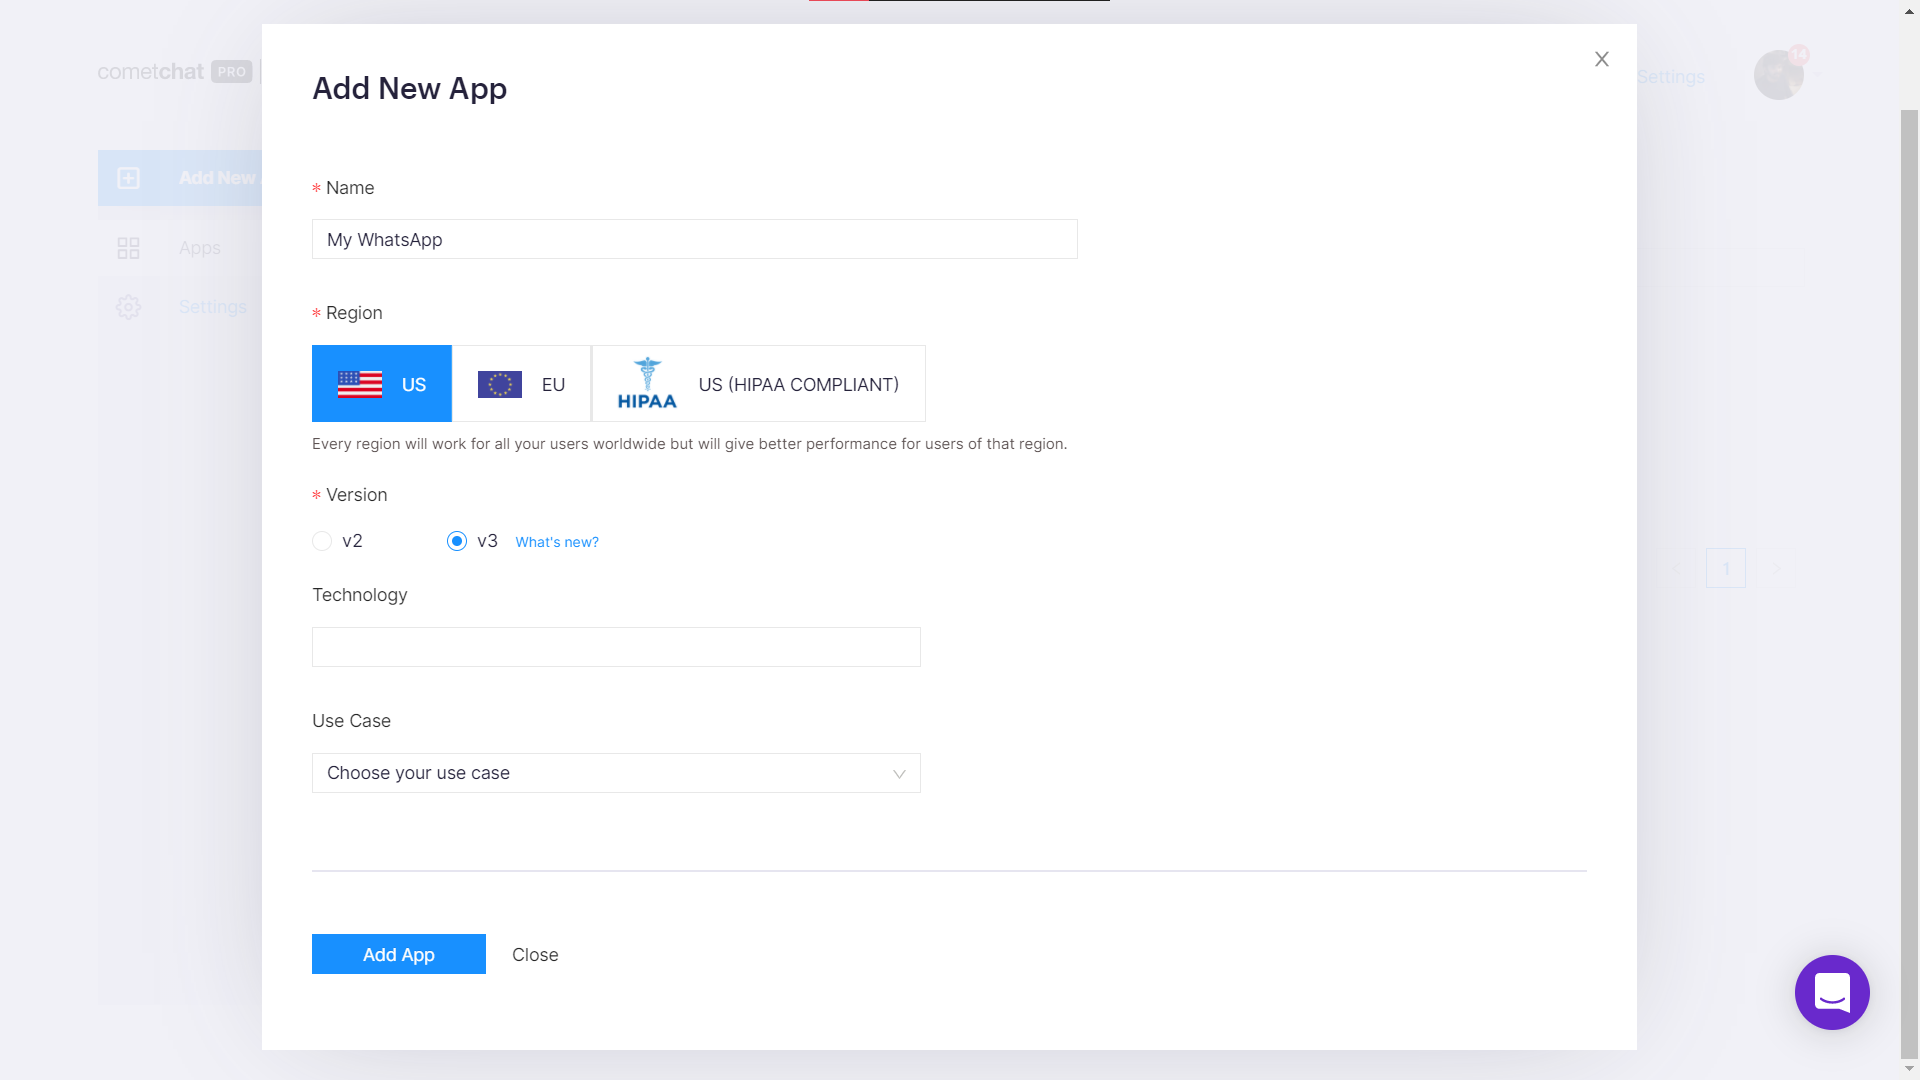
Once that’s created, we can then install CometChat on our application. We will run the below command in our terminal, then install other required packages, and then add our CometChat UI kit to the pages directory.
Next, we install all the packages required for CometChat to fully function. To add them, include the below command in your terminal and run it:
After that is done, we can then get the CometChat React UI kit from this repository and copy it to our pages directory in the application.
Import Images
To view images in the CometChat application, we need to import them into our Next.js application. To do that, go to the next.config.js file and add the code:
Defining Keys
Lastly, we can add our configuration key which we got when creating the CometChat application in the CometChat dashboard. In the pages directory, create a file and name it consts.js then add the key to it:
Step 3: Registration
So now that we are done with installing and setting up CometChat in our project. Let’s go ahead and register a new user into the CometChat app and allow them to interact with contacts.
To begin, we will create an auth directory, then in the directory, we will create a register.js file which will communicate with our register component.
In the auth/register.js file, we will render a component called RegisterForm which will contain the form and logic for the registration of a new user:
Then we can then go ahead to create the component.
Register Component
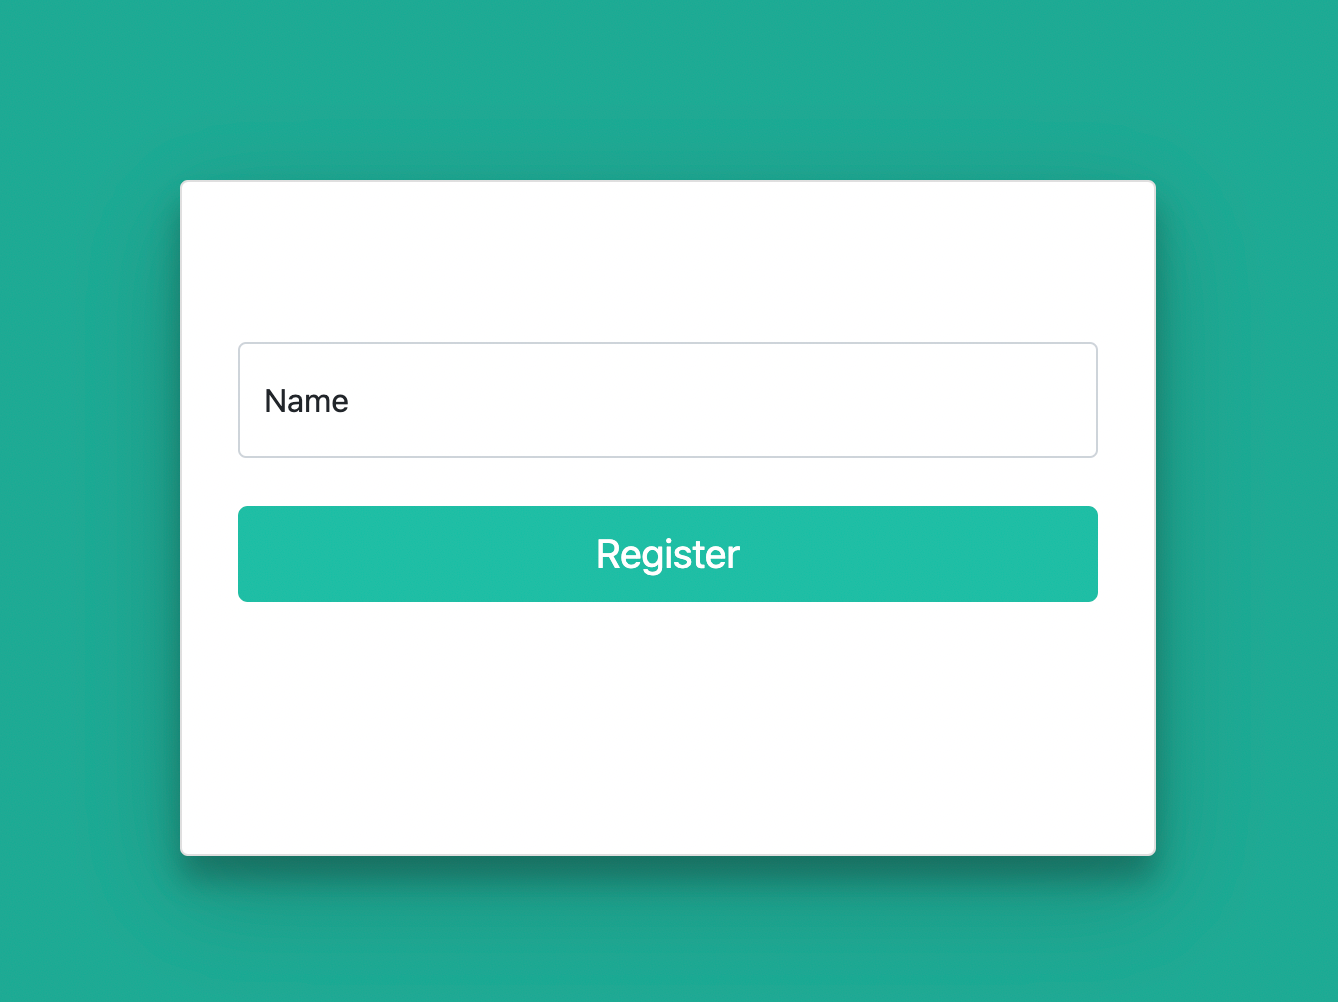
In the project root, we will create a components directory and inside it, we will create a RegisterForm.js file to contain our form with the following code:
Then we install and import bootstrap to beautify the register form.
Once that’s installed, we can include it in the register component and then we will add some custom css to our styles/globals.css file:
Auth Service
After the bootstrap has been downloaded, we can then create an auth service to interact with our CometChat APIs and register the user to the CometChat app.
So in the root directory, create a directory named lib and add an auth.js file. After the file has been created, we can then go ahead and install axios to help interact with CometChat APIs.
To install axios, we will use npm. Simply run the below command:
Then when axios is installed, we can then import it in lib/auth.js and create our register function that will communicate with the register API:
The cometChatUrl variable holds the CometChat API URL and the registerUser function communicates with it using uid and name as the parameters.
Then inside components/RegisterForm.js, we can then send data to lib/auth.js for it to be sent to the CometChat API:
In the above code, the user name is gotten from the form and used to create a uid, then we call the registerUser function passing uid and name as parameters. When the user has been successfully registered, we save the user to localStorage and redirect to the chat page which we will soon be creating.
Step 4: Login
After the registration has been set up, we can then add the chat section of the application, where the user can communicate with their contacts.
To do that, we will create a CometChatNoSSR.js component file in the root directory and communicate with CometChat to log in the newly registered user and then redirect to the chat section for the user to message other contacts.
So in the component, we call on CometChat UI kit from our downloaded kit and then use CometChat custom login to initiate the new user then send the CometChatUI to our chat file:
Step 5: Load CometChat UI
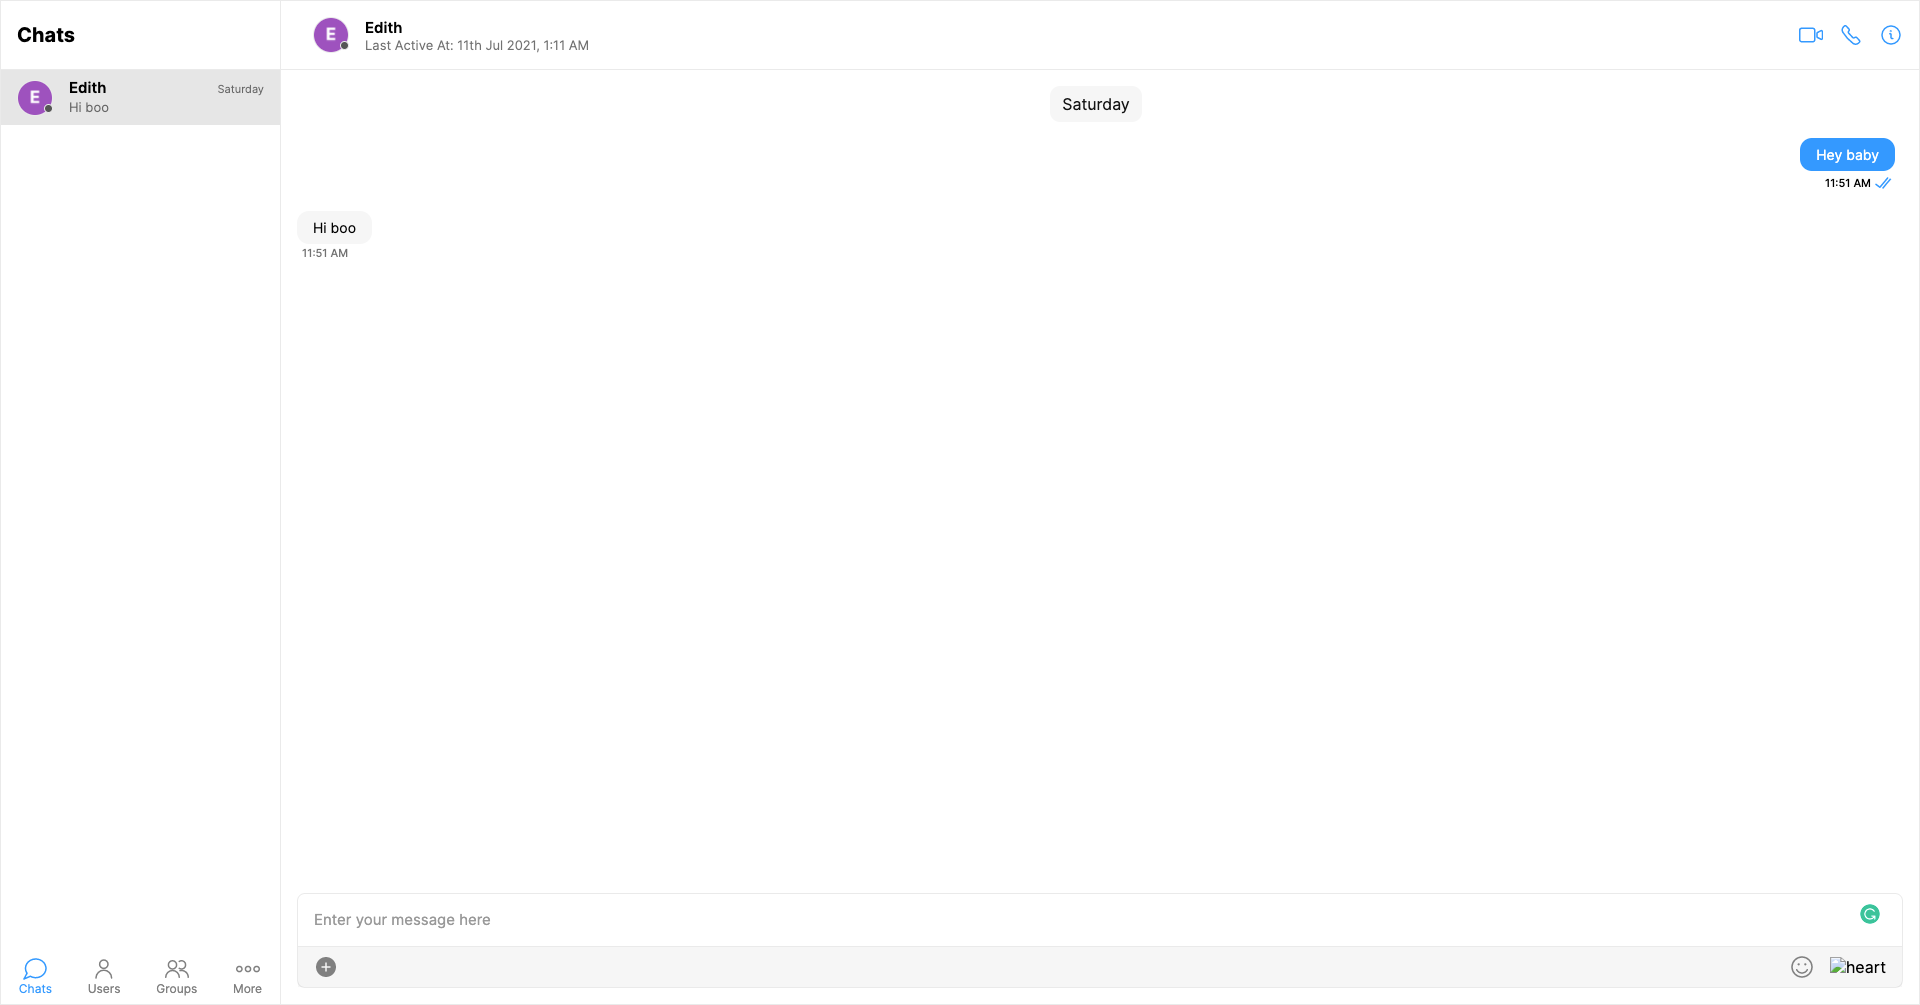
The CometChatNoSSR.js component is meant to be used in a chat page. We are going to update the index.js in the pages directory to be the chat page. Inside the file, we will call on our CometChatNoSSR.js component, and load our CometChatUI:
And that is it. You can then begin to use your application to chat, create groups and have a voice/video call with registered users.
Step 6: Add Friends
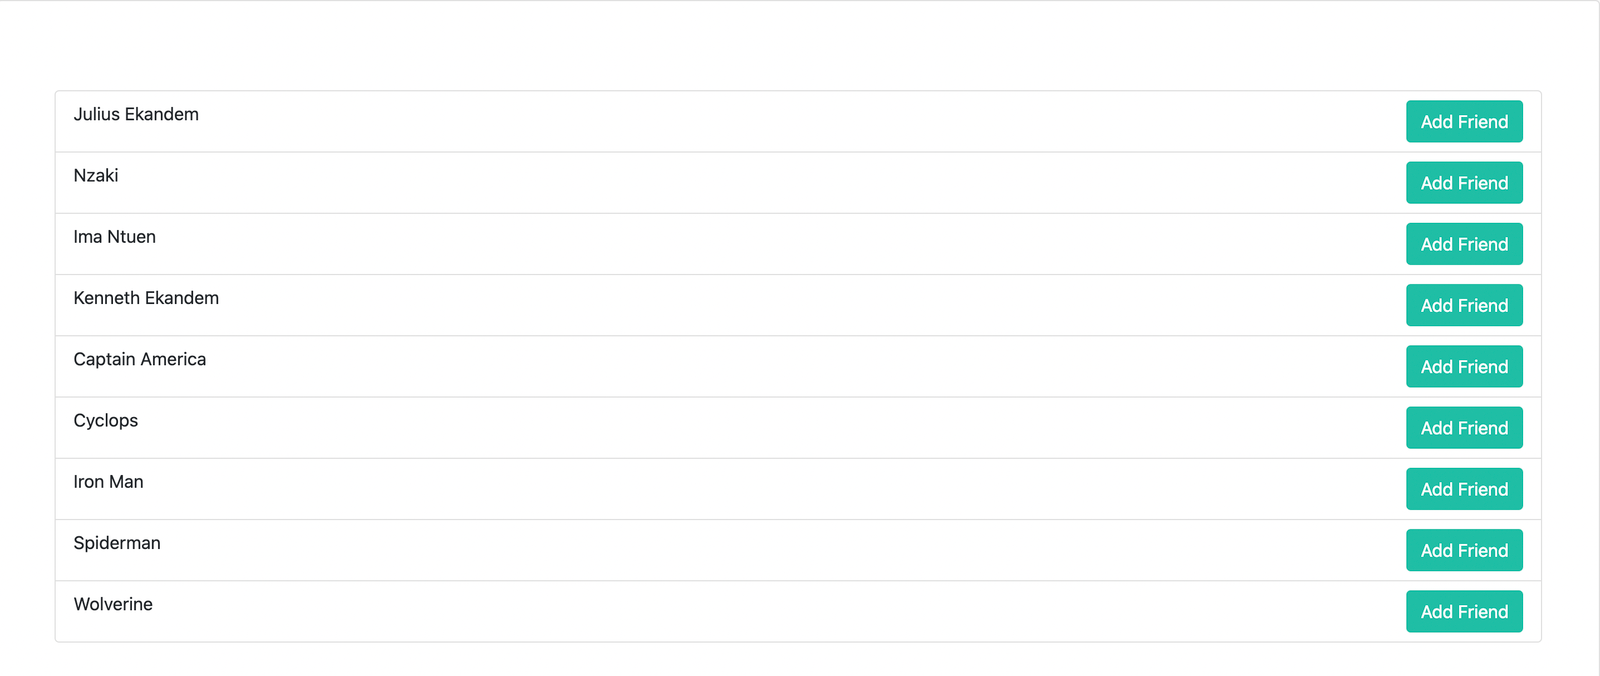
Now, let’s add the ability to add friends and hence allowing users to only be able to chat with users they are friends with. Before we can add users as friends, we will first list out our users. So in CometChatNoSSR.js file, we will add a button to route us to the add friends page which will list out all the users and give us an option to add a user.
To do that, import Link method from React and use it in our link tag. Update the line containing <CometChatUI/> as below:
Next, let’s create a add-friend.js file inside the pages directory with the following content:
The page make use of a AddFriend component which will list all users on the CometChat application and communicate with CometChat API to add the selected user to the list of friends.
Before we create the AddFriend component, let’s create an API hook to handle our HTTP request that will send data to the AddFriend component. Create a directory named hooks in the project root and create a useAPI.js file inside directory with the following content:
We are making use of useEffect and useState to make the communication with the API more effortless. Then we use Axios to make a request to the API and then return the data for consumption.
Now, let’s create the AddFriend component inside the components directory. This component will have a function to communicate with the hook and loop through the data fetched, and render it HTML:
Adding a Friend
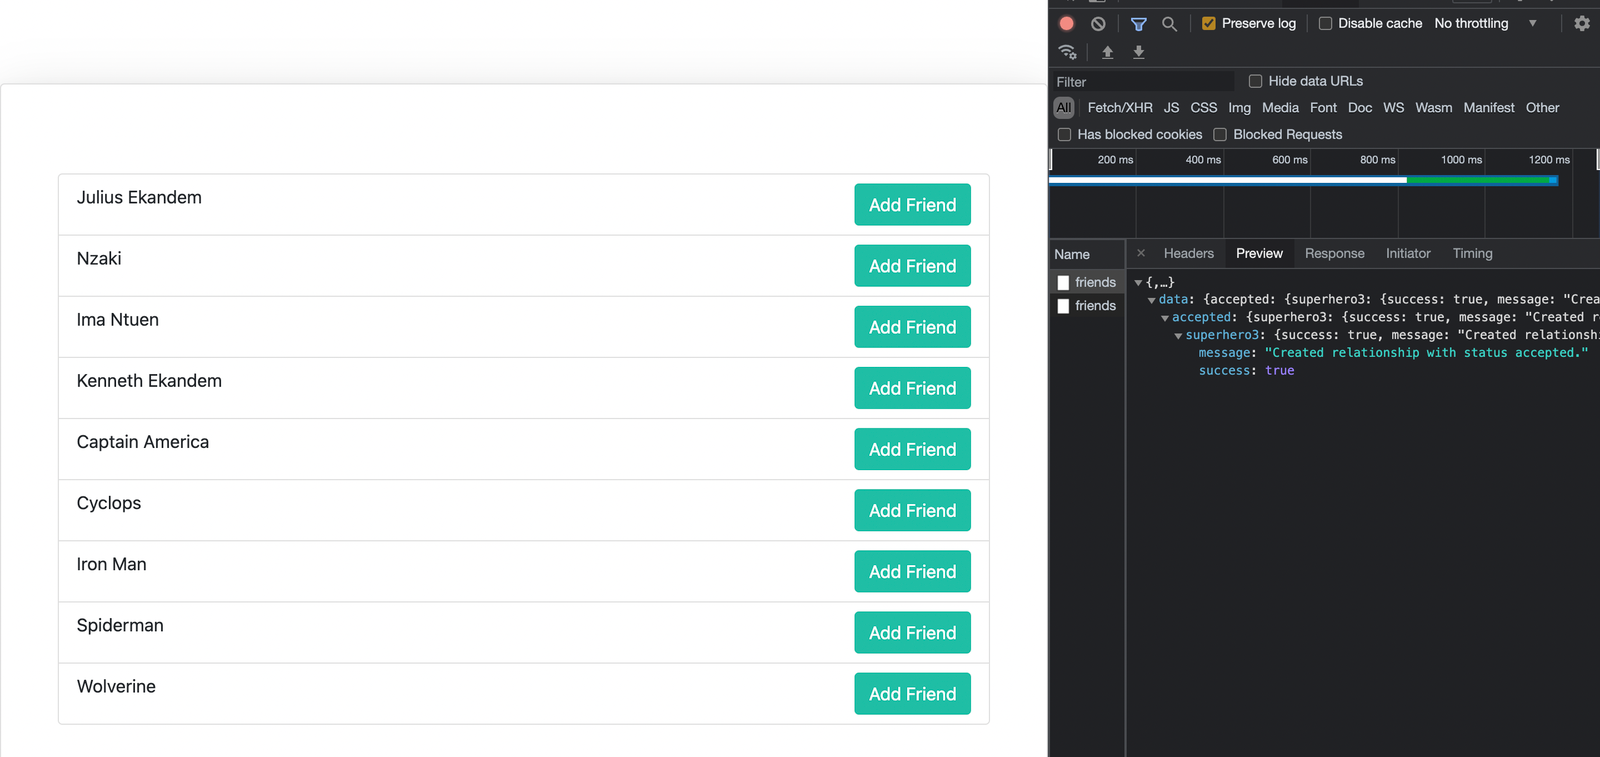
Now that we have fetched all the users, we can add a button, which will communicate with the add friend API and add a user as a friend.
To do this, we will first create a function in our AddFriend.js component which will send a post request and will accept uid as the parameter.
Then we tie our function to the add friend button we created earlier which will be using an on-click event to trigger the function.
And that is it, we can add a user as a friend.
Filtering Users
So now we are done with adding a user as a friend, we will filter the users we can chat with to only those we have added as friends. To do that, we will go to CometChatNoSSR.js file and update our appSetting variable to call subscribePresenceForFriends() instead of subscribePresenceForAllUsers():
Then we go to our cometchat-pro-react-ui-kit/CometChatWorkspace/src/utils/UIKitSettings.js and update
to
With this update, users will be filtered and only those added as friends will be shown.
Wrapping Up
In this tutorial, I covered how to use Next.js to build a chat application like WhatsApp using CometChat and integrating CometChat UI kit to enabled registered users to interact, chat, create groups, voice/video call other users.
This tutorial is flexible and you can customize your Next.js application to fit your taste but it pinpoints important steps in setting up and using the technologies.
You can start building your chat app for free by signing up to the cometchat dashboard here.
About the author
Chimezie Enyinnaya is a software developer and instructor with passion for teaching and sharing his knowledge.

Chimezie Enyinnaya
CometChat