

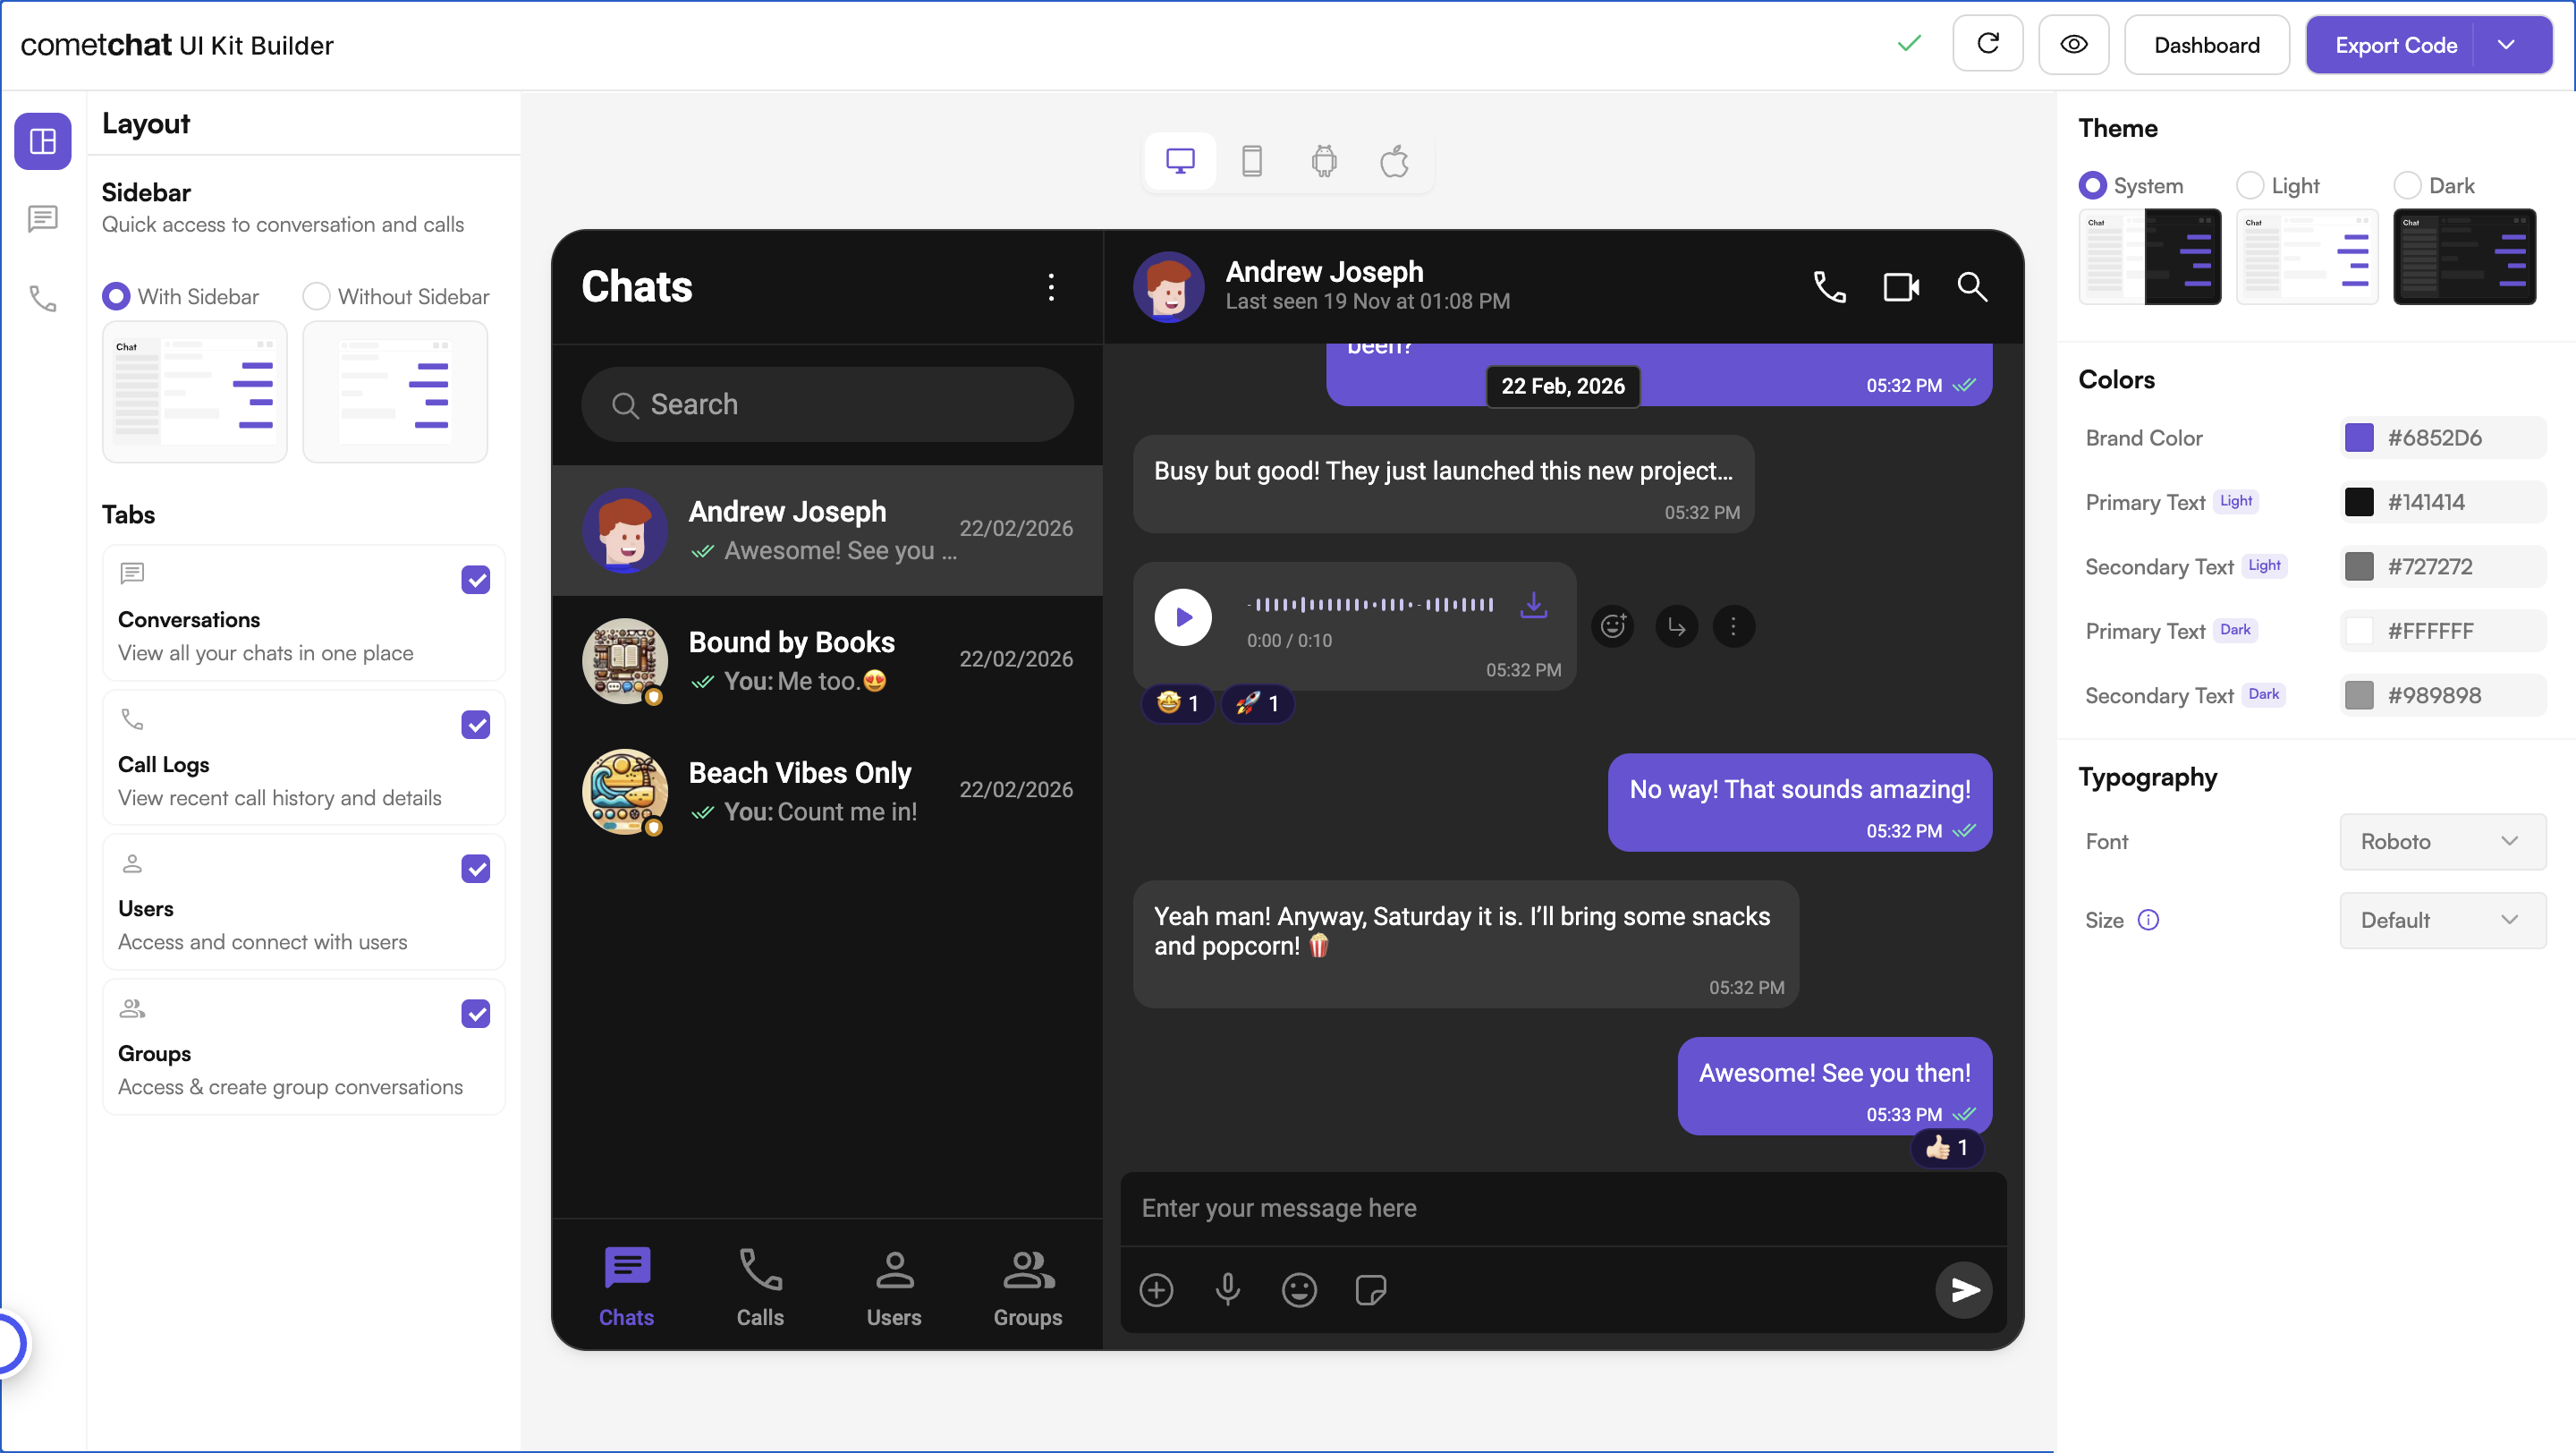
The UI Kit Builder exports a React code package. There is no separate React
Router export — this guide covers dropping that package into a React Router
project, whether it renders entirely in the browser or uses framework mode with
server rendering.
Complete Integration Workflow
- Design Your Chat Experience - Use the UI Kit Builder to customize layouts, features, and styling.
- Review and Export - Review which features will be enabled in your Dashboard, toggle them on/off, and download the generated code package.
- Preview Customizations - Optionally, preview the chat experience before integrating it into your project.
- Integration - Integrate into your existing application.
- Customize Further - Explore advanced customization options to tailor the chat experience.
Requirements
The exported app targets React UI Kit v7:
If your app uses React Router v7 framework mode, which server-renders by default, read
Framework mode and SSR before Step 3 — the chat has to be kept off the
server.
Launch the UI Kit Builder
- Log in to your CometChat Dashboard.
- Select your application from the list.
- Navigate to Chat & Messaging → Get Started.
- Choose your platform and click Launch UI Kit Builder.
Review Your Export
When you click Export, a “Review Your Export” modal appears (Step 1 of 3). This lets you:- Review features — See which features will be enabled in your CometChat Dashboard based on your UI Kit configuration
- Toggle features — Turn individual features on/off before export
- AI User Copilot — Requires an OpenAI API key (you’ll configure this in the next step)
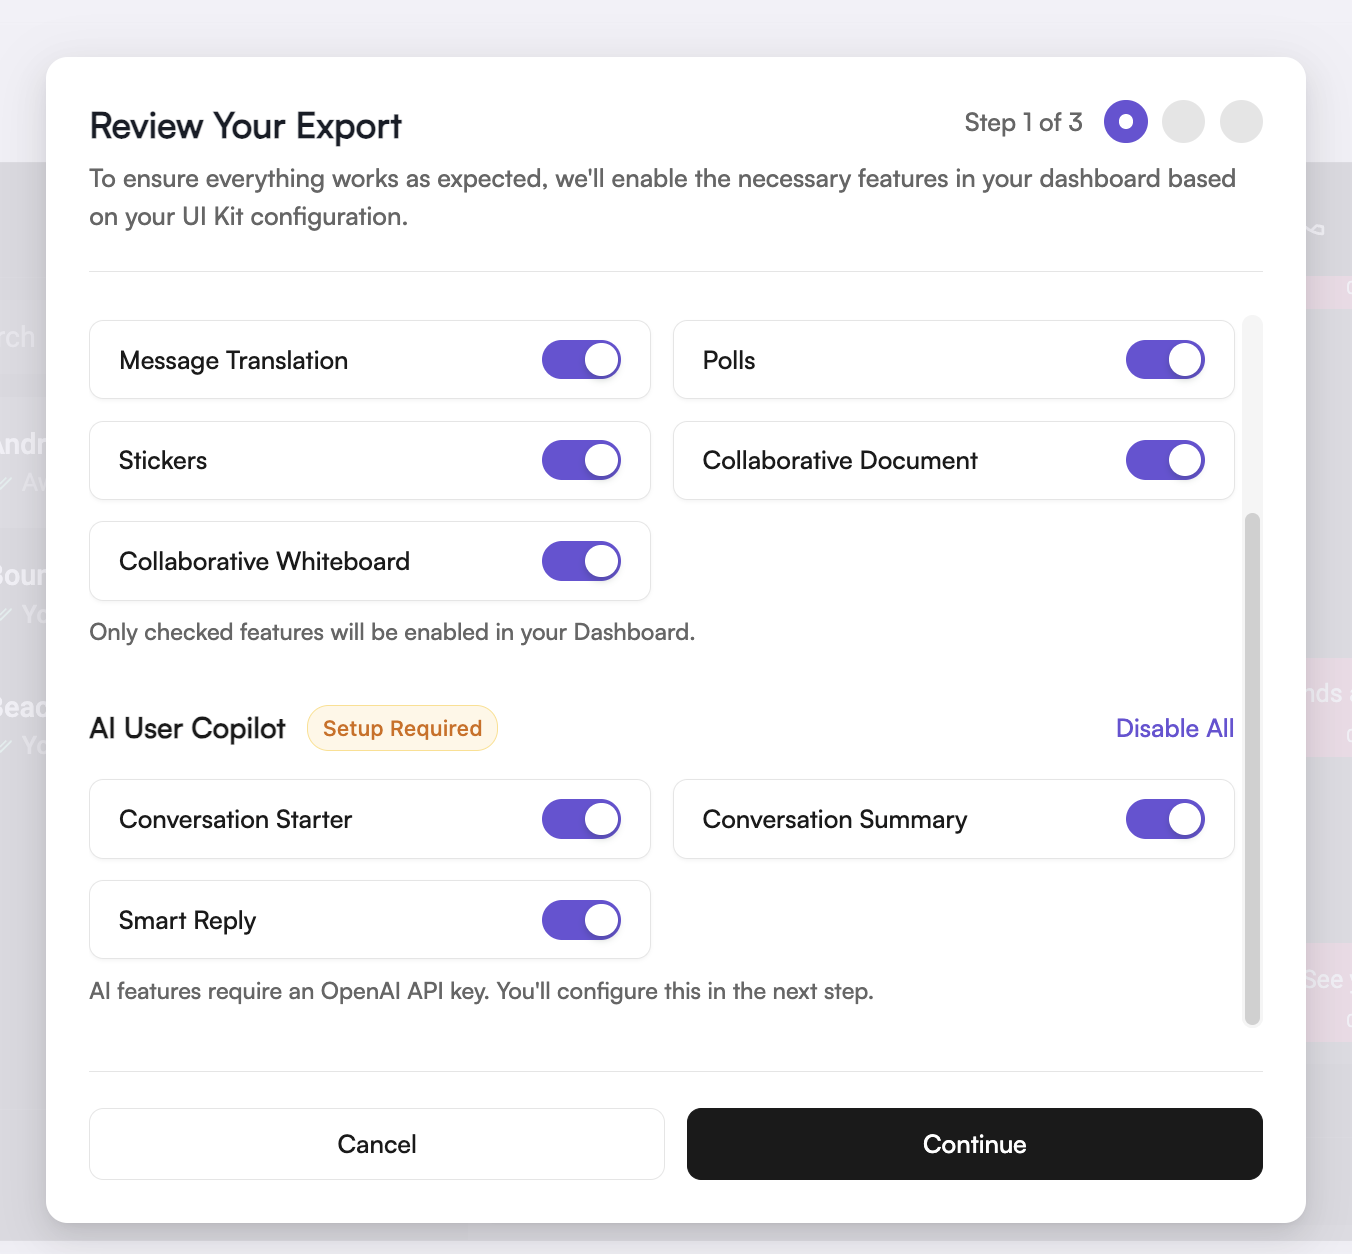
Only checked features will be enabled in your Dashboard. You can always modify
these settings later in the CometChat Dashboard.
Preview Customizations (Optional)
Before integrating the exported app into your project, you can run it on its own. This step is optional — skip it if you want to integrate directly.
- Open the
cometchat-app-reactfolder.- Install dependencies:
- Run the app:
Your app credentials are already prepopulated insrc/index.tsx.
The exported app is built with Vite, and its entry point stays at
src/index.tsx rather than Vite’s usual src/main.tsx, so the credentials
block is always in the same place.Integrate into Your Project
Follow these steps to integrate the exported app into your existing React Router project.Step 1: Install Dependencies
Step 2: Copy Two Folders
Copy both of these from the exported app into your project’ssrc directory:
Both are required:
src/CometChat reads its configuration from src/builder.
Step 3: Initialize CometChat UI Kit
Initialization also wires upSettingsProvider, which feeds your builder settings into the app. Select your setup:
- Vite
- Create React App
Open
src/main.tsx and update it:Replacing
main.tsx also removes the Vite template’s import "./index.css".
Keep it removed, or delete its #root rules (fixed width, centering,
text-align: center) — they offset the chat UI and make it overflow the page.Your app credentials (
APP_ID, AUTH_KEY, REGION) are prepopulated in the exported code. If you need different credentials, find them in the Credentials block of your app’s Overview section on the CometChat Dashboard.Upgrading from v6?
CometChatProvider no longer comes from a local
CometChat/context/CometChatContext, setupLocalization has moved to
builder/localization, and CometChat/utils/utils and
CometChat/CometChatApp no longer exist. The code above is the v7 replacement
for all four.Step 4: User Authentication
CometChat uses a UID (User ID) to identify each user. After initialization, authenticate users to enable chat functionality. You can either:- Create new users on the CometChat Dashboard, with a CometChat SDK method, or via the API.
- Use pre-generated test users:
cometchat-uid-1throughcometchat-uid-5.
CometChatLogin until someone is logged in, and listens for SDK login and logout events afterwards. Use the methods below when you want to log users in from your own flow instead.
- Auth Key (prototyping)
- Auth Token (production)
CometChatUIKit.getLoggedInUser() returns the current user synchronously, or null when nobody is logged in.
Auth Key vs Auth TokenAuth Key is perfect for prototyping. For production apps, switch to Auth Token for secure authentication. See Authentication and User Management for details.
Step 5: Render the App Shell
v7 has noCometChatApp component. src/App.tsx is the integration point, and it is yours to edit:
.App sets the size — change its style to fit the chat into part of your page. The .cometchat element that CometChatProvider renders inside it has no height of its own; src/builder/shell.css, imported in Step 3, makes it fill .App. If you don’t import that file, add this to your own CSS — without it the chat shrinks to its content and the message composer is pushed off-screen:
Rendering the chat at a route
App above is the whole chat experience. In a React Router app you usually want it on one route
rather than at the root, so render it as that route’s element:
The chat fills its parent, so the route’s layout needs a height. If your route
renders inside a shell with a header or sidebar, give the chat’s container a
height (for example
calc(100dvh - 64px)) rather than the 100dvh used above.Step 6: Customize Through Settings
Layout and feature choices live insrc/builder/cometchat-builder-settings.json, which the dashboard writes at export time and which you can edit by hand afterwards. Anything the file omits falls back to a default, so partial files are safe.
Group action messages (joins, leaves, kicks, bans) are the exception: there is no settings key for them. They are on by default, and the only way to change that from code is the
showGroupActionMessages prop on CometChatHome — the same prop v6 had on CometChatApp. Whether they are generated at all is an app-level choice: Chat > Settings > Include Group Actions in the dashboard.
Every setting is described in UI Kit Builder Settings.
Step 7: Run the App
- Vite
- Create React App
Framework mode and SSR
React Router v7’s framework mode server-renders by default. The CometChat UI Kit and the copiedCometChat folder touch browser APIs (window, document, WebSockets) as soon as they load, so
rendering them on the server fails with window is not defined. Pick whichever fits your app.
Option A — turn server rendering off
If the app does not need SSR, set it off once inreact-router.config.ts:
- Framework mode has no
src/main.tsxorsrc/index.tsx, so Step 3’s initialization has nowhere to go as written. Runnpx react-router revealto generateapp/entry.client.tsxand initialize there, or do it in a client-only effect inapp/root.tsx. ssr: falsestill pre-rendersapp/root.tsxat build time to produceindex.html. Route modules below it render only in the browser, so the chat is fine inside a route — but anything that toucheswindowwhile a module imported byroot.tsxis evaluating fails the build withwindow is not defined.
root.tsx, Option A needs no lazy loading.
Option B — keep SSR, render the chat only in the browser
Keep server rendering for the rest of the app and load the chat after mount. Because the import itself must not run on the server, it has to be lazy — not a top-levelimport:
useEffect in
the same component, and render the shell once it resolves. The
Next.js guide shows that shape in full; the only difference is
that Next.js has dynamic(..., { ssr: false }) where React Router uses lazy plus the mounted
guard.
Troubleshooting
TypeScript configuration. Check that your TypeScript config includes both of these. In a Vite project that istsconfig.app.json, not the root tsconfig.json. New Vite and Create React App projects already have them:
resolveJsonModule is required — builderSettings imports the settings JSON directly. Restart your dev server after changing it.
The chat renders but has no height. src/builder/shell.css is not imported, or your own CSS overrides it. See the sizing note in Step 5.
No call buttons in the message header. setCallingEnabled(true) is missing from the initialization in Step 3. Calling is off by default, and the header hides both buttons entirely rather than rendering them inert.
Call buttons render but calls fail. @cometchat/calls-sdk-javascript is not installed.
The chat is off-centre or overflows the page. The Vite template’s index.css is still imported; its #root rules fight the chat’s layout. See the note in Step 3.
window is not defined during build or dev. You are in framework mode and something imports the chat on the server — see Framework mode and SSR.
Next Steps
You can continue customizing by editing the exported code directly — or return to the UI Kit Builder to adjust your configuration and re-export a fresh code package.Customize in Code
Modify the exported components, settings, and styling directly in your project.Customizations
Adjust component props, behavior, and UI elements.
UI Kit Builder Settings
Understand the settings file and feature toggles.
Directory Structure
See how the exported code is organized.
Advanced Theming
Customize colors, typography, and styling to match your brand.
Customize via UI Kit Builder
Return to the Builder to update your configuration, then re-export. Because your customizations live insrc/builder, a re-export only needs src/CometChat replaced — unless you also changed settings in the Builder, in which case copy src/builder/cometchat-builder-settings.json across too.
Launch UI Kit Builder
Open the CometChat Dashboard to reconfigure and re-export.