What you’ll build
- A Mastra agent with tools/actions
- The same agent connected to CometChat (Agent ID + Deployment URL)
- A customized chat experience using UI Kit Builder
- An export to React UI Kit code or Chat Widget for integration
Prerequisites
- A CometChat account and an app: Create App
- A Mastra agent (ID + public Deployment URL) — follow Mastra’s quickstart:
Mastra Quickstart
Step 1 - Create your CometChat app
Create or open an app
Sign in at app.cometchat.com. Create a new app or open an existing one.
Step 2 - Connect your Mastra Agent
Navigate to AI Agent → Get Started and then AI Agents → Add Agent.Basic details
Provide:
- Name and optional Icon
- (Optional) Greeting and Introductory Message
- (Optional) Suggested messages
Mastra configuration
Paste the following from your Mastra deployment:
- Mastra Agent ID
- Deployment URL (public URL that CometChat can reach)
Tip: If you update your Mastra agent later (prompts, tools, routing), you won’t need to re-connect it in CometChat—just keep the Agent ID and Deployment URL the same.
Step 3 - Define Frontend Actions (Optional)
Add an action
Go to AI Agent → Actions and click Add to create a frontend action your agent can call (e.g., “Open Product,” “Start Demo,” “Book Slot”).
Define fields
Include:
- Display Name — Shown to users (e.g., “Open Product Page”).
- Execution Text — How the agent describes running it (e.g., “Opening product details for the user.”).
- Name — A unique, code‑friendly key (e.g.,
open_product). - Description — What the tool does and when to use it.
- Parameters — JSON Schema describing inputs (the agent will fill these).
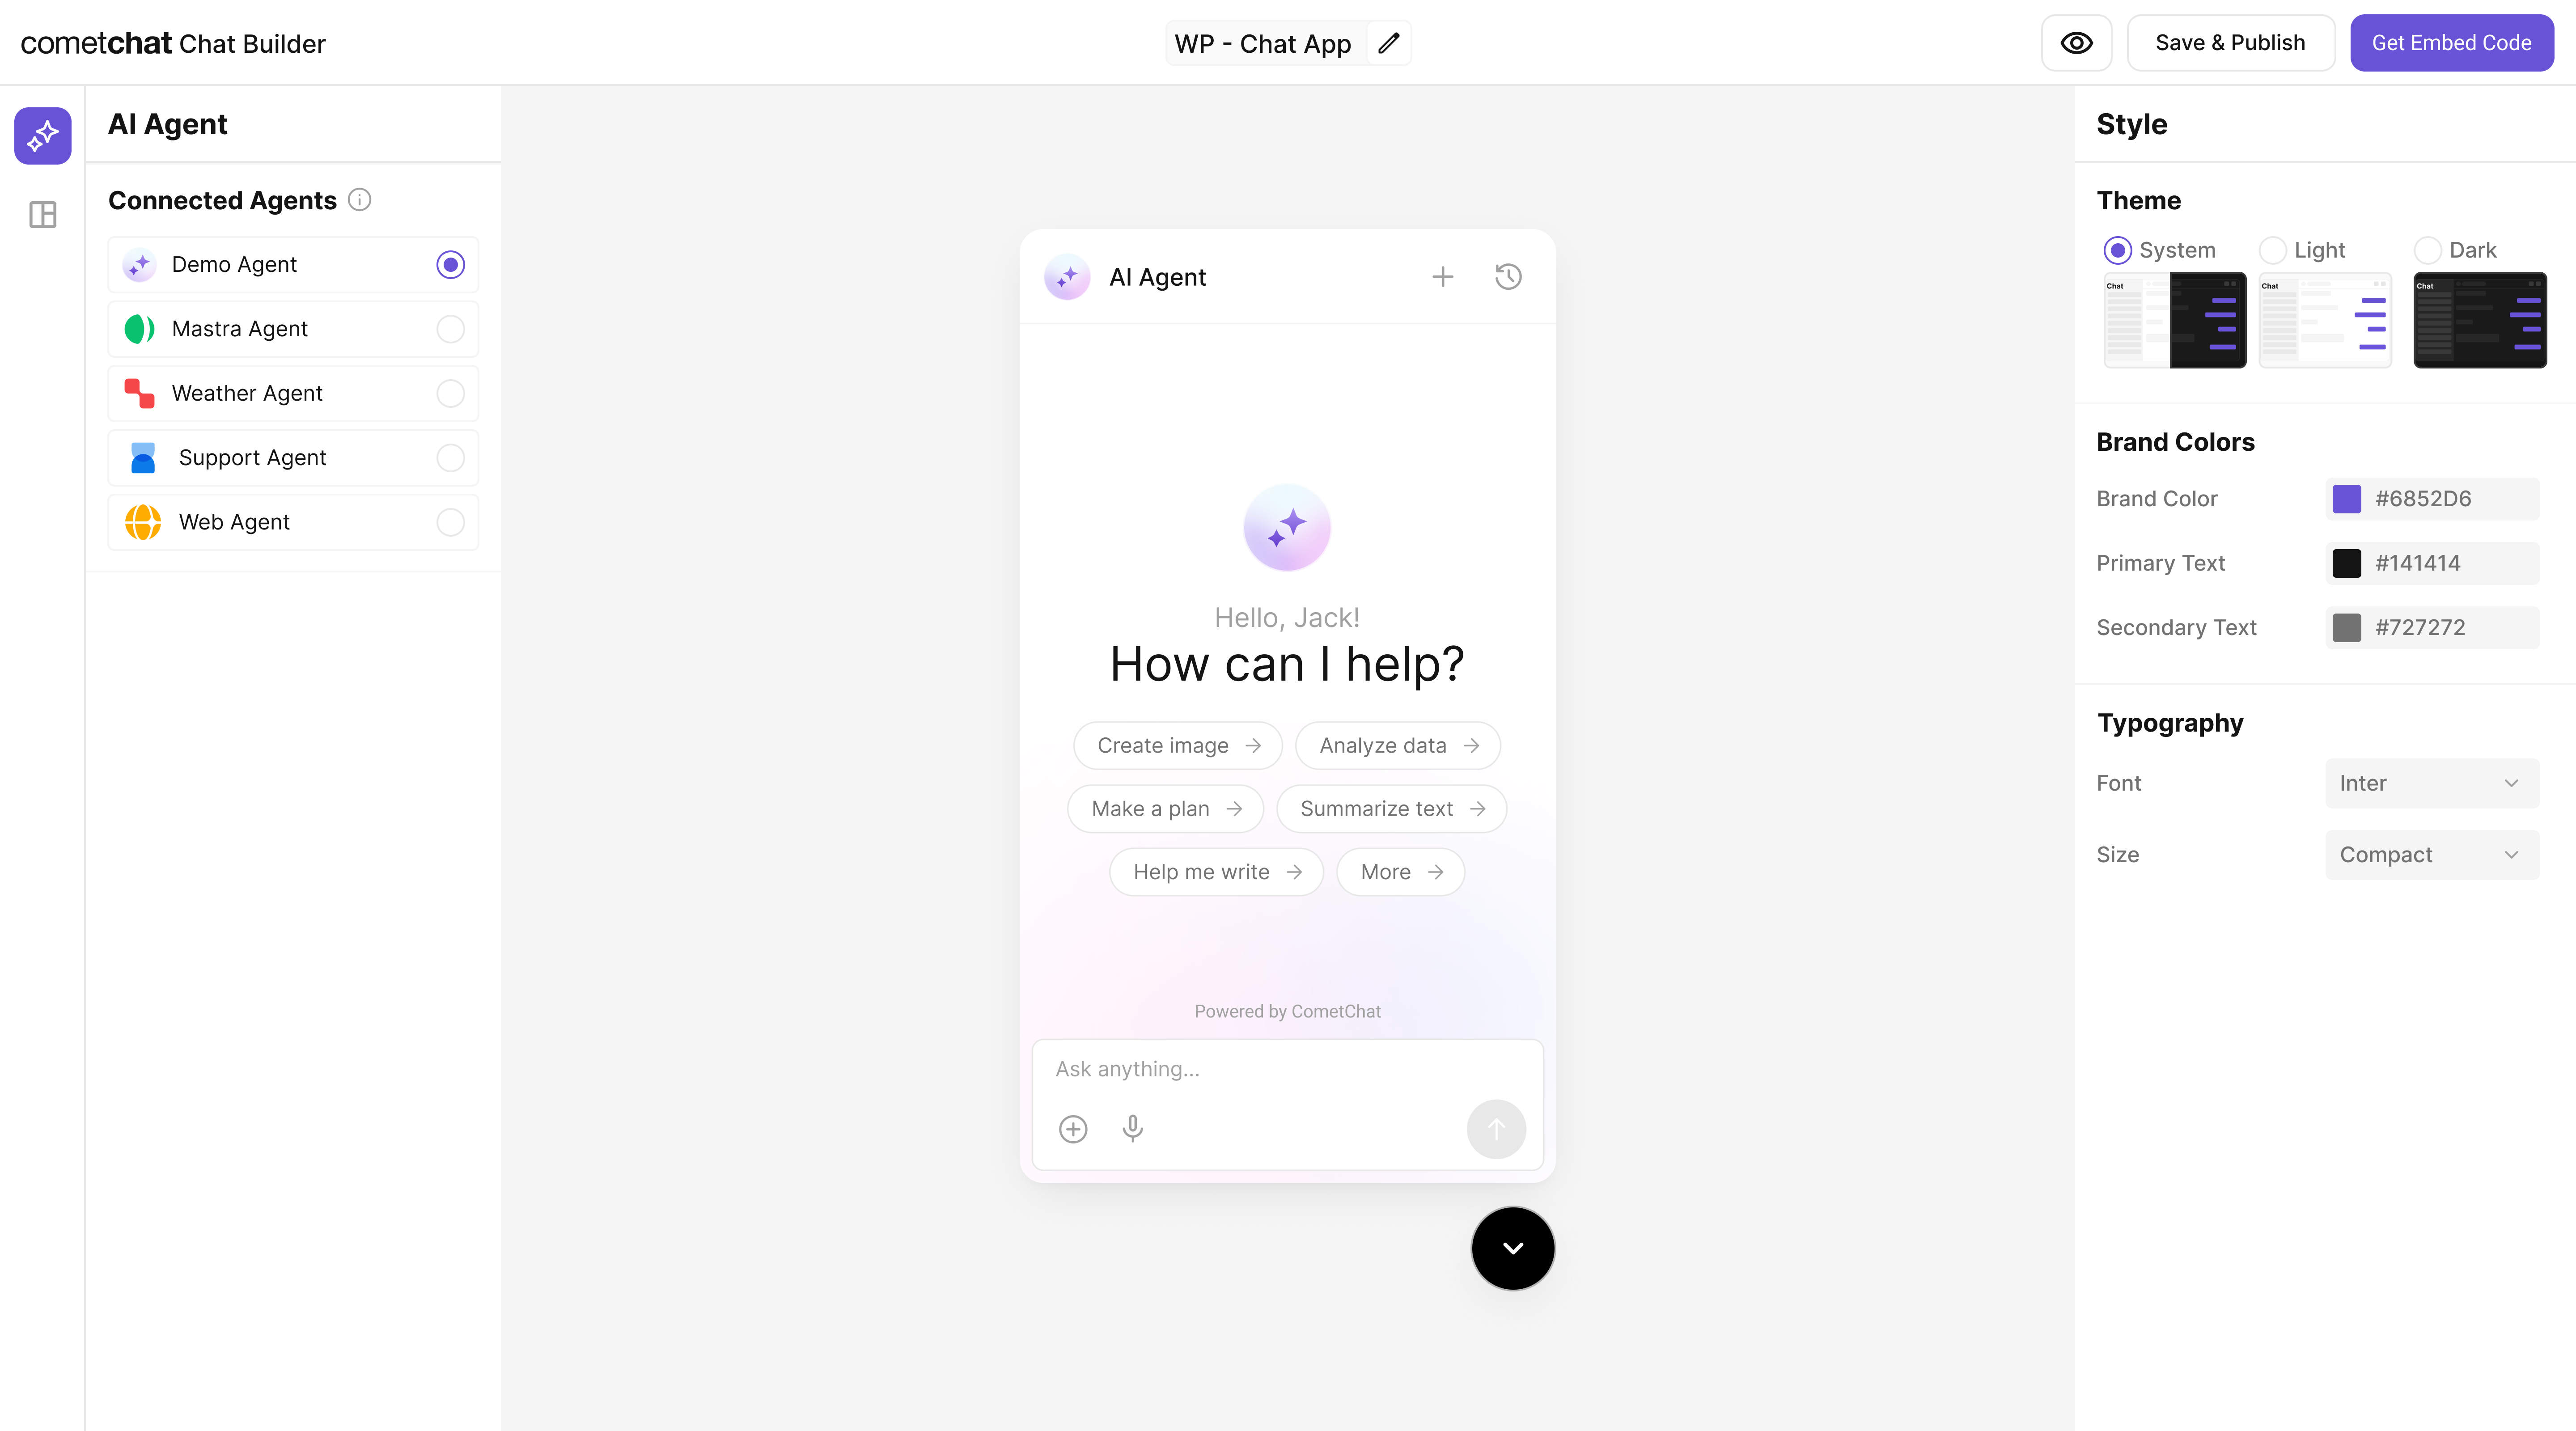
Step 4 - Customize in UI Kit Builder
Step 5 - Export & Integrate
Choose how you’ll ship the experience (Widget or React UI Kit export).
Widget Builder
React UI Kit
Pre Built UI Components
The Mastra agent from Step 2 is included automatically in exported variants—no extra code needed for basic conversations.
Decide delivery mode
Pick Chat Widget (fastest) or export React UI Kit for code-level customization.
Step 6 - Deploy & Secure (Reference)
Don’t have a public Mastra agent yet? Use these reference blocks to define, expose, and deploy one securely.
Define an agent with tools
Define an agent with tools
Minimal agent definition. (Adjust imports per current Mastra release.)
Expose a public HTTP endpoint
Expose a public HTTP endpoint
- TypeScript (Express)
- JavaScript (Express)
Run & Deploy Your Mastra Agent
Run & Deploy Your Mastra Agent
Local Development
npx mastra devstarts local API (commonlyhttp://localhost:4111/api).- Custom Express route? Keep path consistent in production.
Quick test (replace AGENT_ID):
Temporary Public Tunnel
Append route (e.g. /api/agents/chef/generate) to the forwarded HTTPS URL.
Production Patterns
- Serverless: Single API route invoking the agent.
- Container: Long‑lived Express/CLI process; add health checks.
- Edge: Keep tools stateless; externalize persistence.
Vercel Example
Security
- Rate limit by IP + user.
- Add auth (Bearer / JWT) for non-public agents.
- Log tool calls (id, latency) for observability.
CometChat Mapping
Use the final HTTPS URL + path for Deployment URL and the agent key (e.g. chef) for Mastra Agent ID.
Deploy & copy IDs
Deploy & copy IDs
Deploy (Vercel, Render, Fly, etc.) then copy the public URL as your Deployment URL and the Mastra Agent ID from config.
Docs: https://mastra.ai/agents
Docs: https://mastra.ai/agents
Test your setup
Troubleshooting
Agent not responding
Agent not responding
- Verify your Deployment URL is publicly reachable (no VPN/firewall).
- Check server logs for 4xx/5xx errors.
Tool call not executed
Tool call not executed
- Confirm the Action’s Name in CometChat exactly matches the tool name your UI listens for.
- Validate the Parameters JSON Schema; the agent uses this to fill inputs.
Auth issues in exports
Auth issues in exports
- Use
authKeyonly for development. For production, implement a secure token flow for user login.