What you’ll build
- An AG2 ConversableAgent with callable tools
- The same agent connected to CometChat (Agent ID + Deployment URL)
- A customized chat experience using UI Kit Builder
- An export to React UI Kit code or Chat Widget for integration
Prerequisites
- A CometChat account and an app: Create App
- Python 3.10+ and
pip - Environment variables:
OPENAI_API_KEY(required for AG2 LLM calls)WEATHER_API_KEY(optional — enables real weather data in the sample tool)
- Git (to clone the example project)
Step 1 - Create your CometChat app
Create or open an app
Copy credentials
Step 2 - Connect your AG2 Agent
Navigate to AI Agent → Get Started and then AI Agents → Add Agent.Choose provider
Basic details
- Name and optional Icon
- (Optional) Greeting and Introductory Message
- (Optional) Suggested messages such as “What’s the weather in Austin?”
AG2 configuration
- Agent ID — for the sample project, use
weather. - Deployment URL — the HTTPS endpoint that proxies to
/agenton your server.
Save & enable
Tip: Keep your Deployment URL stable (e.g., https://your-domain.tld/agent). Update server logic without changing the URL to avoid reconfiguration.
Step 3 - Define Frontend Actions (Optional)
Add an action
Define fields
- Display Name — Shown to users (e.g., “Open Product Page”).
- Execution Text — How the agent describes running it.
- Name — A unique, code-friendly key (e.g.,
open_product). - Description — What the tool does and when to use it.
- Parameters — JSON Schema describing inputs (the agent will fill these).
Validate inputs (schema)
Handle in your UI
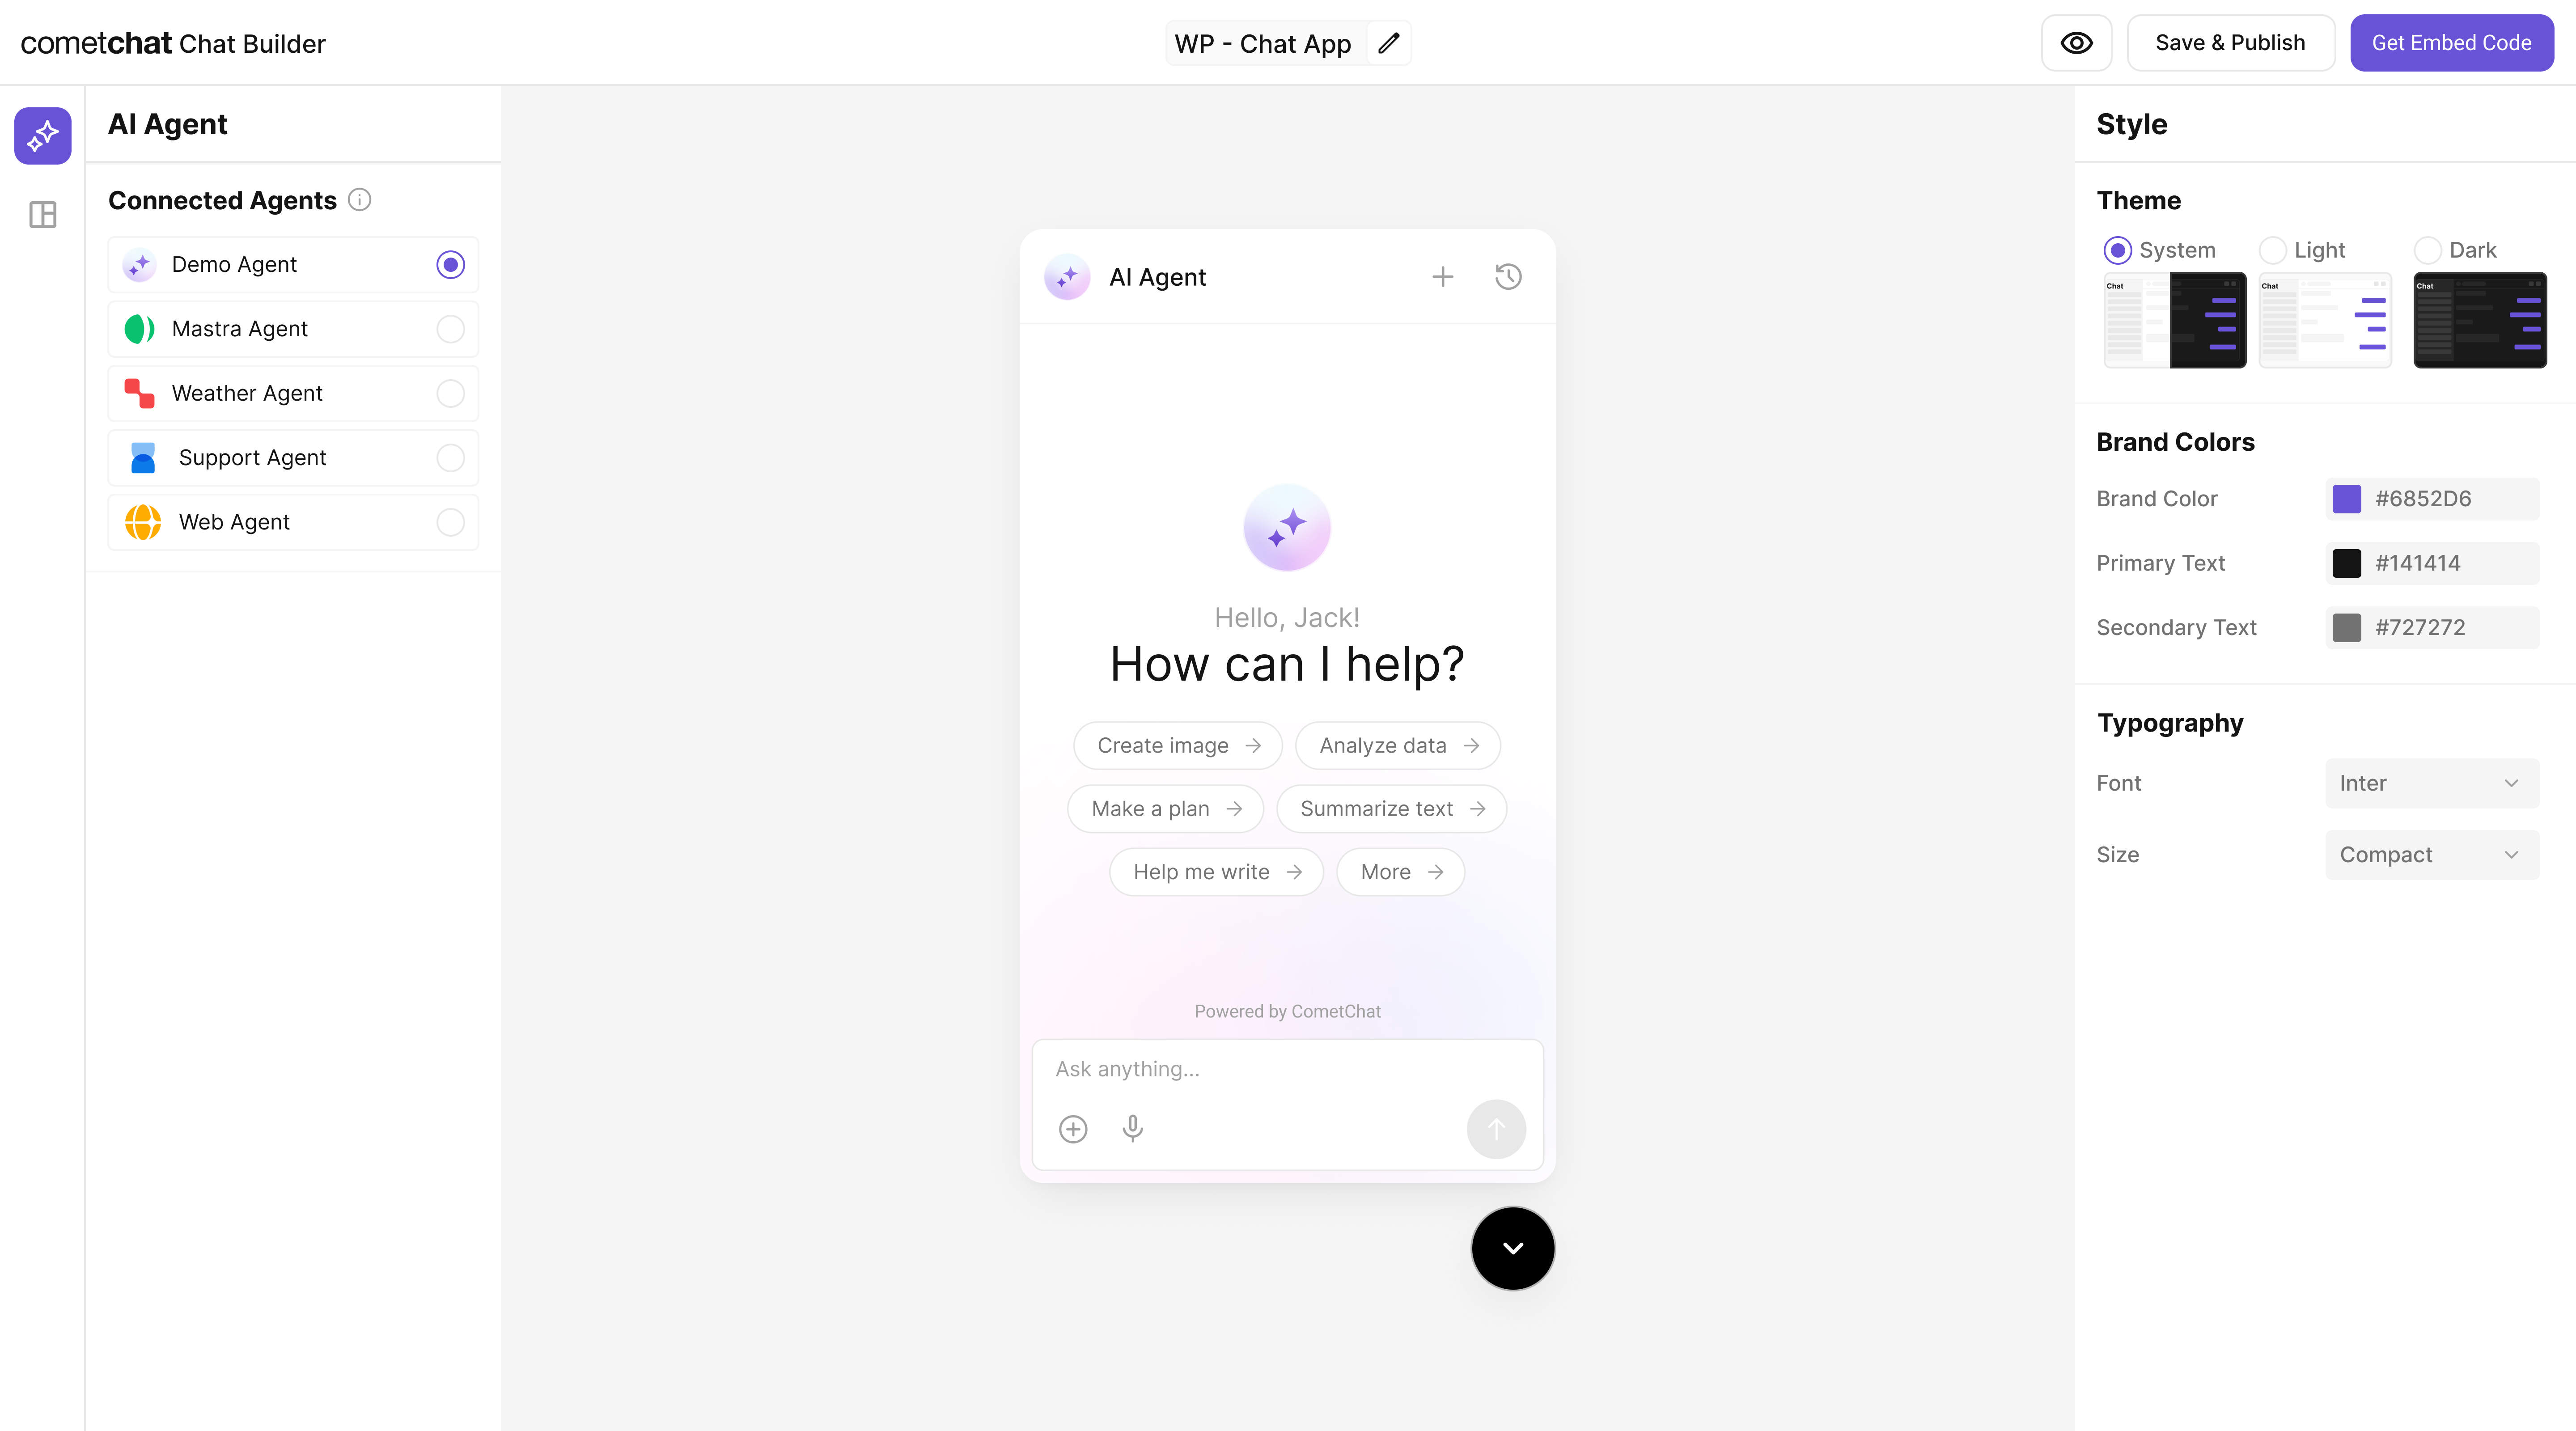
Step 4 - Customize in UI Kit Builder
Open variant
Customize & Deploy
Adjust settings
Preview
Step 5 - Export & Integrate
Choose how you’ll ship the experience (Widget or React UI Kit export).Widget Builder
React UI Kit
The AG2 agent from Step 2 is included automatically in exported variants—no extra code needed for basic conversations.
Decide delivery mode
Widget path
React UI Kit path
Verify agent inclusion
Step 6 - Run Your AG2 Agent (Reference)
Clone & install dependencies
Clone & install dependencies
git clone https://github.com/cometchat/ai-agent-ag2-examples.gitcd ai-agent-ag2-examples/ag2-cometchat-agentpython -m venv .venv && source .venv/bin/activate(or.venv\Scripts\activateon Windows)pip install -r requirements.txt
Configure environment
Configure environment
Create a .env file:
Without WEATHER_API_KEY, the tool still returns stubbed error messages that the agent can surface gracefully.
Inspect the agent
Inspect the agent
The agent streams Server-Sent Events (SSE) with tool call telemetry and message chunks so CometChat can render partial replies in real time.
Run & expose the API
Run & expose the API
uvicorn server:app —reload —host 0.0.0.0 —port 8000- Verify health:
curl http://localhost:8000/health - Trigger a message (SSE response):
Use a tunneling tool (ngrok, Cloudflare Tunnel, etc.) to create the public Deployment URL CometChat needs.
Production checklist
Production checklist
- Configure logging, rate limiting, and auth (API key/JWT) on the
/agentroute. - Store secrets in server-side env vars only; never expose them in client code.
- Namespace tool calls and sanitize user input before hitting external APIs.
- Scale the FastAPI app behind your preferred hosting (Render, Fly.io, Vercel functions, etc.).
Test your setup
Enable the agent
Preview in UI Kit Builder
Validate conversation
Test actions
Troubleshooting
Agent not responding
Agent not responding
- Verify your Deployment URL is publicly reachable (no VPN/firewall).
- Check server logs for 4xx/5xx errors or missing API keys.
Tool call not executed
Tool call not executed
- Confirm the Action’s Name matches the tool name emitted by AG2.
- Ensure your agent registers tools via
register_for_llmand proxies execution.
Auth issues in exports
Auth issues in exports
- Use
authKeyonly for development. For production, implement a secure token flow for user login.