Prerequisites
Before installing the CometChat UI Kit for iOS, you must first create a CometChat application via the CometChat Dashboard. The dashboard provides all the essential chat service components, including:- User Management
- Group Chat & Messaging
- Voice & Video Calling
- Real-time Notifications
To initialize the UI Kit, you will need the following credentials from your CometChat application:
- App ID
- Auth Key
- Region
Register & Set Up CometChat
Follow these steps to register on CometChat and set up your development environment.Step 1: Register on CometChat
To use CometChat UI Kit, you first need to register on the CometChat Dashboard. 🔗 Click here to Sign UpStep 2: Get Your Application Keys
After registering, create a new app and retrieve your authentication details:- Navigate to the QuickStart or API & Auth Keys section.
-
Note down the following keys:
- App ID
- Auth Key
- Region
Each CometChat application can be integrated with a single client app. Users within the same application can communicate across multiple platforms, including web and mobile.
Step 3: Set Up Your Development Environment
Ensure your system meets the following prerequisites before proceeding with integration. System Requirements:- Xcode 16 or later installed on your machine.
- An iOS device or simulator with iOS version 13.0 or above.
- Swift 5.0.
- macOS.
Integration Steps
Create an iOS Project
To get started, open Xcode and create a new project for UI Kit in the Project window as follows:- Select iOS App in the Choose a template for your new project window and click Next.
- Enter your project name in the Name field in the Choose options for your new project window.
- Enter your identifier in the Bundle Identifier field in the Choose options for your new project window.
- Select Storyboard in the Interface field in the Choose options for your new project window.
- Select Swift in the Language field in the Choose options for your new project window.
Install Dependencies
This developer kit is an add-on feature to CometChat iOS SDK so installing it will also install the core Chat SDK. You can install CometChat UI Kit into your iOS project using CocoaPods or Swift Package Manager (SPM).We recommend using CocoaPods, as they are the most advanced way of managing iOS project dependencies.If you’re facing any issues while installing pods, use the following command:To get the latest version of CometChat UI Kit, use:
- Create pod file by running the following command in your project’s base level:
Swift
- Add CometChat SDKs to Your Podfile:
Swift
- Install the CometChat UI Kit framework through CocoaPods:
Swift
Swift
Swift
Always ensure to open the XCFramework file after adding the dependencies.
Configure Privacy Permissions
-
To enable media messaging in your app, you must allow Camera, Microphone, and Photo Library access in
Info.plist. These permissions are required for sending and receiving media files.Info.plist
-
Navigate to your Build Settings and disable the User Script Sandboxing option.
Disabling User Script Sandboxing ensures that WebView can load and execute scripts necessary for collaborative tools.

Step 4: Initialize & Login to CometChat UI Kit
To authenticate a user, you need aUID. You can either:
- Create new users on the CometChat Dashboard, CometChat SDK Method or via the API.
-
Use pre-generated test users:
cometchat-uid-1cometchat-uid-2cometchat-uid-3cometchat-uid-4cometchat-uid-5
Security Best Practices
- The Auth Key method is recommended for proof-of-concept (POC) development and early-stage testing.
- For production environments, it is strongly advised to use an Auth Token instead of an Auth Key to enhance security and prevent unauthorized access.
SceneDelegate.swift file:
⚠️ Important: Initialization and login are independent steps. However, the CometChat SDK must be initialized before you call the login method.
SceneDelegate.swift
Ensure you replace the following placeholders with your actual CometChat credentials:
- App ID → Your CometChat App ID
- Auth Key → Your CometChat Auth Key
- Region → Your App Region
Console
Step 5: Choose a Chat Experience
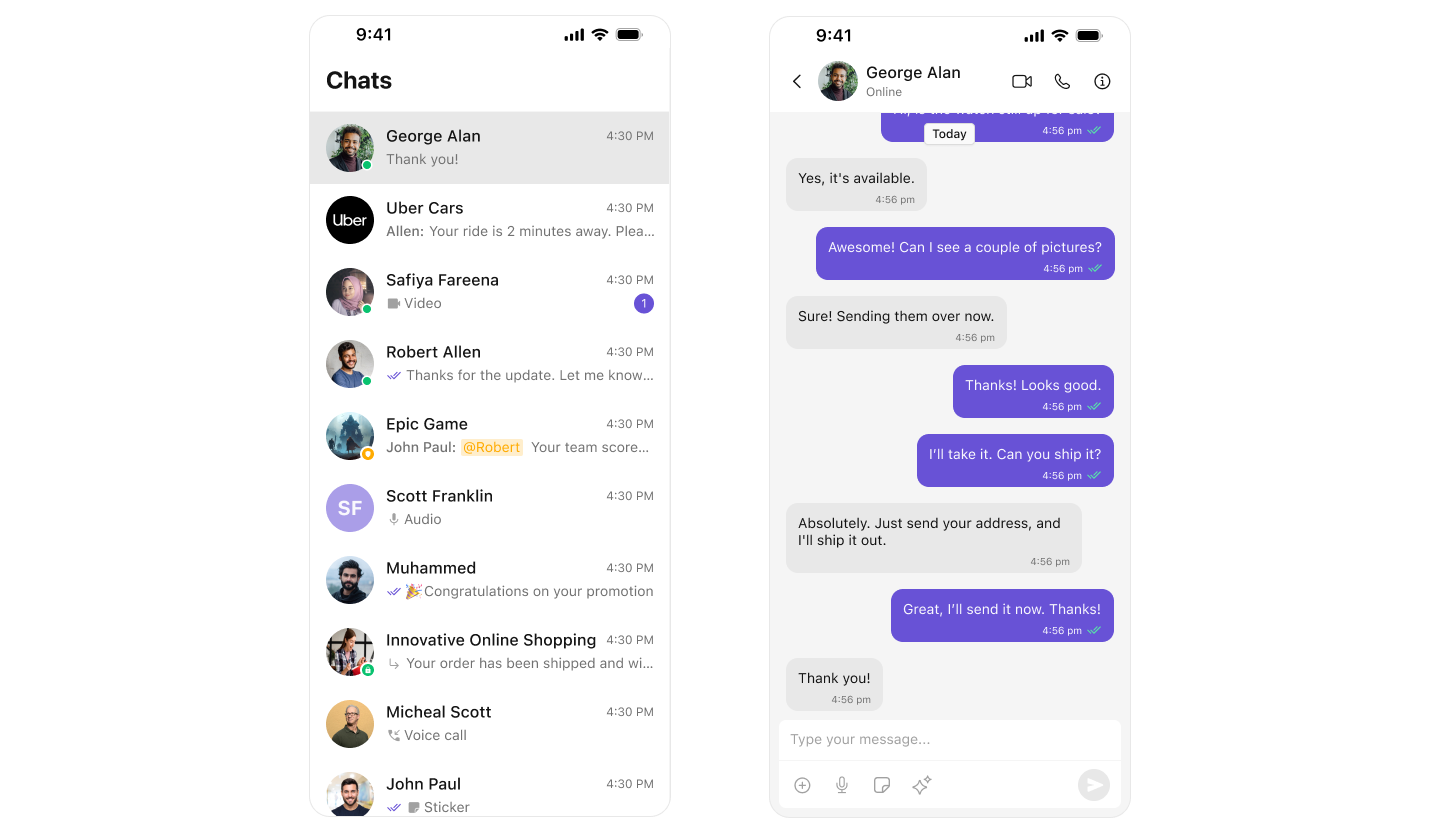
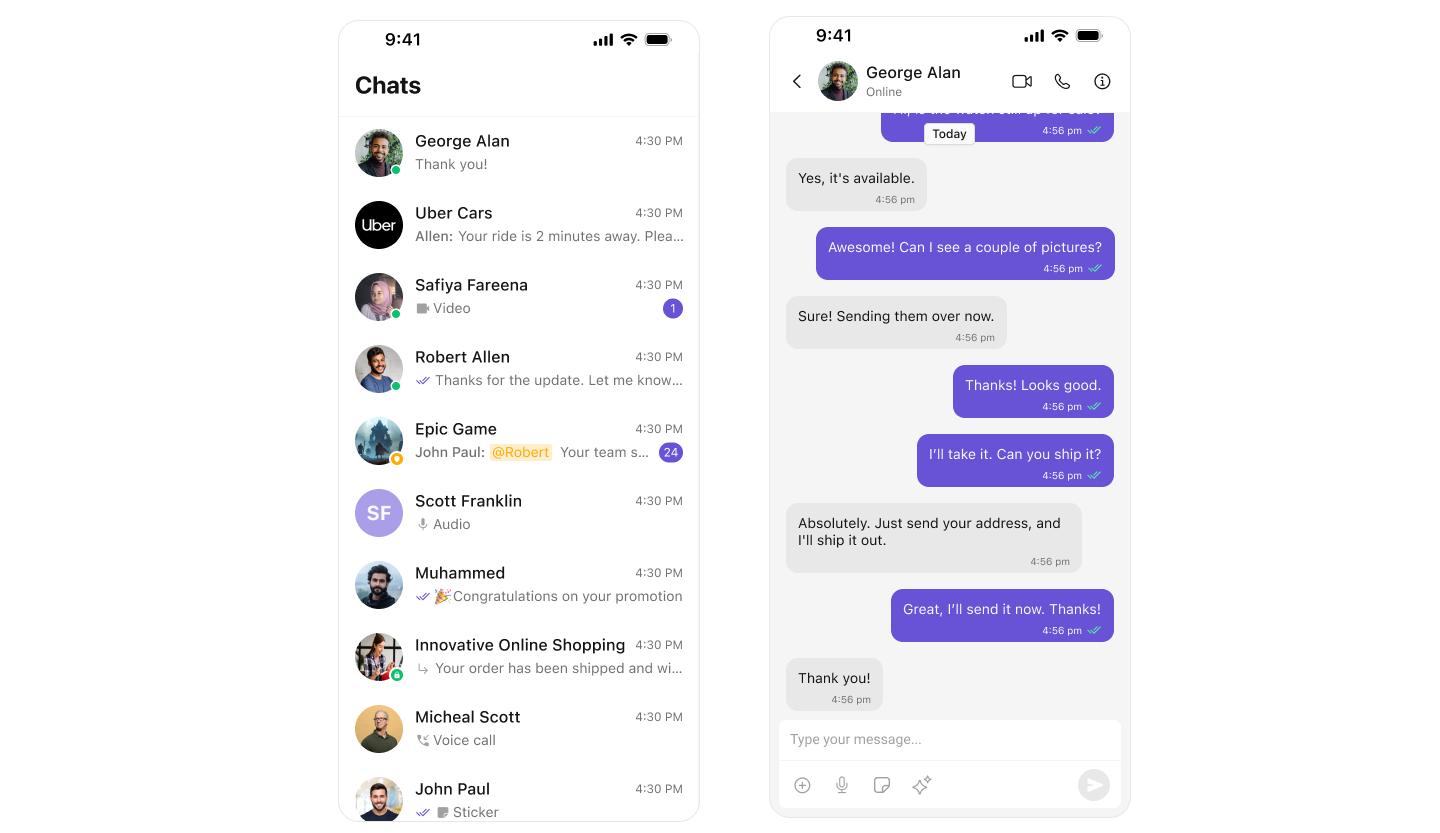
Integrate a conversation view that suits your application’s UX requirements. Below are the available options:1️⃣ Conversation List + Message View
Best for: Native iOS apps using stack-based navigation to switch between conversations and messages. Highlights:- Push-Based Navigation – Taps on conversations open full message views.
- Supports One-to-One & Group Chats – Handles all CometChat conversation types.
- Real-Time Sync – Messages auto-refresh using live CometChat event listeners.
- Session-Aware – Message states persist across app sessions and devices.
- Customizable UI – Modify styling, actions, or behavior using CometChat UI Kit.

- You need a native iOS chat experience with clean transitions.
- Your app supports private and group messaging.
- You want seamless sync and navigation between list and messages.
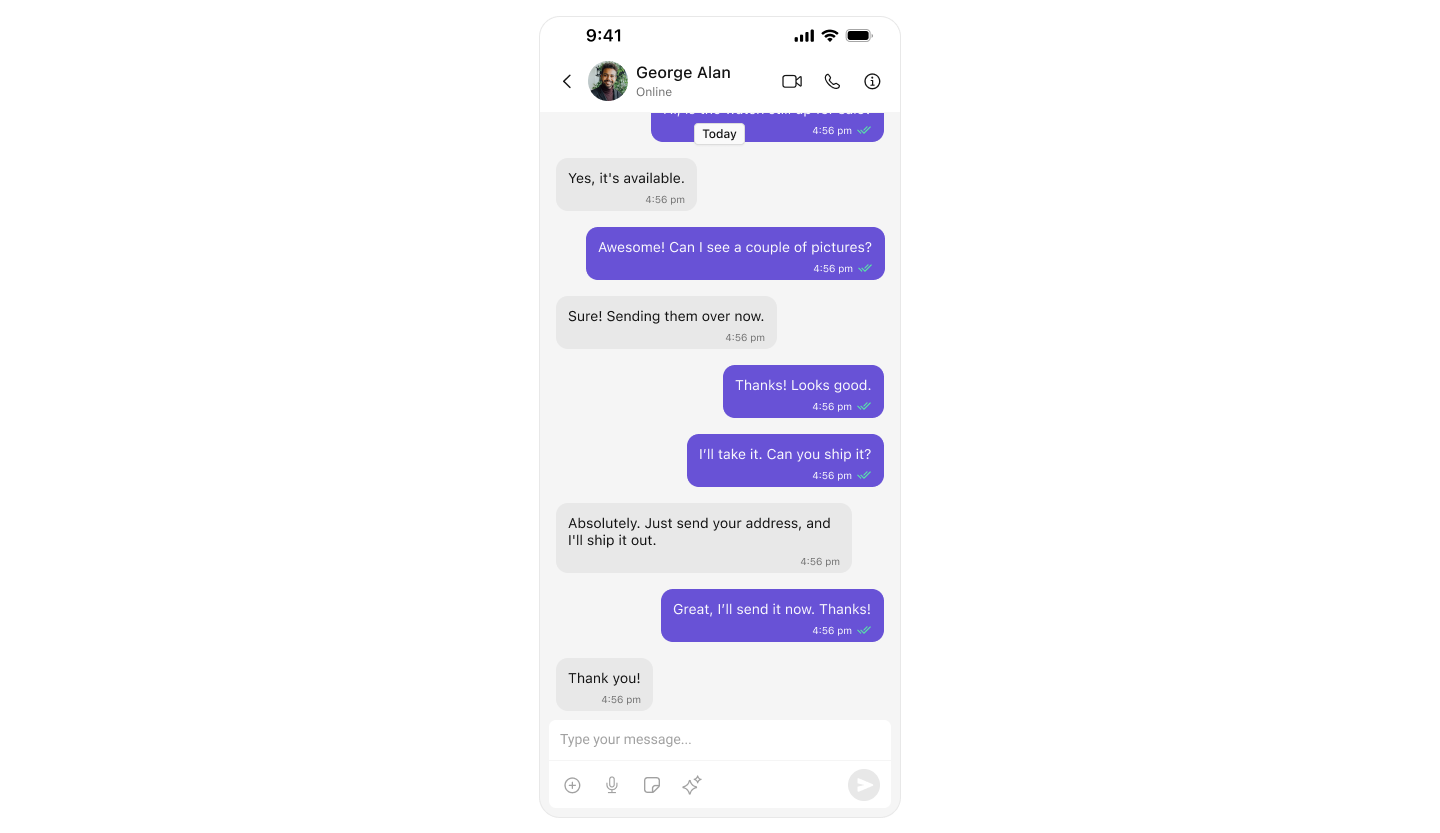
2️⃣ One-to-One / Group Chat
Best for: iOS apps that launch directly into a conversation screen without showing a list. Highlights:- Single View Chat – Use
CometChatMessageswith a passed user or group object. - No Sidebar or List – Ideal for contextual entry points (support, match, invite, etc.).
- Works with UINavigationController & SwiftUI NavigationStack
- Lightweight – Launches faster and uses minimal memory.
- Full-Screen Messaging – Clear, immersive chat UI.

- Your app starts directly with a specific user or group chat.
- You want a clean, distraction-free chat experience.
- Ideal for support workflows, community replies, or invitations.
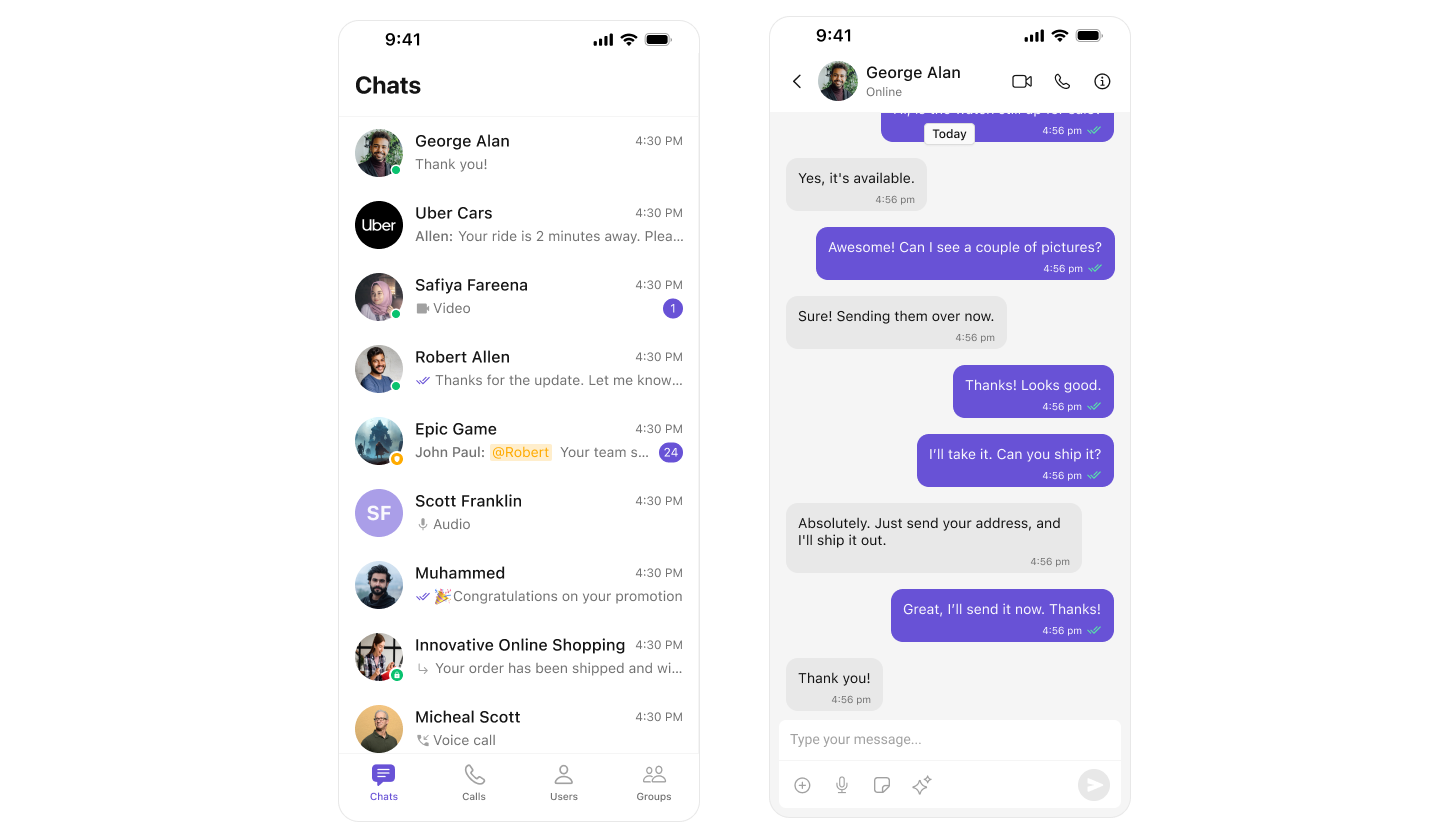
3️⃣ Tab-Based Messaging UI (All-in-One)
Best for: iOS apps needing a multi-tab interface with seamless transitions between Chats, Users, Calls, and Settings. Highlights:- UITabBarController or SwiftUI TabView – Native navigation pattern for iOS.
- Modular UI – Isolated controllers or views for each tab.
- Full-Screen Messaging – Dedicated message views within the Chat tab.
- Extensible – Add future tabs like Notifications, Search, or Profile.
- Responsive Layouts – Works across iPhones and iPads.
- Great for SuperApps & Enterprise Tools

- You need a structured layout for navigating chat, calls, and contacts.
- Your app supports multiple modules (e.g., user directory, history, chat).
- Designed for enterprise, support, or social use cases.
Build Your Own Chat Experience
Best for: Developers who need complete control over their chat interface, allowing customization of components, themes, and features to align with their app’s design and functionality. Whether you’re enhancing an existing chat experience or building from scratch, this approach provides the flexibility to tailor every aspect to your needs. Recommended for:- Apps that require a fully customized chat experience.
- Developers who want to extend functionalities and modify UI components.
- Businesses integrating chat seamlessly into existing platforms.
- iOS Sample App – Fully functional sample applications to accelerate your development.
- Core Features – Learn about messaging, real-time updates, and other essential capabilities.
- Components – Utilize prebuilt UI elements or customize them to fit your design.
- Themes – Adjust colors, fonts, and styles to match your branding.
- Build Your Own UI – Prefer a custom UI over our UI Kits? Explore our SDKs to create a tailored chat experience.
Next Steps
Now that you’ve selected your chat experience, proceed to the integration guide:- Integrate Conversation List + Message
- Integrate One-to-One Chat
- Integrate Tab-Based Chat
- Advanced Customizations