

Overview
With calling enabled, the UI Kit places calls from the message header and call logs, shows the outgoing call screen, and hosts the in-call screen. Incoming calls ring throughcometchat_voip, CometChat’s push ringing package: it shows the call notification and the ring screen (CallKit on iOS), plays the ringtone, and hands the answered call to the UI Kit, which opens its call screen and joins. This works with the app in the foreground, in the background or killed.
Make sure you’ve completed the Getting Started guide before proceeding.
cometchat_voip setup, a small call push bridge, the push hand-off, and the platform permissions. There is no call listener to register and no incoming call screen to show.
Step 1: Dependencies
The UI Kit brings the Calls SDK. Calling throughcometchat_voip needs UI Kit 6.3.0 or later; earlier releases don’t have the call push bridge. Add cometchat_voip for ringing, and Firebase for call pushes on Android:
pubspec.yaml
- Android
- iOS
minSdk 26 (already required by the UI Kit), and your Firebase configuration (google-services.json). cometchat_voip adds the permissions, services and ring screen it needs to the manifest.Step 2: Initialize the Calls SDK and cometchat_voip
cometchat_voip needs the Calls SDK initialized first. Do both at app start, before CometChatUIKit.init, and again in the Android background message handler (Step 5), where your app’s start-up code hasn’t run:
cometchat_voip option (ring timeout, missed call notifications, your own ring screen) is on the Calls SDK’s Push Ringing page. To colour the ring screen with your UI Kit theme, see Styling the ring screen.
Step 3: Connect cometchat_voip to the UI Kit
The UI Kit doesn’t depend oncometchat_voip. It talks to the push ringer through CometChatCallPushBridge, which your app implements over cometchat_voip. Through the bridge the UI Kit:
- joins every call answered on the ring screen or CallKit, on its own call screen (
answered), including a call that started the app; - forgets a call that stopped ringing, and closes the call screen of a call ended from CallKit (
ended); - stops the ring of a call it declines itself, for example as busy (
dismissRinging); - on iOS, reports the calls it places, joins and ends to CallKit.
Extend
CometChatCallPushBridge rather than implementing it: members added in a later release come with a default, so your bridge keeps compiling.Step 4: Enable calls in the UI Kit
SetenableCalls, give the UI Kit the bridge, and give MaterialApp the UI Kit’s navigator key so the UI Kit can open its call screens from anywhere, including for a call answered while the app was killed.
enableCalls, CometChatUIKit.init initializes the Calls SDK and CometChatUIKit.login logs the user into it. Initialize and log in at app start from stored credentials, not only after a screen opens: an answer can start the app, and the UI Kit joins it as soon as the user is logged in.
Step 5: Hand call pushes to cometchat_voip
On Android, pass every push tocometchat_voip, from both the foreground and the background handler. It returns true for a call push; anything else is yours to handle (chat notifications, for example).
cometchat_voip.
Step 6: Register the push token
cometchat_voip registers the PushKit token itself when the user logs in.
Step 7: Permissions and ring readiness
- Microphone and camera:
cometchat_voipasks when the user answers, and the UI Kit’s call screen asks before it joins. If the microphone is refused, the call doesn’t join and the UI Kit shows a notice that offers the app settings (or calls youronError). - Ring readiness: some device settings silence a call with no error anywhere (notifications off, a muted call channel, full-screen alerts not allowed, Do Not Disturb). Check once after login and tell the user:
Step 8: Log out through the UI Kit
CometChatUIKit.logout then declines a call still ringing, cancels an outgoing call still ringing, leaves a call in progress, and logs out of the Chat SDK and the Calls SDK. CometChat.logout alone does none of the calling clean-up.
Styling the ring screen
On Android, the ring screen belongs tocometchat_voip, which draws it even when your app isn’t running, so it can’t read your ThemeData when a call arrives. Pass it your UI Kit colours once instead, light and dark. The ring screen and the call notifications then follow your theme. Without this, the ring screen keeps cometchat_voip’s own dark colours.
The UI Kit reads your theme into a CometChatIncomingCallTheme:
CometChatColorPalette in that ThemeData, and the UI Kit’s default colours fill anything the palette leaves out. If your MaterialApp has no darkTheme, .of builds the dark set from your light palette, so your colours ring unchanged in dark mode; set darkTheme, or use .from(light:, dark:). The mode comes from CometChatThemeMode.mode, so a UI Kit forced to light or dark rings in that mode whatever the phone’s setting.
The UI Kit doesn’t depend on cometchat_voip, so a small extension in your app copies the colours across. The field names match one to one:
lib/incoming_call_theme.dart
CometChatThemeMode.mode while running, pass the new theme the same way.
Each field comes from one CometChatColorPalette colour:
To change a single colour, change it in your
CometChatColorPalette, or replace that field in the extension above. The full list of colours is under Theming the ring screen. To show a different screen altogether, use your own ring screen. On iOS, CallKit draws the call, and nothing here applies.
What the UI Kit does from here
Once calling is enabled, the voice and video call buttons appear in the Message Header.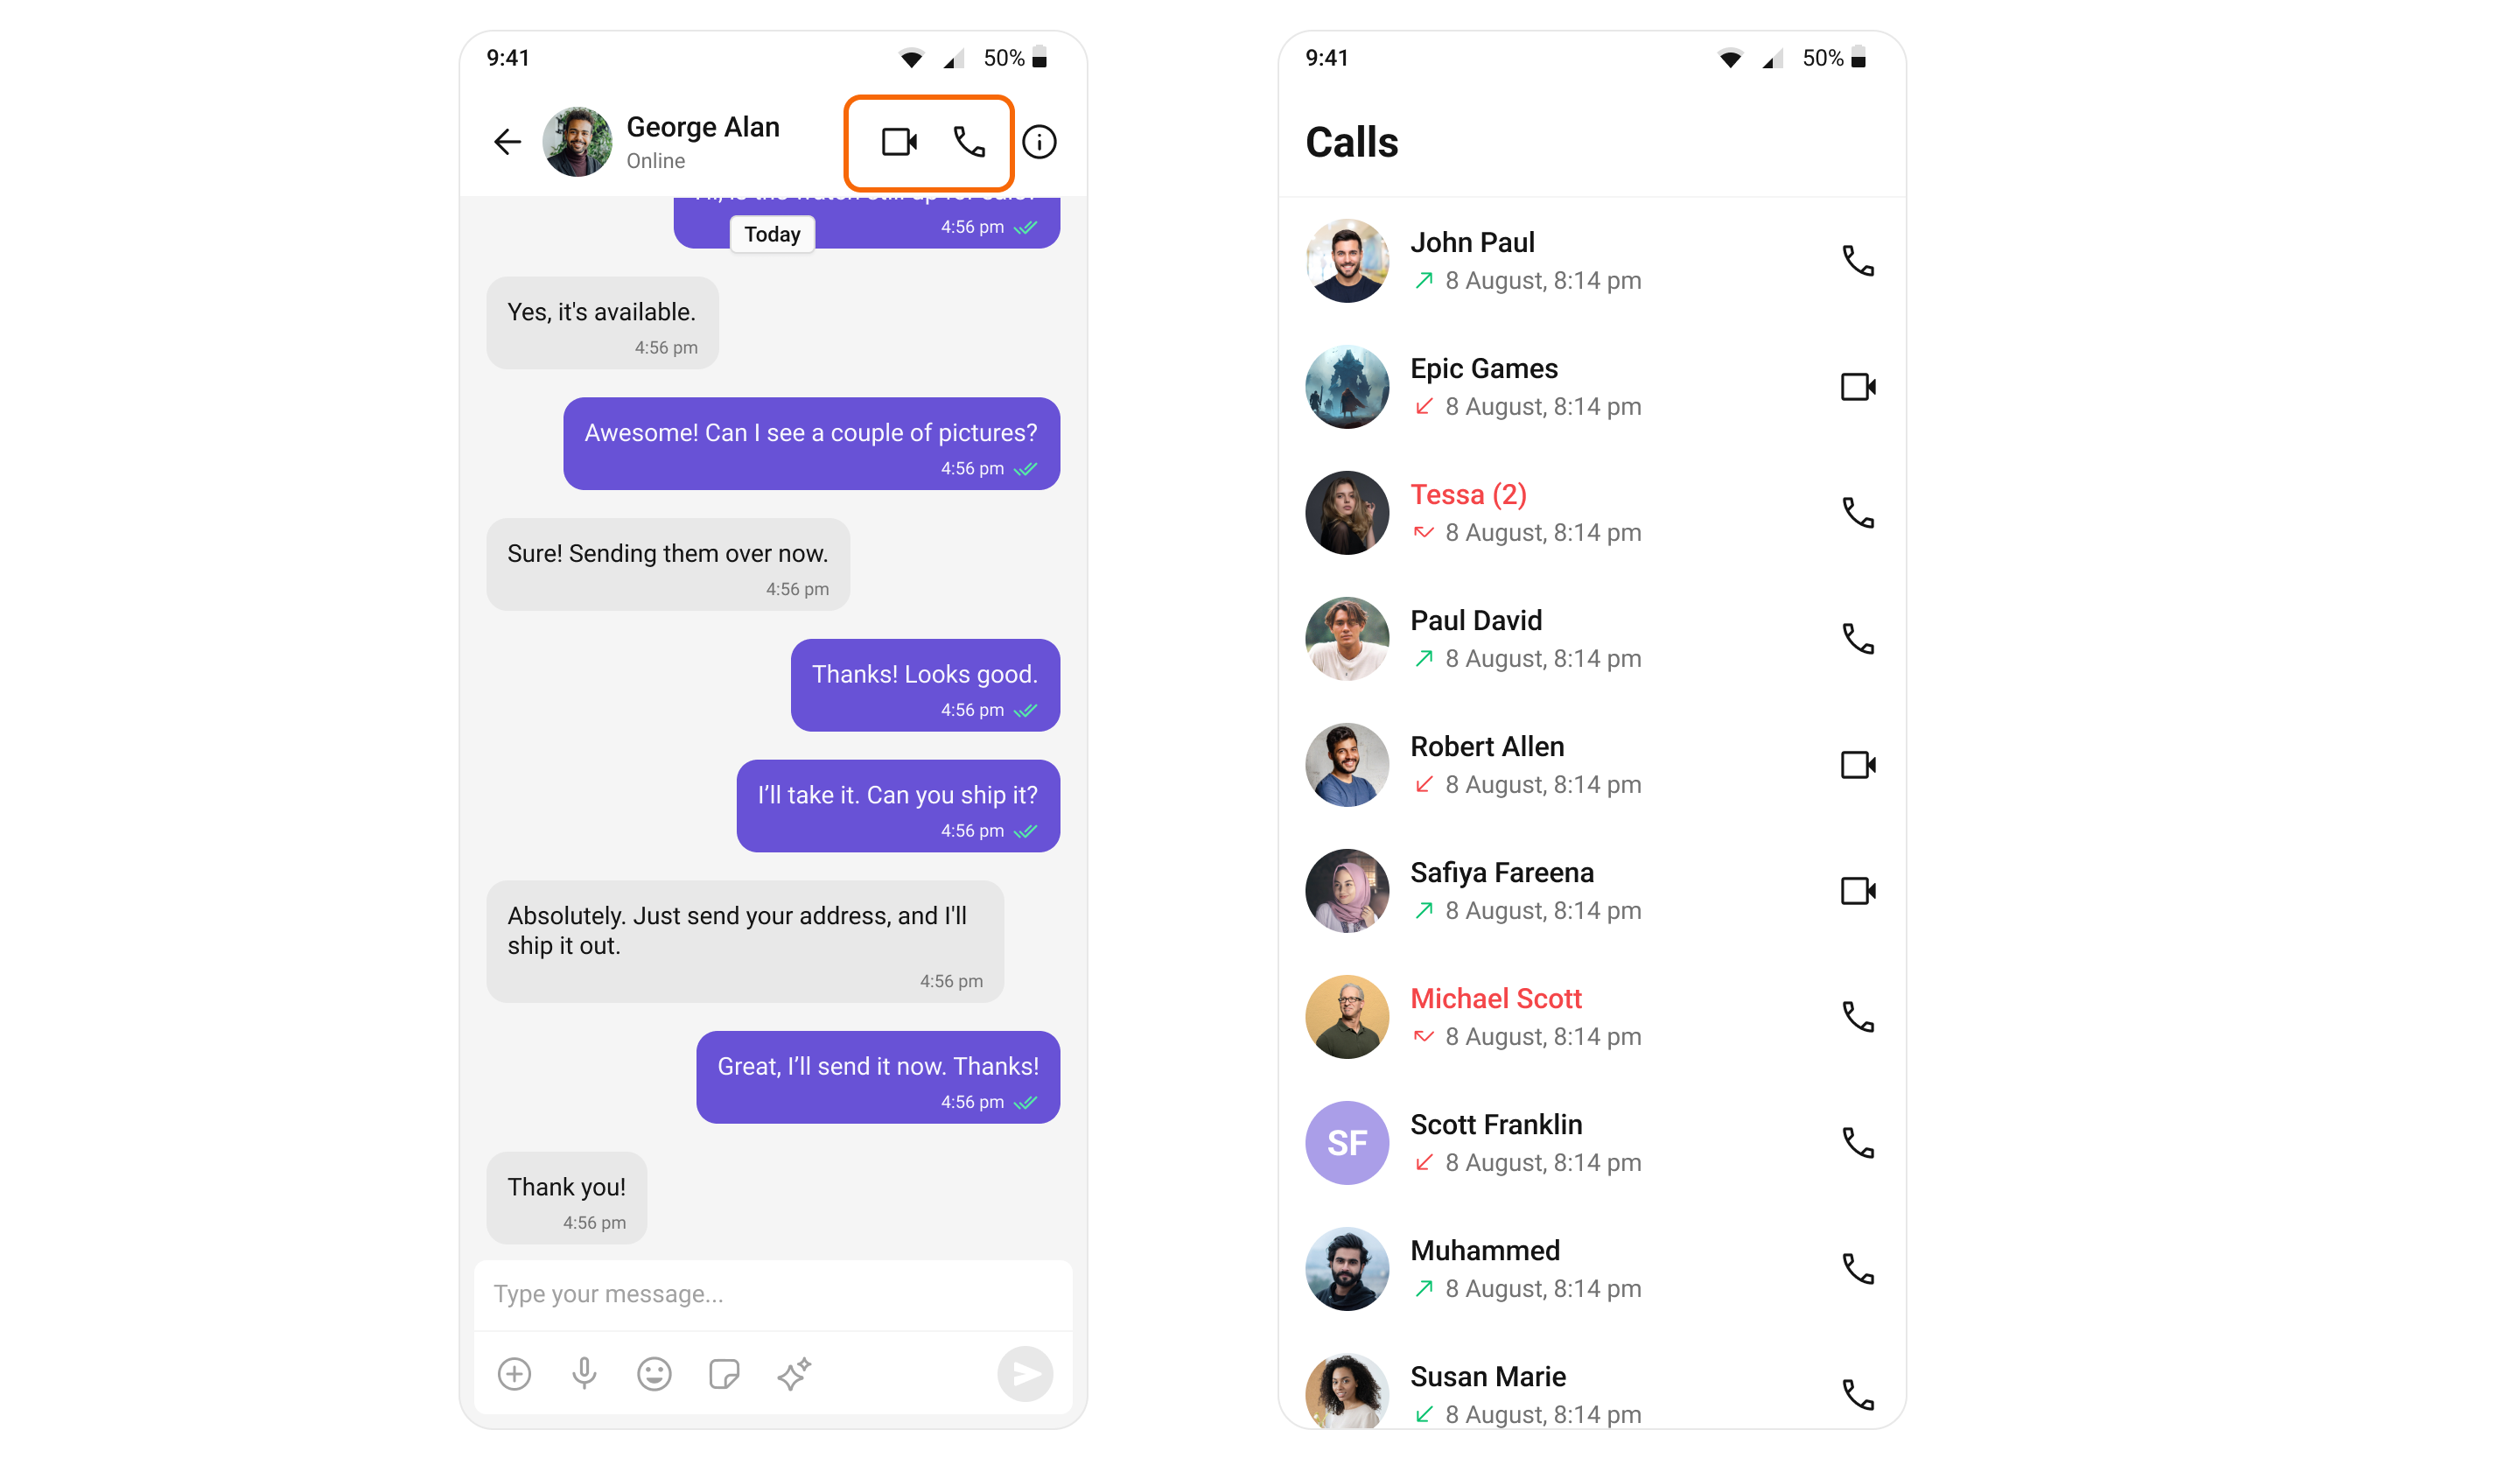
To react to calls in your own code, listen to the UI Kit’s call events, or to the Calls SDK’s
CometChatCalls.addIncomingCallListener. Don’t use the Chat SDK’s CallListener: it is superseded and fires nothing in this flow on Android and iOS.
Web has no push ringing: there, the UI Kit keeps ringing calls with the Chat SDK and its own Incoming Call screen.
callPushBridge is not used on web.Upgrading from an app that used CometChat.addCallListener
Remove the CallListener you registered to show the UI Kit’s incoming call screen, and any push, PushKit, CallKit or flutter_callkit_incoming code you wrote to ring calls in the background, then follow the steps above. The UI Kit no longer re-exports CallListener and CallListener2; import them from cometchat_sdk if you still use them on web. The method-by-method mapping is on Migrating from Legacy Ringing.