What you’ll build
- An Agno agent served with FastAPI that streams responses and exposes tools.
- The same agent connected to CometChat through Agent ID + Deployment URL routing.
- A customized chat experience using UI Kit Builder.
- An export to React UI Kit code or Chat Widget for integration.
Prerequisites
- A CometChat account and an app: Create App
- An Agno agent endpoint (see Step 6 for the example services).
- Python 3.10+ with
pip, plus access to an OpenAI-compatible model (OPENAI_API_KEY).
Step 1 - Create your CometChat app
1
Create or open an app
Sign in at app.cometchat.com. Create a new app or open an existing one.
2
Copy credentials
Note your App ID, Region, and Auth Key (needed if you export the Chat Widget later).
Step 2 - Connect your Agno Agent
Navigate to AI Agent → Get Started and then AI Agents → Add Agent.1
Choose provider
Select Agno.
2
Basic details
Provide:
- Name and optional Icon
- (Optional) Greeting and Introductory Message
- (Optional) Suggested messages
3
Agno configuration
Paste/define:
- Agent ID — a unique handle that matches how you route traffic (e.g.,
support). - Deployment URL — the public HTTPS endpoint exposed by your Agno service.
- (Optional) Headers — JSON auth headers that your FastAPI deployment expects.
4
Save & enable
Click Save, then ensure the agent’s toggle is ON in the AI Agents list.
Tip: The Agno examples stream newline-delimited JSON events using CometChat’s Bring Your Own Agent format. Keep the Agent ID and Deployment URL stable so you don’t need to reconnect.CometChat includes
thread_id, run_id, the recent messages, and optional namespace (or toolParams.namespace) in every /stream request. Echo those IDs back in each event so UI Kit Builder variants can stitch partial responses correctly.
Step 3 - Define Frontend Actions (Optional)
1
Add an action
Go to AI Agent → Actions and click Add to create a frontend action your agent can call (e.g., “Open Product,” “Start Demo,” “Book Slot”).
2
Define fields
Include:
- Display Name — Shown to users (e.g., “Open Product Page”).
- Execution Text — How the agent describes running it (e.g., “Opening product details for the user.”).
- Name — A unique, code-friendly key (e.g.,
open_product). - Description — What the tool does and when to use it.
- Parameters — JSON Schema describing inputs (the agent will fill these).
3
Validate inputs (schema)
Example parameters JSON:
4
Handle in your UI
At runtime, listen for tool calls and execute them client-side (e.g., route changes, modals, highlights).
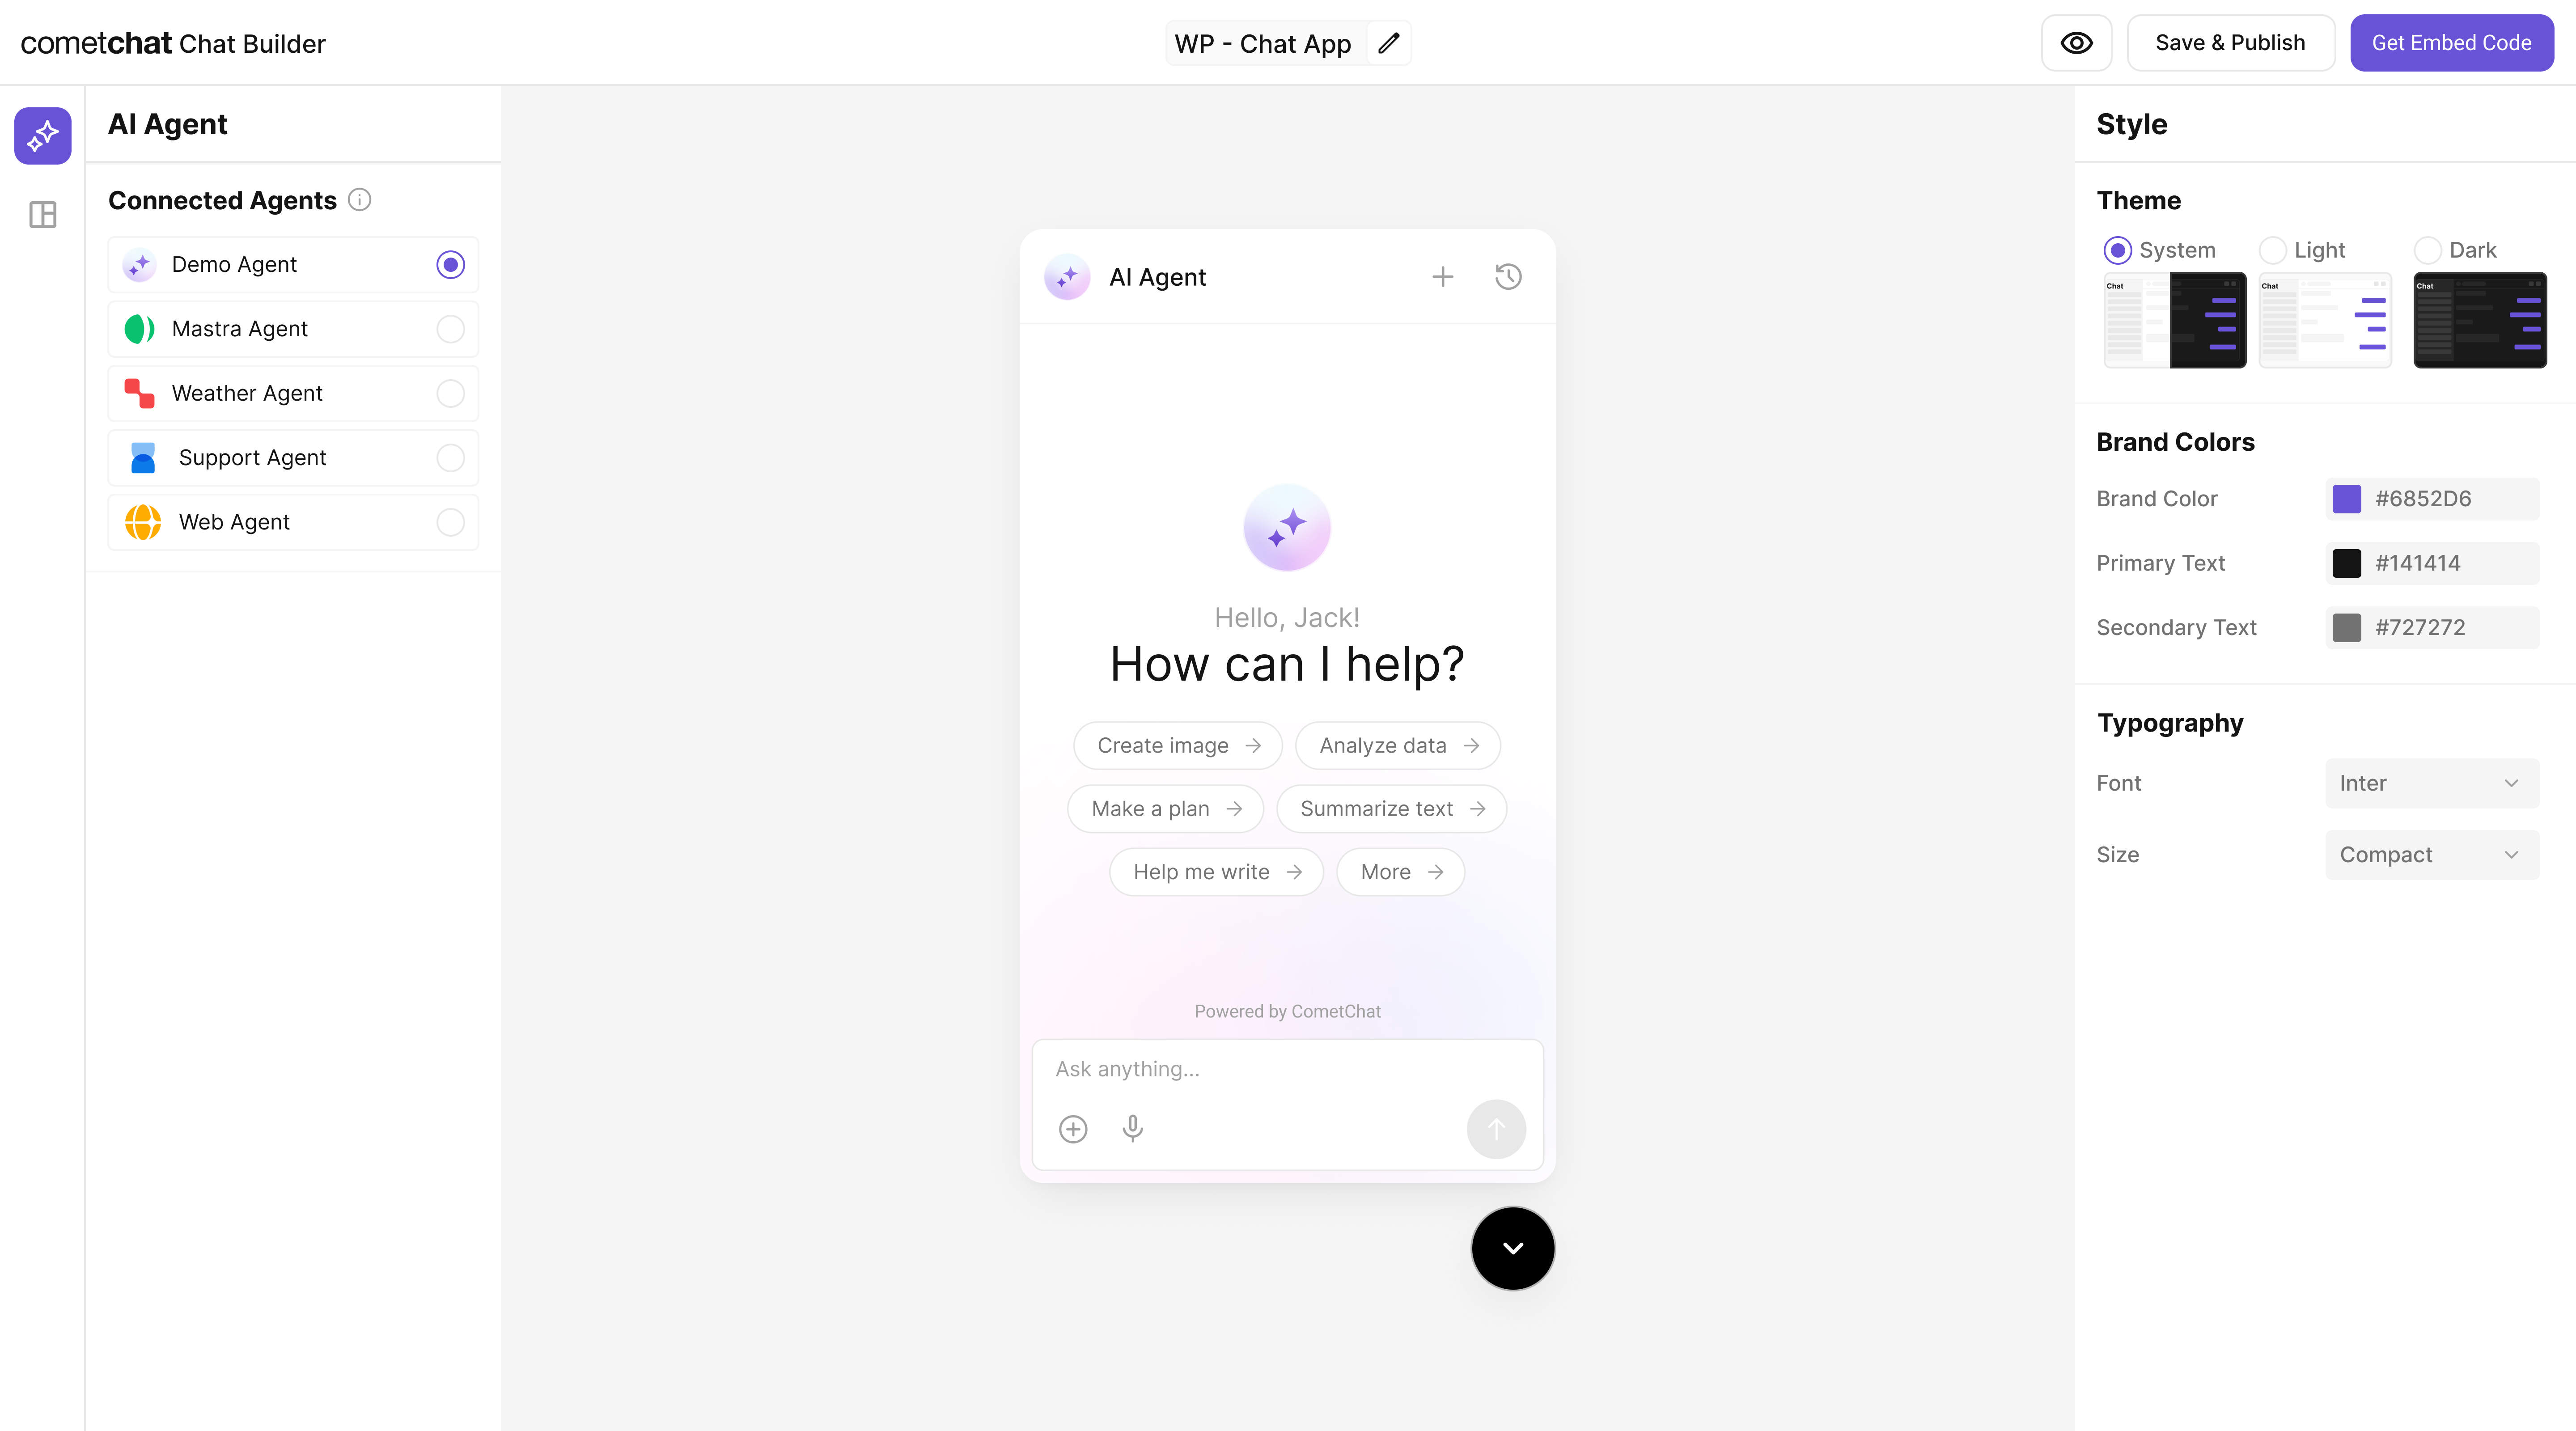
Step 4 - Customize in UI Kit Builder
1
Open variant
From AI Agents click the variant (or Get Started) to enter UI Kit Builder.
2
Customize & Deploy
Select Customize and Deploy.
3
Adjust settings
Update theme, layout, and features; confirm the Agno agent is attached.
4
Preview
Use live preview to validate responses & any tool triggers.
Step 5 - Export & Integrate
Choose how you’ll ship the experience (Widget or React UI Kit export).Widget Builder
React UI Kit
Pre Built UI Components
The Agno agent from Step 2 is included automatically in exported variants—no extra code needed for basic conversations.
1
Decide delivery mode
Pick Chat Widget (fastest) or export React UI Kit for code-level customization.
2
Widget path
Open Widget Builder → Get Embedded Code → copy script + credentials.
3
React UI Kit path
Export the variant as code (UI Kit) if you need deep theming or custom logic.
4
Verify agent inclusion
Preview: the Agno agent should appear without extra config.
Step 6 - Deploy & Secure (Reference)
Need an Agno backend? Use these reference projects to define, expose, and deploy FastAPI services that stream directly into CometChat.
Run the Agno Knowledge Agent
Run the Agno Knowledge Agent
Clone the examples, install dependencies, and start the FastAPI server:Key points:
knowledge_agent/main.pyexposes/api/tools/ingest,/api/tools/searchDocs,/api/agents/knowledge/generate, and/stream(newline-delimited JSON withtext_delta,tool_*,text_done,done,error).KnowledgeManagercreates an Agno agent bound to a per-namespace vector store and enforces retrieval-before-answer behavior with citations.- Configure secrets via
.env(OPENAI_API_KEY, optionalKNOWLEDGE_*overrides). The example persists markdown underknowledge_agent/data/knowledge/<namespace>.
Run the Agno Product Hunt Agent
Run the Agno Product Hunt Agent
Launch the Product Hunt assistant on another port:Highlights:
/api/top,/api/top-week,/api/top-range, and/api/searchsurface Algolia + GraphQL data for Product Hunt launches./api/chatand/streamshare the same newline-delimited event schema as the knowledge agent, so CometChat receives consistent payloads (text_delta,tool_*,text_done,done).- Provide
PRODUCTHUNT_API_TOKENfor live data (the agent falls back gracefully when it’s absent) and customize tool prompts inagent_builder.py.
Deploy behind HTTPS and secure with auth headers or gateway middleware before pointing CometChat at the /stream endpoint.