AI Integration Quick Reference
AI Integration Quick Reference
| Field | Value |
|---|---|
| Package | @cometchat/chat-uikit-react |
| Framework | React Router |
| Components | CometChatMessageHeader, CometChatMessageList, CometChatMessageComposer |
| Layout | Single chat window — no sidebar, no conversation list |
| Prerequisite | Complete React Router Integration first |
| SSR | N/A — client-side SPA by default |
| Pattern | Support chat, embedded widgets, focused messaging |
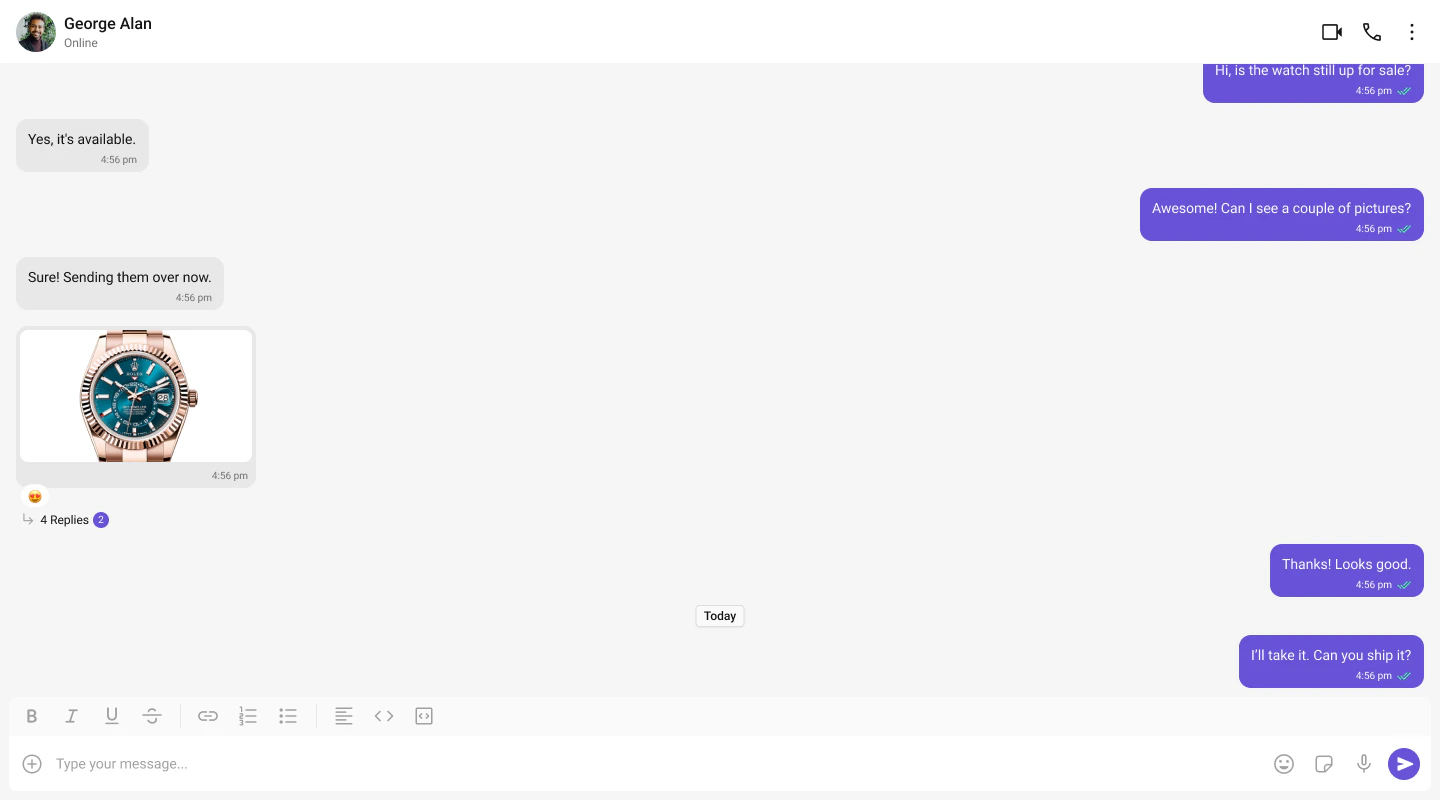
What You’re Building
Three components stacked vertically:- Chat header — displays recipient name, avatar, online status, and optional call buttons
- Message list — real-time chat history with scrolling
- Message composer — text input with media, emojis, and reactions
Full Code
Create a route component for the chat page. Init and login are completed insrc/main.tsx (see React Router Integration).
src/pages/DirectChatPage.tsx
src/pages/DirectChatPage.css
App.tsx:
src/App.tsx
CometChat.getUser(UID)fetches the full user object from the SDK — you need a real user object, not a manually constructed one.- Pass either
userorgroupto the message components, never both. - The
RECIPIENT_UIDshould be a user that exists in your CometChat app. Use one of the pre-created test UIDs:cometchat-uid-1throughcometchat-uid-5. - The chat page is a route component — React Router handles navigation.
Switching to Group Chat
To load a group chat instead of one-to-one, fetch aGroup object and pass it to the message components:
src/pages/DirectChatPage.tsx
CometChat.getGroup(GUID) instead of CometChat.getUser(UID), and pass group instead of user.
Run
http://localhost:5173/chat. You should see the chat window load with the conversation for the UID or GUID you set.
Next Steps
Conversation List + Messages
Two-panel layout with a sidebar
Tab-Based Chat
Tabbed navigation with Chats, Calls, Users
Components Overview
Browse all prebuilt UI components