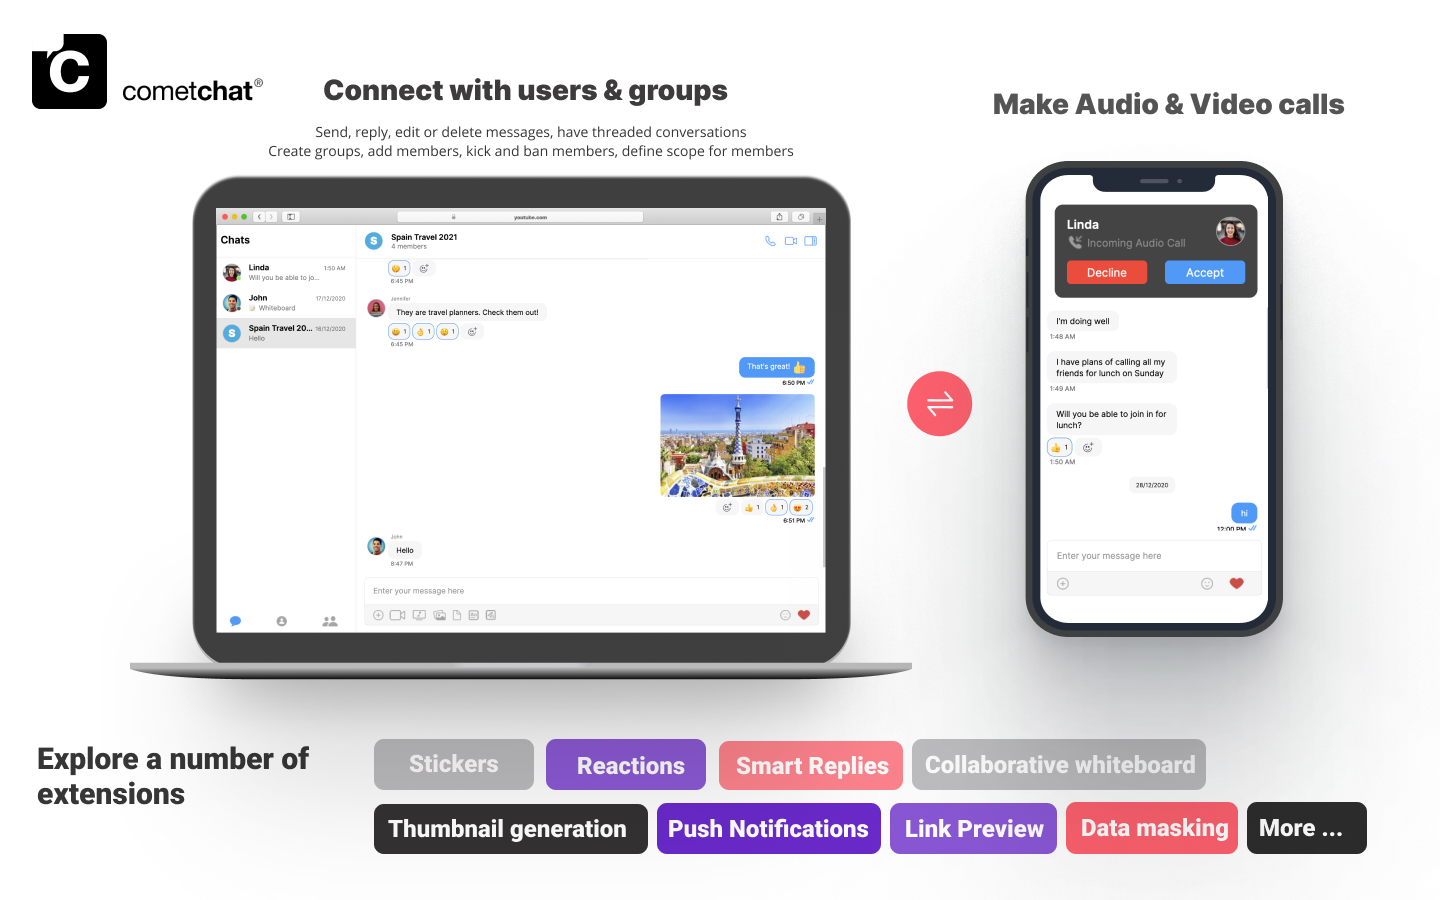
V4 UI kits offer modular design, extended functionality & customization for a tailored chat experience. Check out our new UIKits here.
I want to checkout Angular UI Kit
Follow the steps mentioned in theREADME.md file.
Kindly, click on below button to download our Angular UI Kit.
Angular UI KitView on Github
I want to explore the sample app
Kindly, click on below button to download our Angular Sample App. Angular Sample AppView on GithubPrerequisites
- A text editor. (e.g. Visual Studio Code, Notepad++, Sublime Text, Atom, or VIM)
- Node
- npm
- Angular CLI
- Bash
Installing the Angular Chat UI Kit
Setup
- Register on CometChat a. To install the Angular Chat UI components, you need to first register on the CometChat Dashboard. Click here to sign up
-
Get Your Application Keys 🔑
- Create a new app
- Head over to the QuickStart or API & Auth Keys section and note the App ID, Auth Key, and Region.
- Add the CometChat Dependency
- CLI
Please install
postcss package using the below command if the Angular version of your project is 11.- CLI
Configure CometChat inside your Angular app
- Import CometChat SDK
- JavaScript
- Initialize CometChat 🌟
init() method initializes the settings required for CometChat. We suggest calling the init() method on app startup, i.e main.ts file of the application.
- JavaScript
- Create user
User object and the Auth Key as input parameters and returns the created User object if the request is successful.
- JavaScript
- Login your user 👤
- JavaScript
We have set up 5 users for testing having UIDs: cometchat-uid-1, cometchat-uid-2, cometchat-uid-3, cometchat-uid-4, and cometchat-uid-5.
We have used uid cometchat-uid-1 as an example here. You can create a User from CometChat Dashboard as well.
We have used uid cometchat-uid-1 as an example here. You can create a User from CometChat Dashboard as well.
Add the Angular Chat UI components to your project
- Clone the repository
- CLI
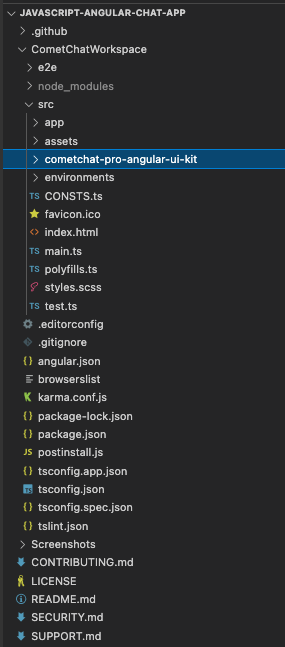
- Copy the cloned repository into your project src folder.
- Import the Components in the respective module where the component will be used.
- Install @ctrl/ngx-emoji-mart according to the angular version of your project @ctrl/ngx-emoji-mart
- Add these styles to your angular.json
- Wrap all the selectors in a div with class=responsive as shown in the next step
- JavaScript
Launch CometChat
CometChatUI is an option to launch a fully functional chat application using the Angular Chat UI Kit. In UI Kit all the UI Components are interlinked and work together to launch a fully functional chat on your website/application.
Usage
- Angular