Before you begin
Before installing CometChatCalls for iOS, you need to create a CometChat application on the CometChat Dashboard, which comprises everything required in a chat service including users, groups, calls & messages. You will need theApp ID , AuthKey, Region of your CometChat application when initializing the SDK.
i. Register on CometChat 🧑💻
- To install CometChatCalls for iOS, you need to first register on CometChat Dashboard. Click here to sign up.
- Create a new app
- Head over to the QuickStart or API & Auth Keys section and note the App ID, Auth Key, and Region.
Prerequisites
The minimum requirements for CometChatCalls for iOS are:macOSXcodeiOS 13.0 and laterSwift 5.0+
Get Started
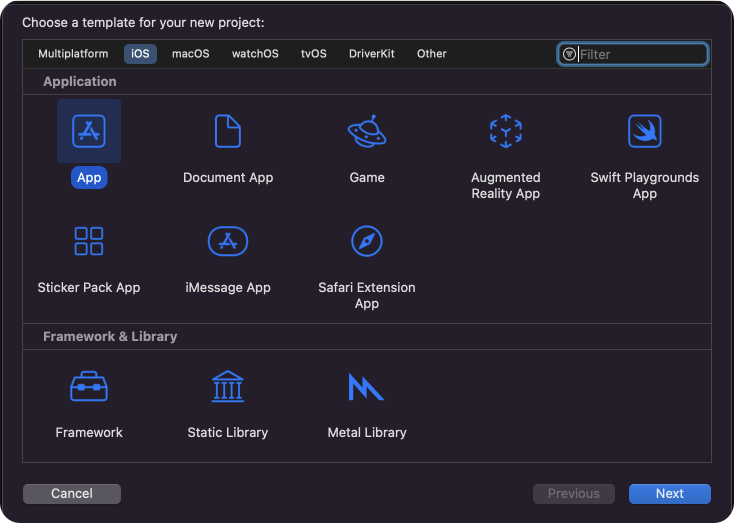
You can start building a modern calling experience in your app by installing UIKit. This developer kit is an add-on feature to CometChat iOS SDK so installing it will also install the core Chat SDK.Step 1 : Create a project
To get started, openXcode and create a new project.
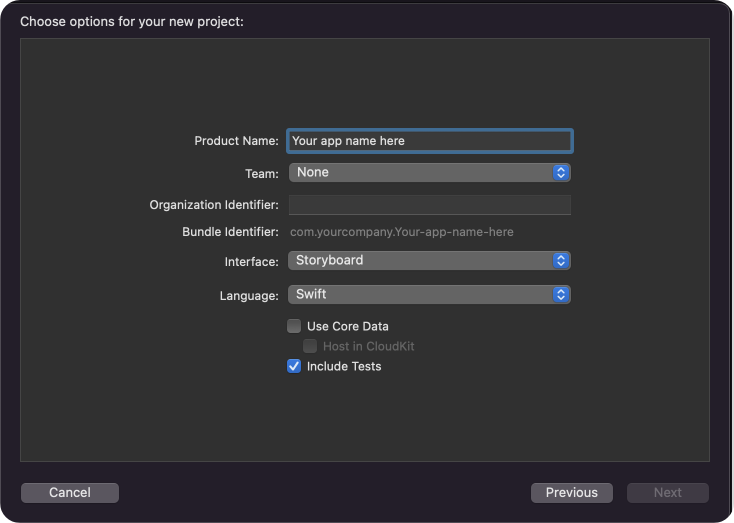
Enter name, identifier and proceed.
Step 2 : Install CometChatProCalls Kit
You can install CometChatCalls for iOS through Swift Package Manager or CocoapodsCocoaPods
We recommend using CocoaPods, as they are the most advanced way of managing iOS project dependencies. Open a terminal window, move to your project directory, and then create aPodfile by running the following command.
- Swift
- Swift
CometChatCalls framework through CocoaPods.
- Swift
- Swift
CometChatCalls by command.
- Swift
CometChatCallsSDK version
4.0.0 is compatible with 4.0.0 version of CometChatSDKSwift Package Manager
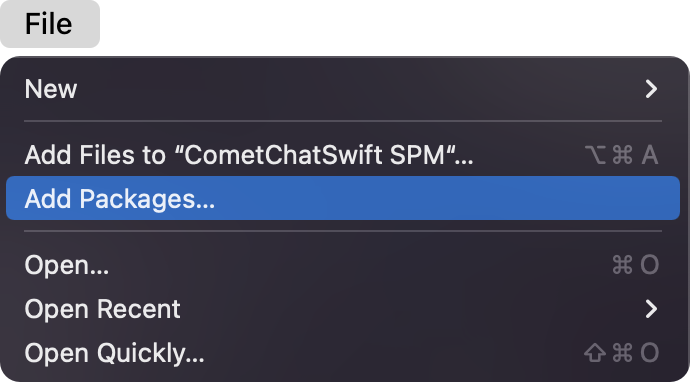
- Go to your Swift Package Manager’s File tab and select Add Packages.
- Add
CometChatProCallsinto yourPackage Repositoryas below:
- Swift
- To add the package, select Version Rules, enter Up to Exact Version,
4.1.2, and click Next.
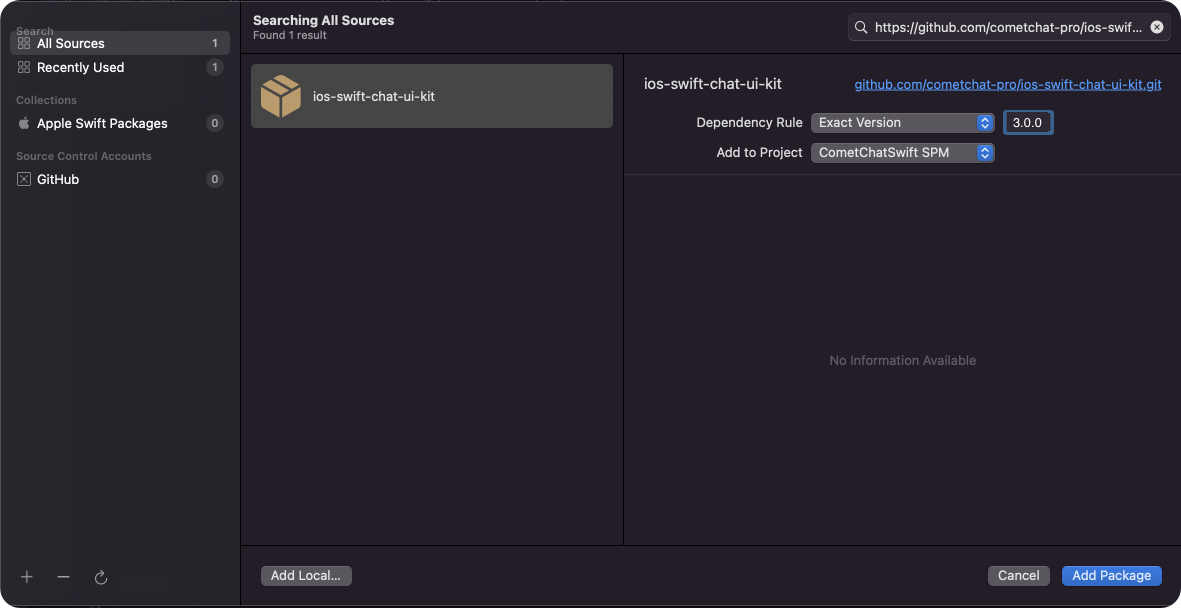
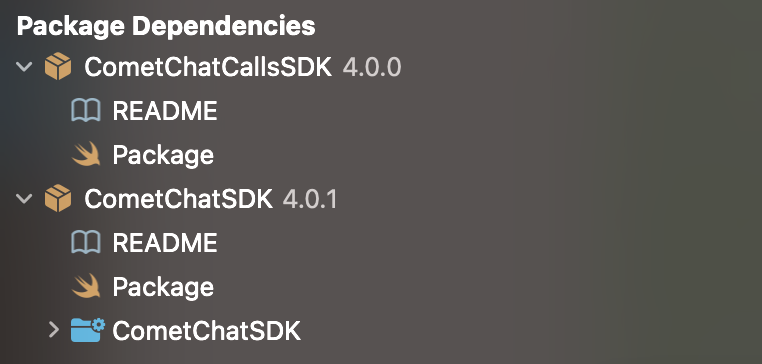
- Once, the package is added it will look like this.
Cocoa Pods
Go to root directory. (Where the .xcodeproj reside.) and perform these commands.Initialize CometChatProCalls
1. CallsAppSettings
Theinit() method takes CallsAppSettings as a parameter and user can set it by CallsAppSettingBuilder. User should be first set the CallsAppSettings.
CallsAppSettings has 3 parameters
appIdit is mandatory parameter.regionIt is mandatory parameter.hostIt is optional parameter.
- Swift
- Objective-C
2. Init() Method
From the above CallAppSettings, pass the settings to the init() method.- Swift