> ## Documentation Index
> Fetch the complete documentation index at: https://www.cometchat.com/docs/llms.txt
> Use this file to discover all available pages before exploring further.
# Overview
> Send transactional notifications, run scheduled campaigns, and manage the per-user in-app feed across in-app and push channels.
CometChat Campaigns is a notification management system that lets you design, target, and deliver in-app and push notifications to your users. It provides a visual dashboard for creating notification templates, managing delivery channels, and sending targeted campaigns — either immediately or on a schedule. Your backend can also send notifications programmatically via API.
## Key Capabilities
* **Send transactional notifications** — Deliver a templated message to one or many users in real time, with per-recipient variable resolution.
* **Organise content with templates** — Author reusable templates with typed variables, categories, and tags. Every notification flows through a template.
* **Immediate and scheduled campaigns** — Send notifications right away or schedule them for a future date and time.
* **Track delivery and engagement** — Capture delivered, read, clicked, and interacted signals for analytics and unread counts.
## Supported Channels
| Channel | Description |
| -------- | --------------------------------------------------------------------------------- |
| `in_app` | In-app notification feed rendered client-side via SDK |
| `push` | Push notifications delivered via FCM/APNs through CometChat's push infrastructure |
## Prerequisites
* A CometChat app with `appId` and `apiKey`
* At least one enabled channel created
* At least one approved template
* Users registered in CometChat (targeted by their UID)
## Setup Flow
The typical setup to send your first notification from the CometChat Dashboard:
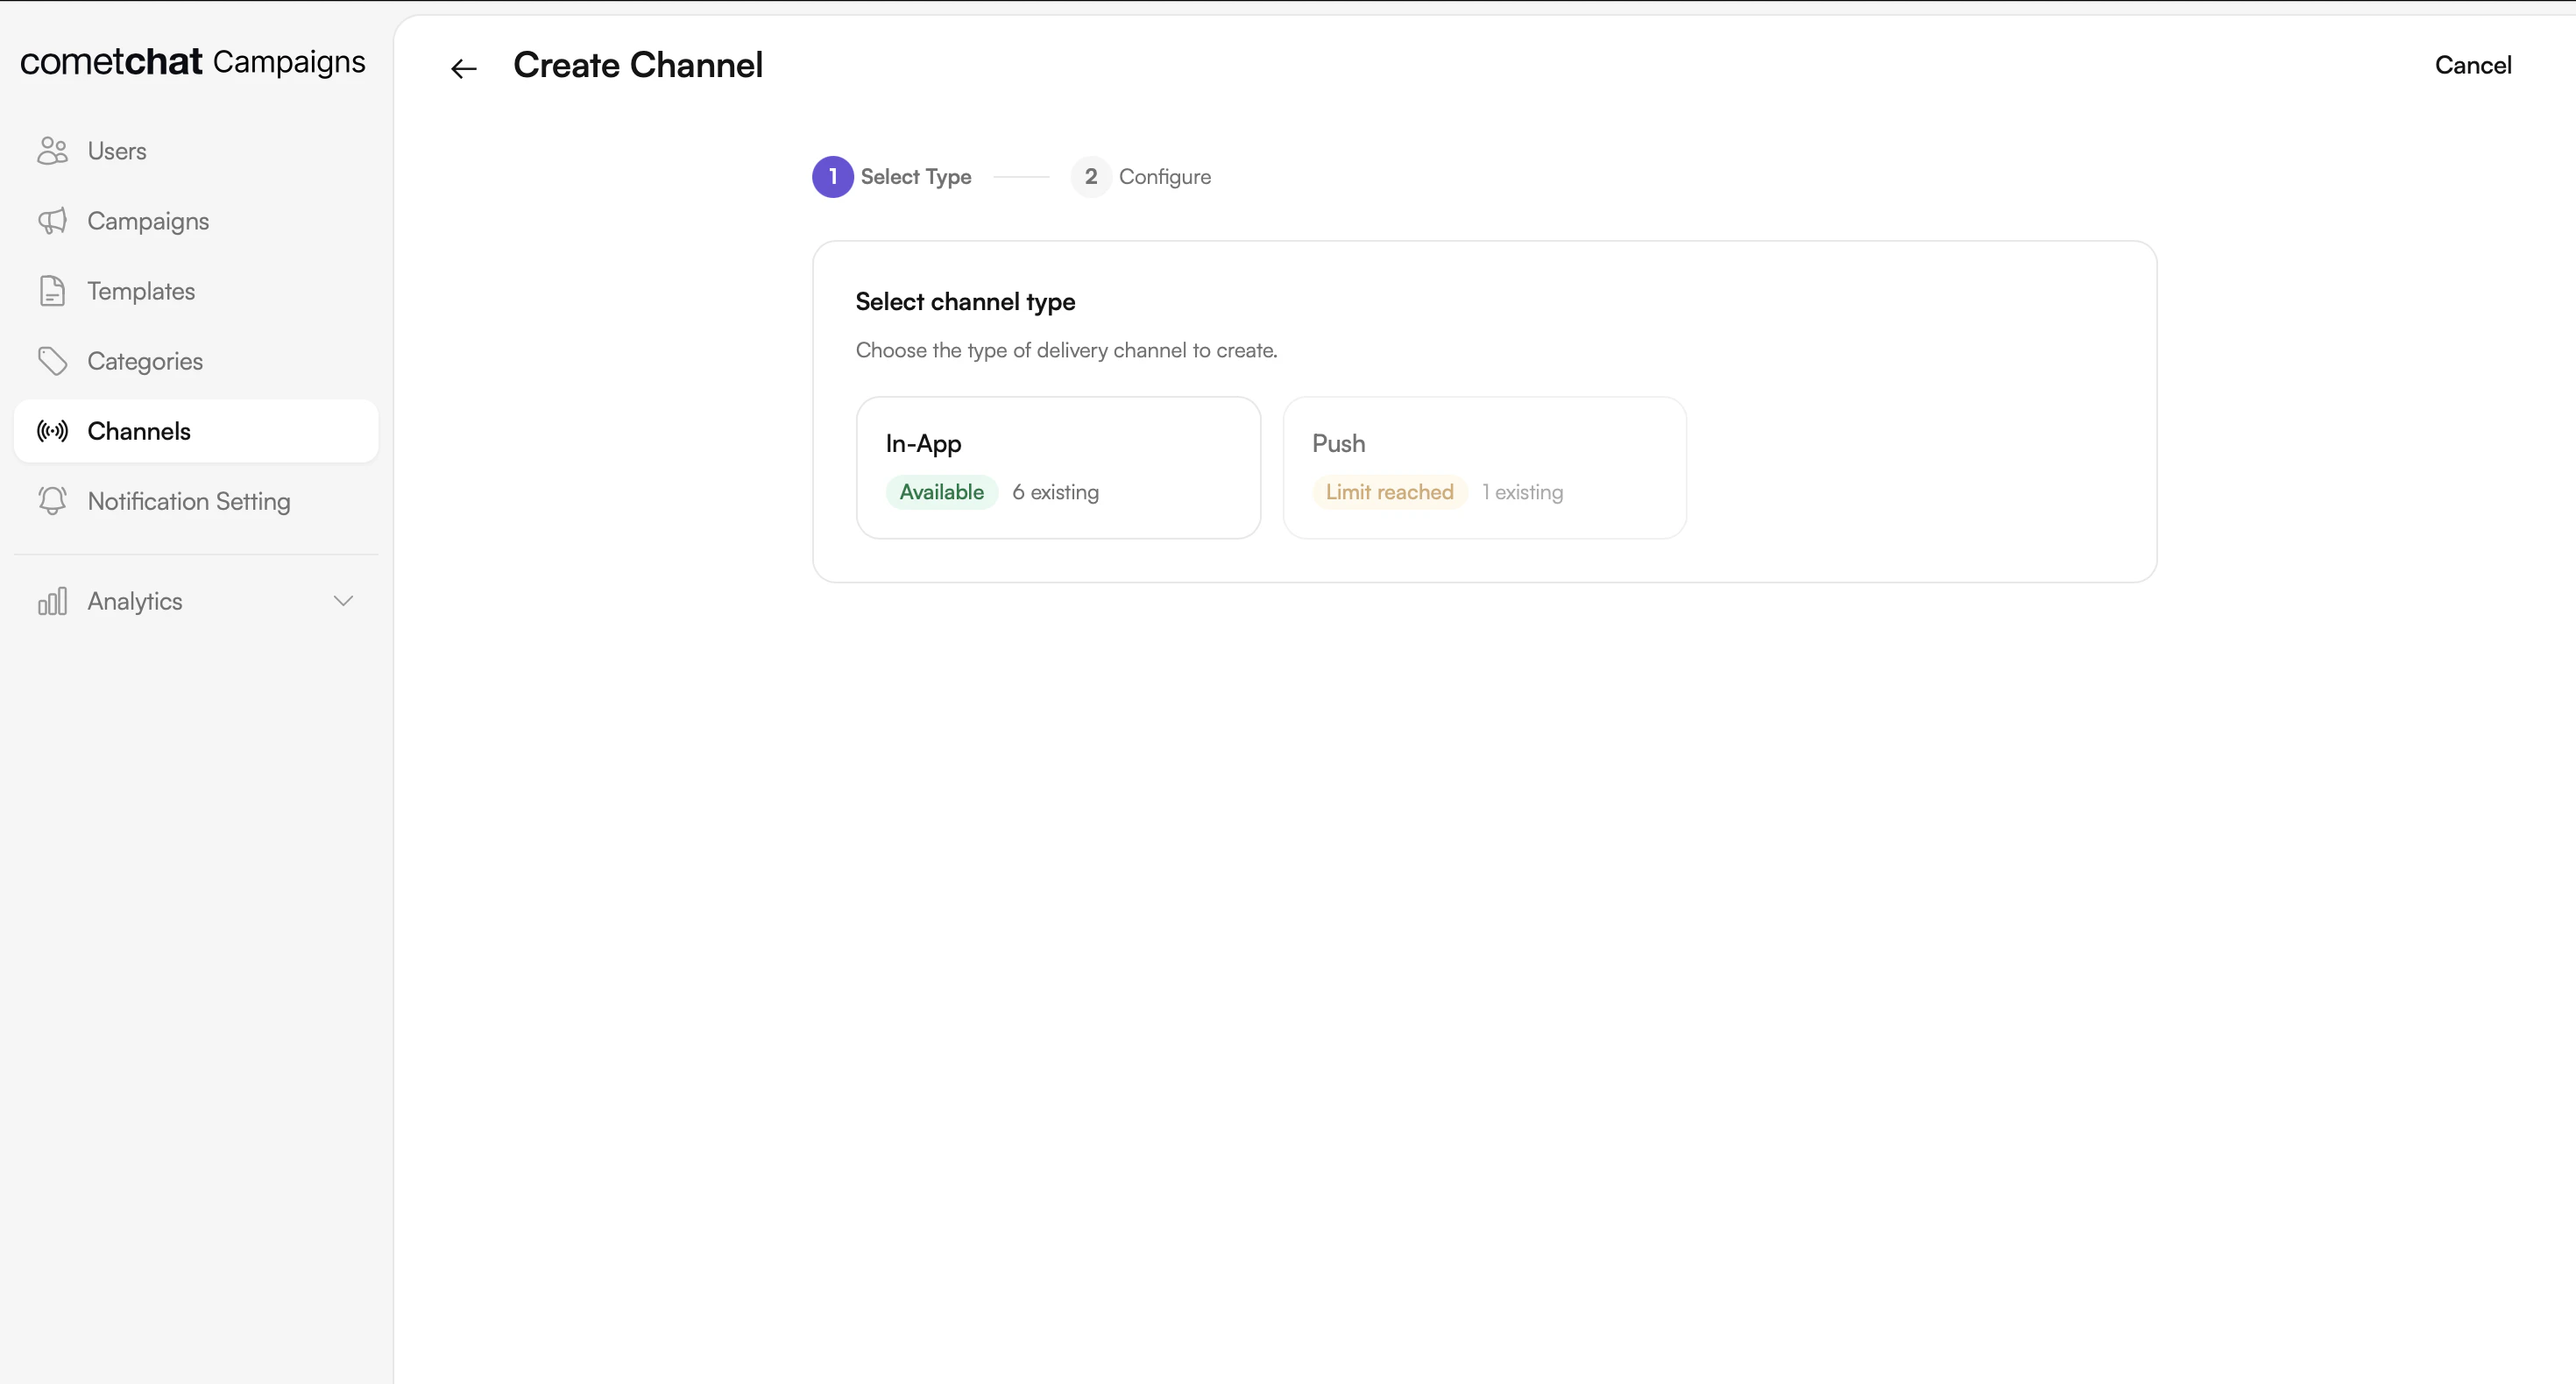
Go to Channels → Create Channel → Select type (`in_app` or `push`) → Name it → Save.
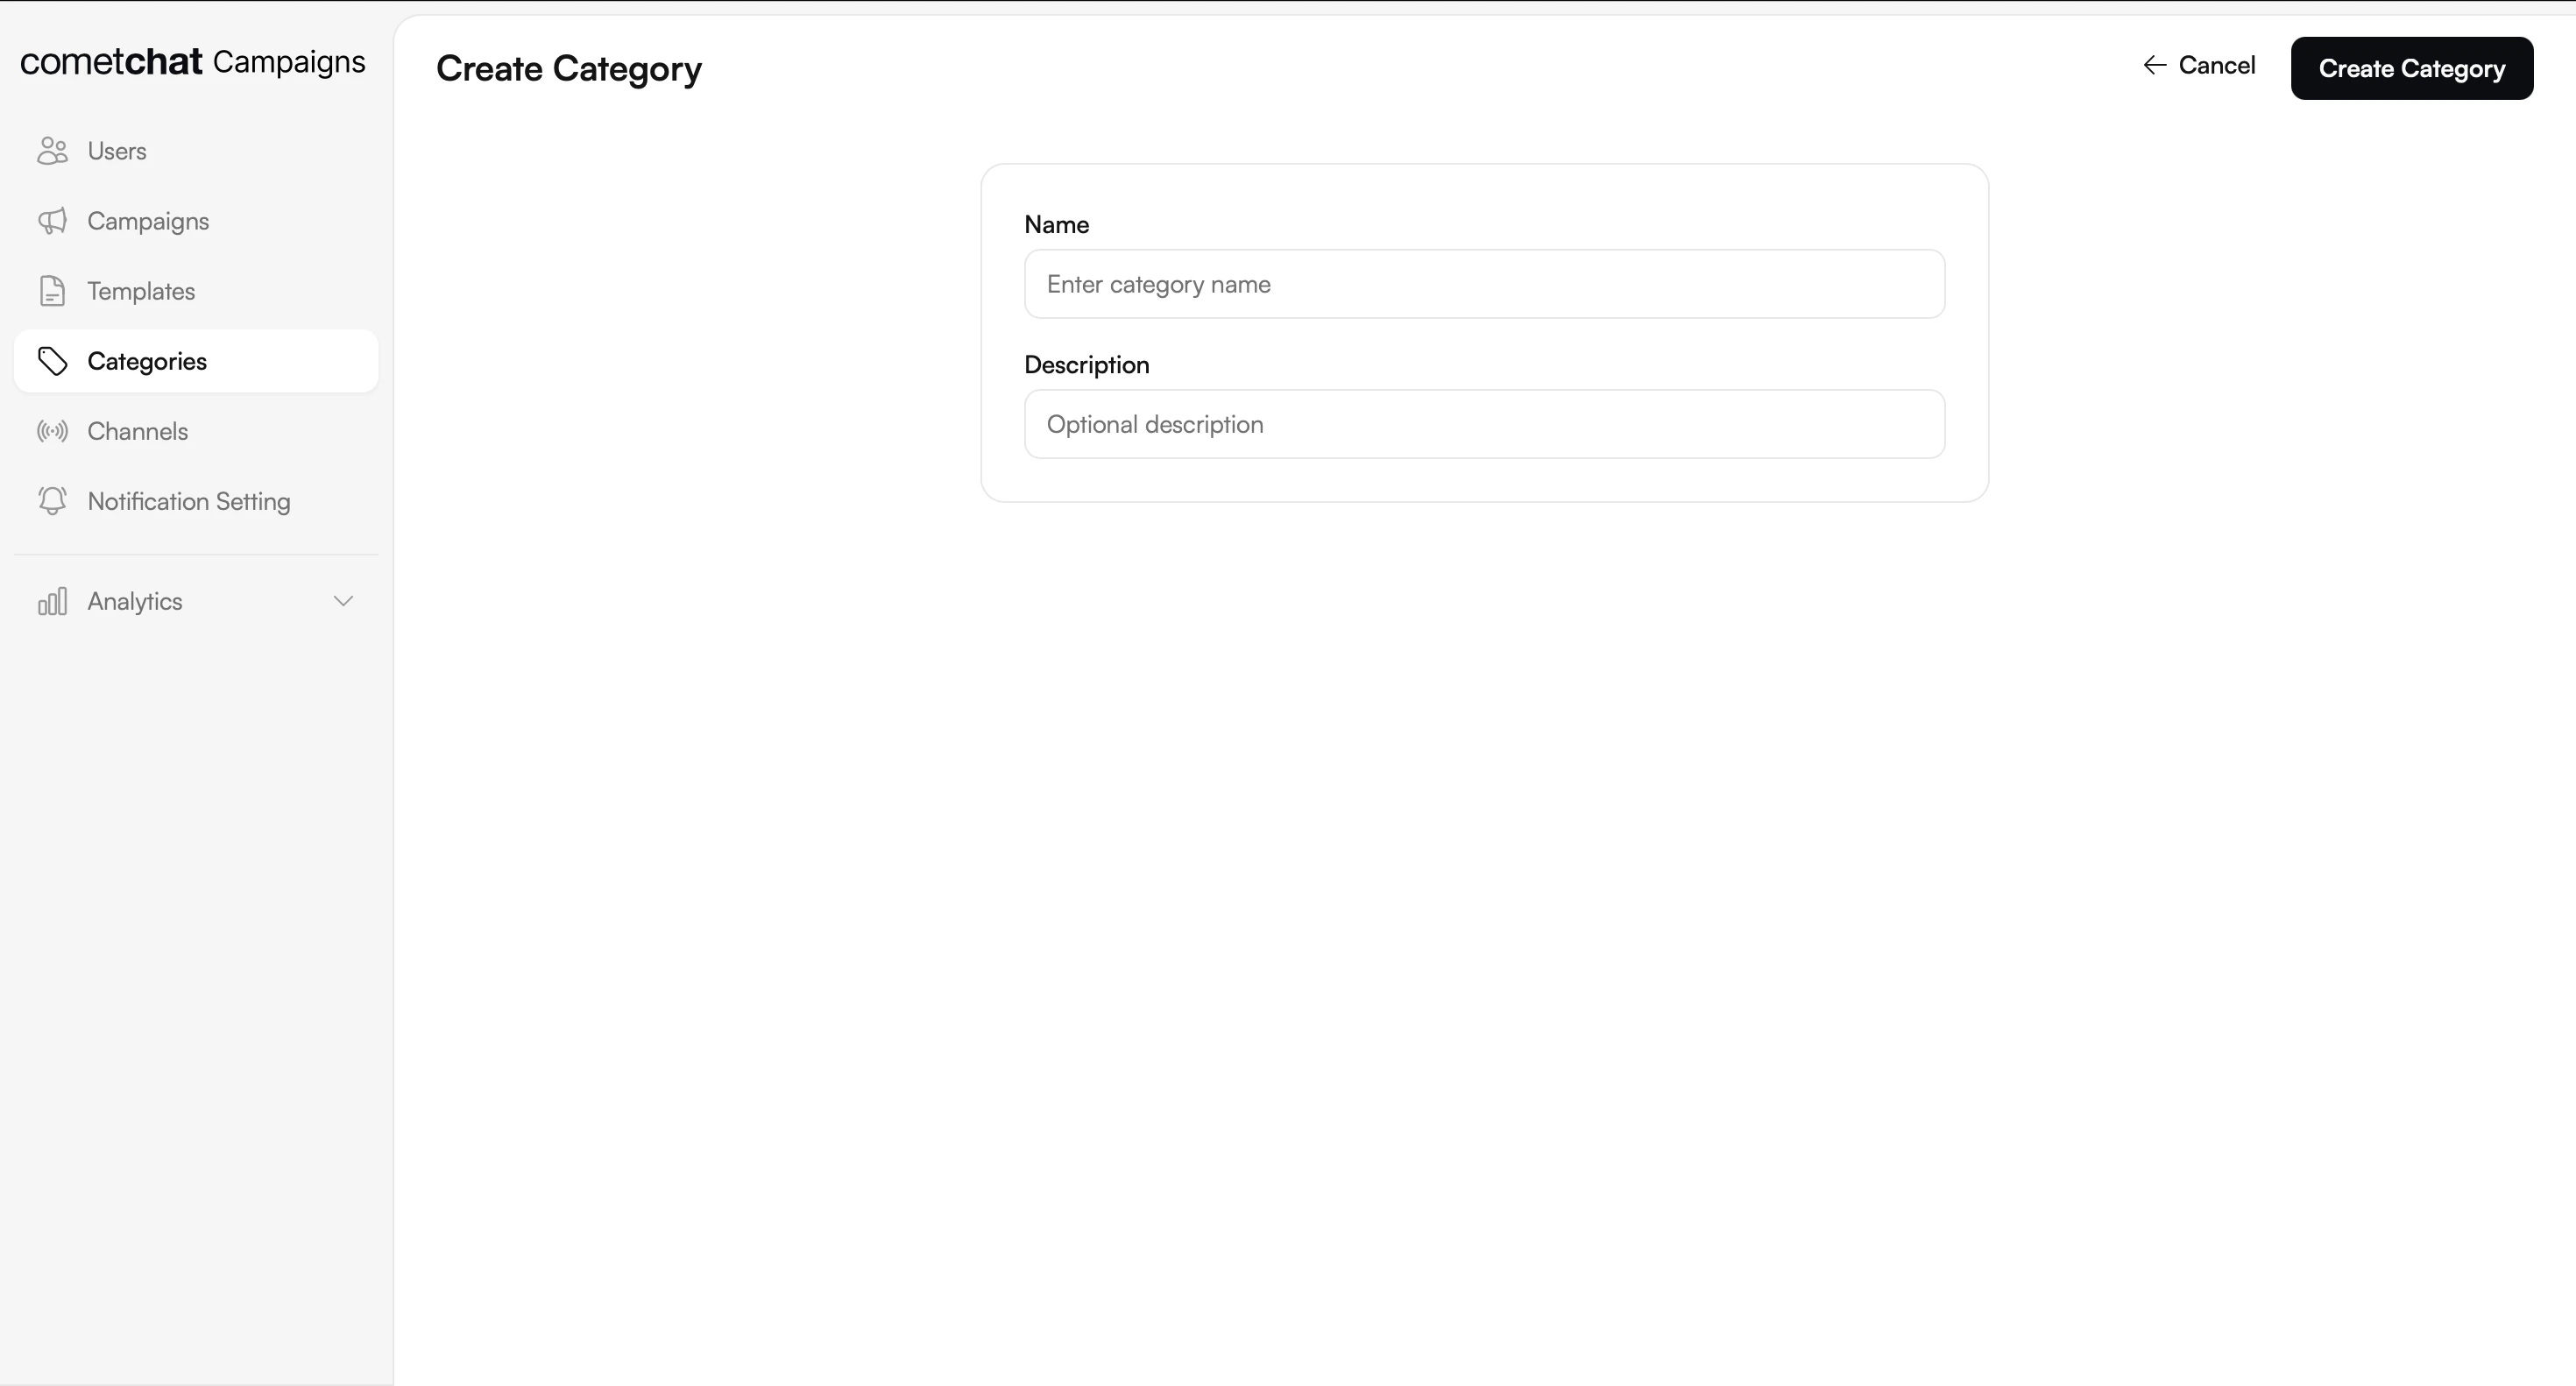
 Go to Categories → Create → Name it (e.g., "Marketing", "Alerts"). Categories are used for filter chips in the notification feed UI.
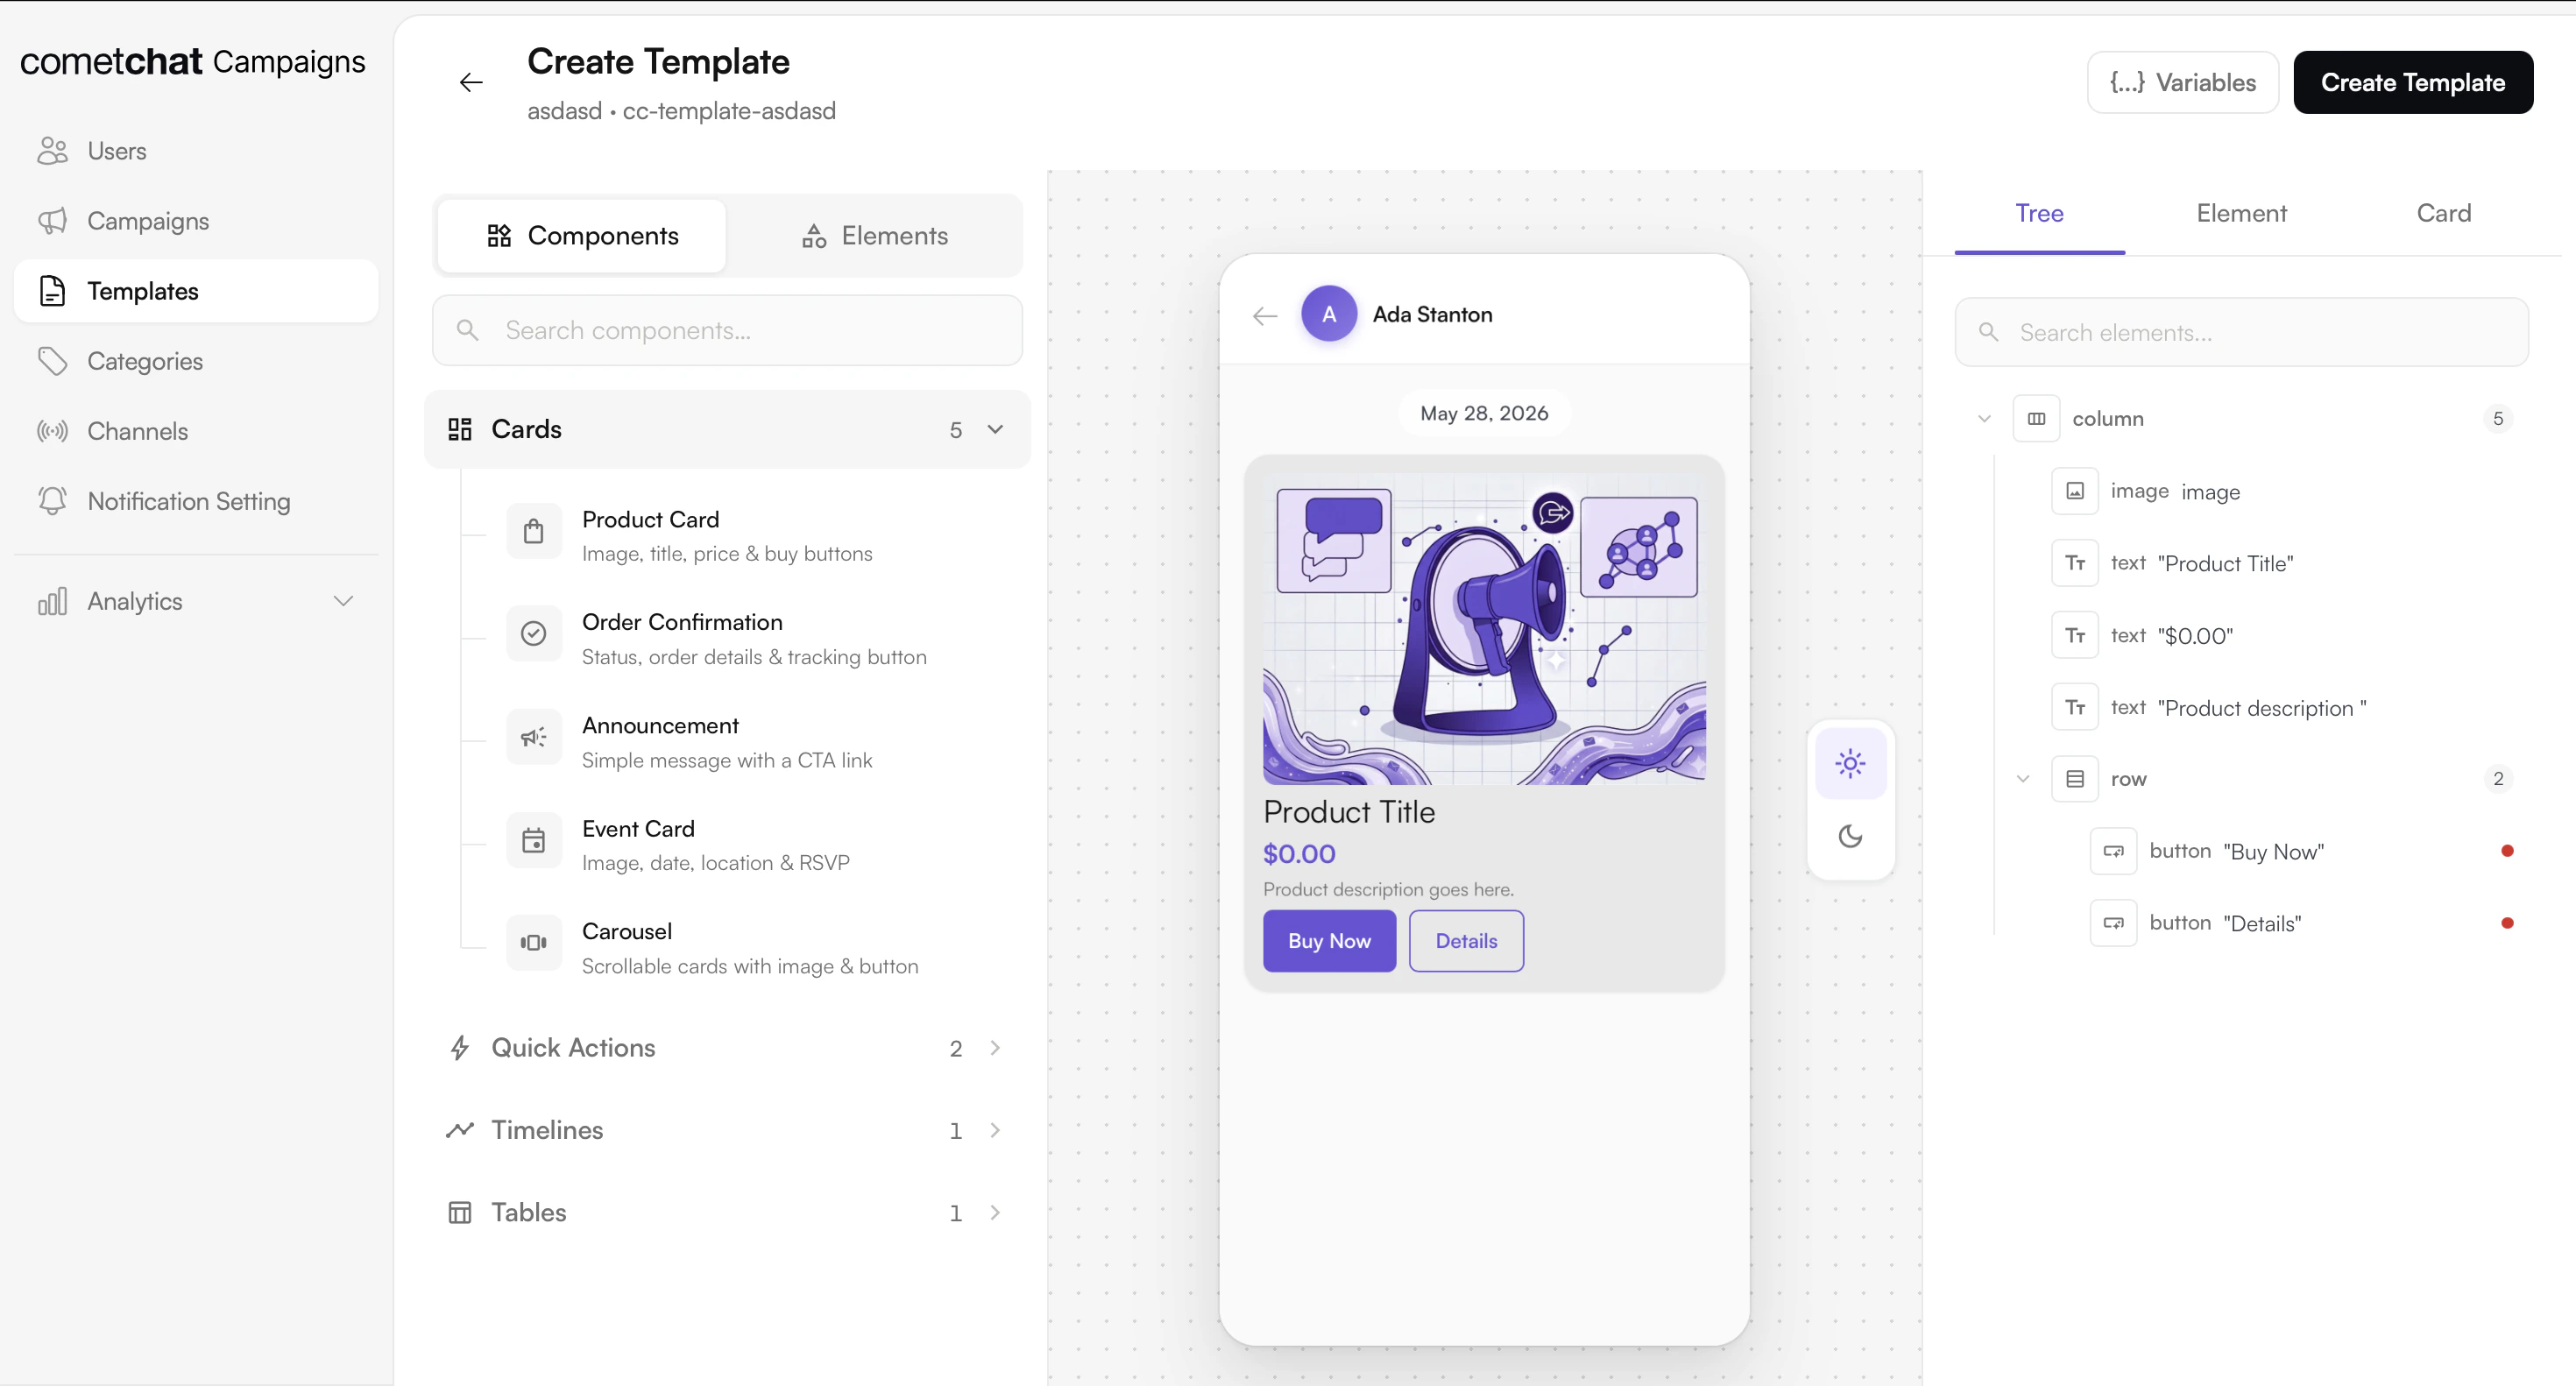
 Go to Templates → Create Template → Enter name → Select channel(s) → Design content in the visual builder.
 Design the card bubble — this is the Card Schema JSON that gets rendered natively in the notification feed.
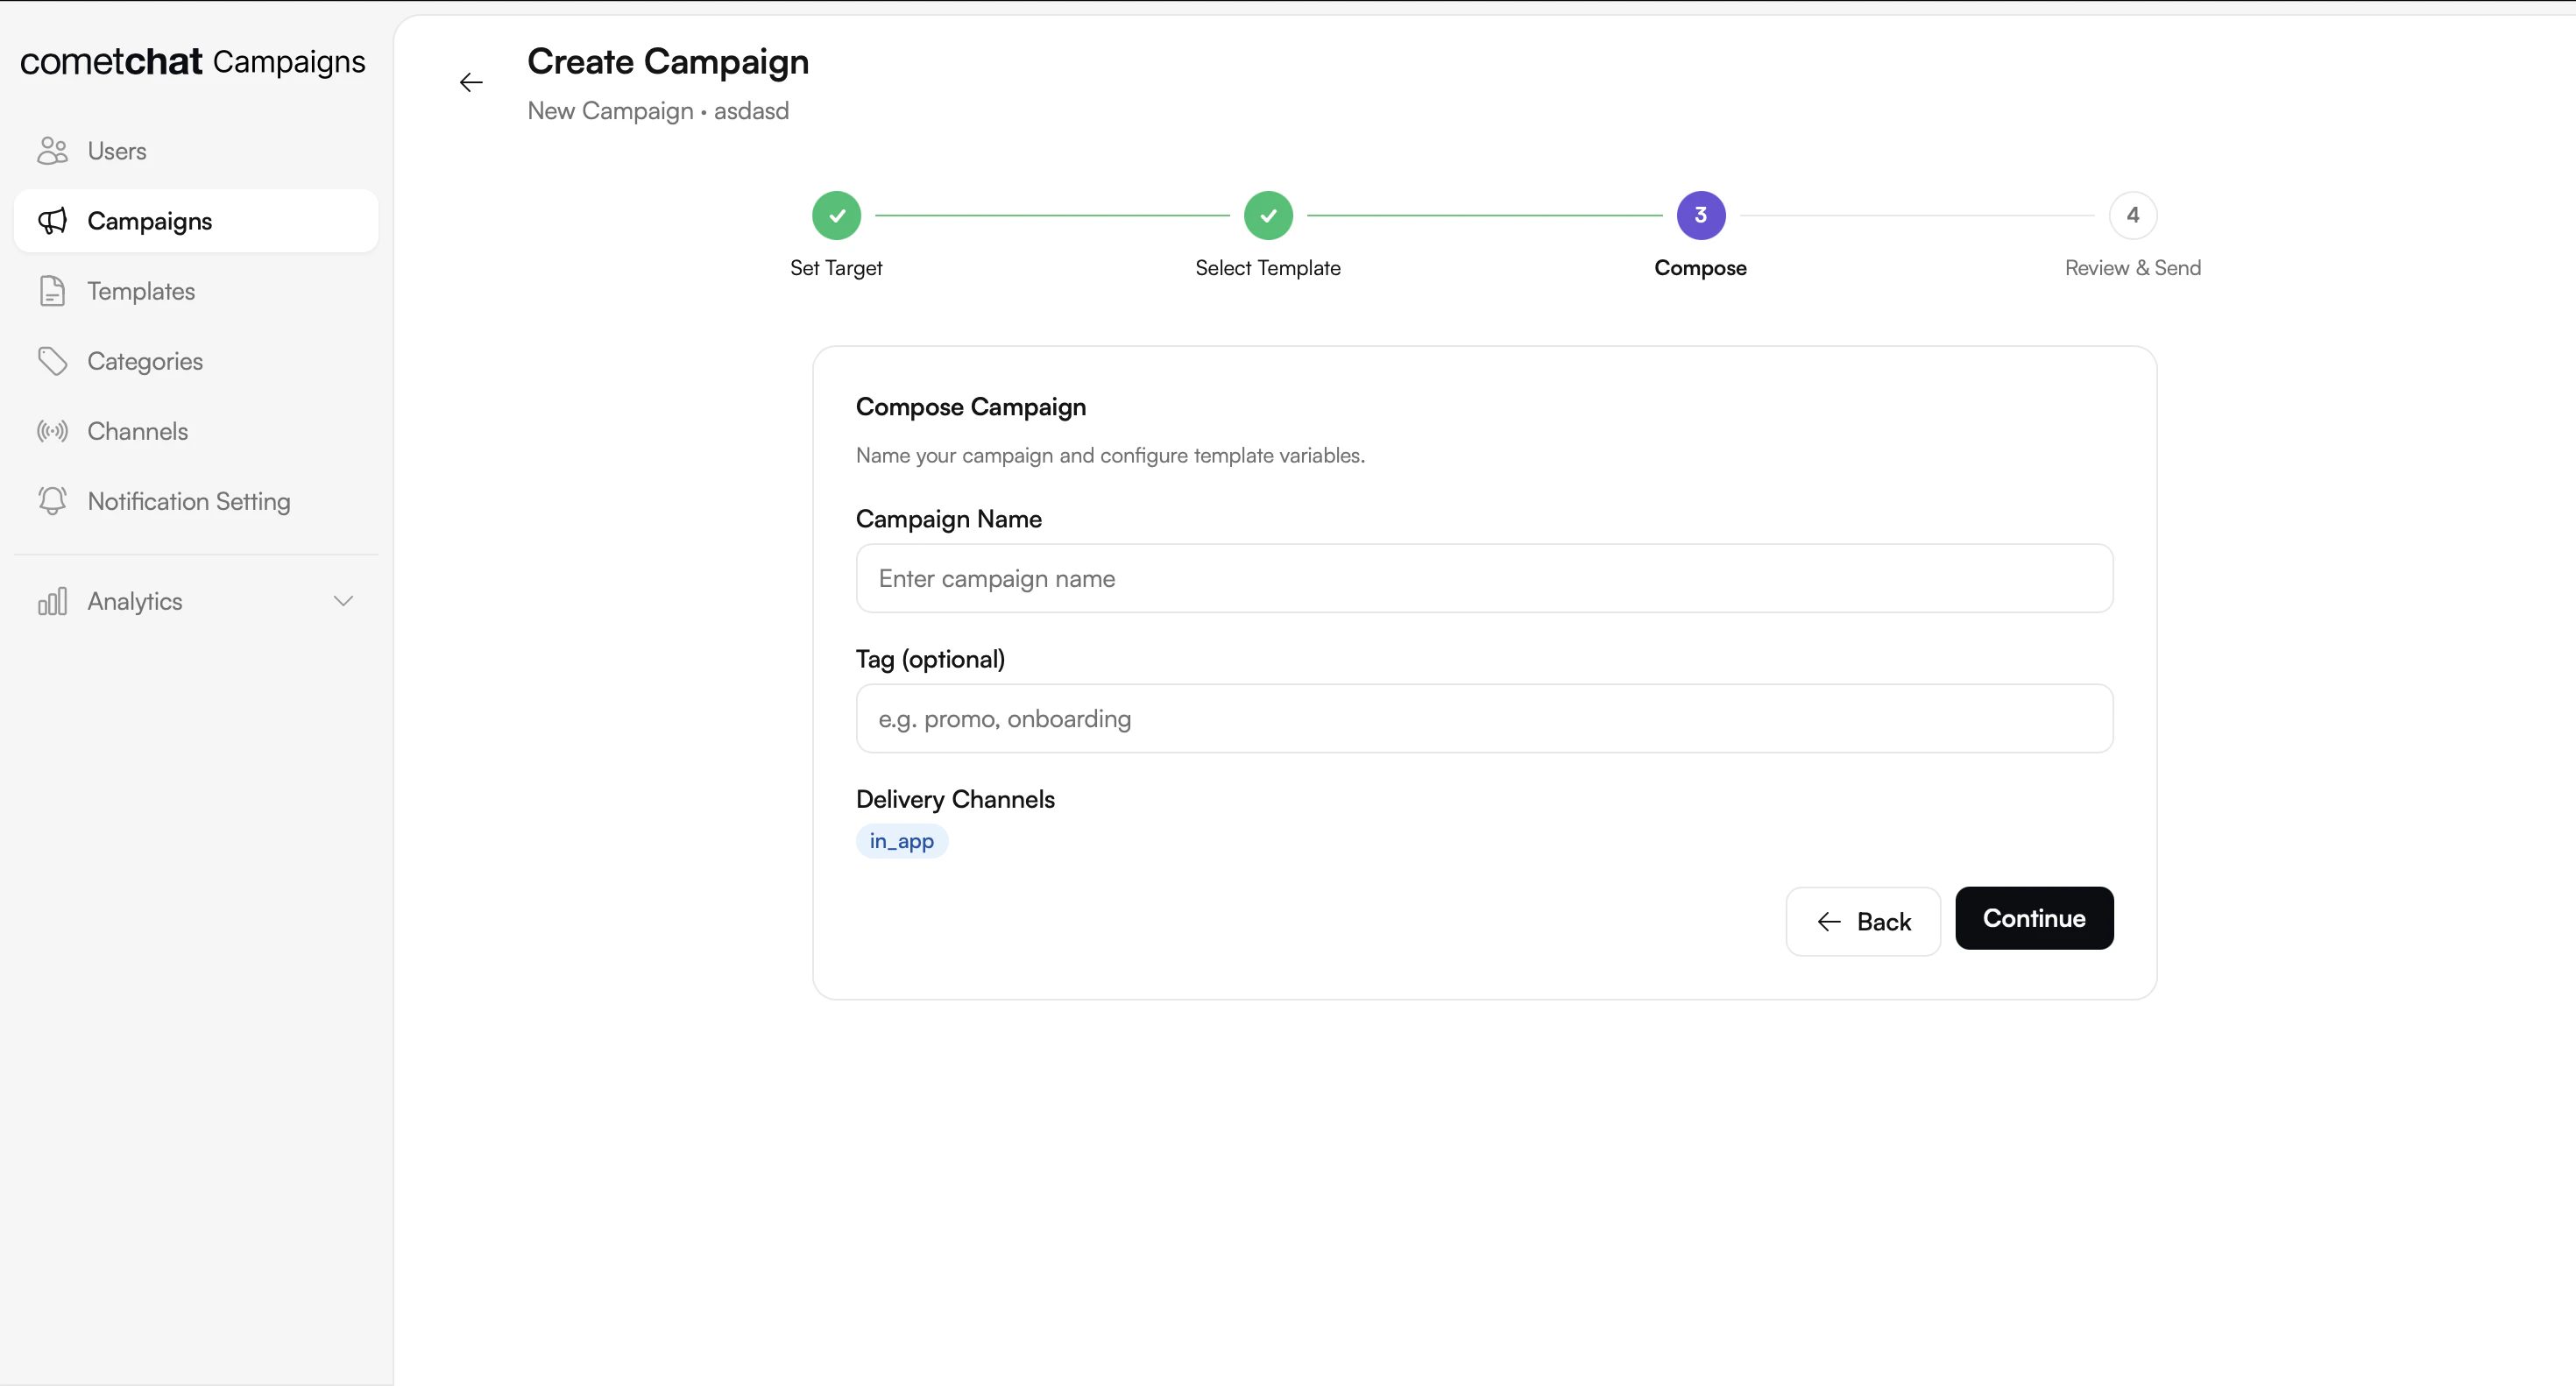
 Define your audience, select the channel, category, and template, then send or schedule the campaign.
 ## Limits
| Resource | Limit |
| ----------------------- | ------ |
| Recipients per API call | 10,000 |
## Common Use Cases
### Transactional alerts
Order shipped, payment receipt, password reset, security alert. One templated message per event, dispatched in real time, with per-recipient variable substitution (`{{order_id}}`, `{{user_name}}`).
### Marketing campaigns
Product launches, promotional offers, re-engagement nudges. Schedule the send, upload a recipient list, and deliver across in-app and push channels.
### Operational messages
Maintenance windows, policy updates, account changes. Dispatched to a broad audience and routed through the in-app feed so users can revisit them.
## Frontend Integration
Integrate Campaigns into your client application using either the pre-built UI Kit components or the Chat SDK for custom implementations.
### UI Kit
Pre-built React components for notifications
Native mobile components for React Native
Swift UI Kit for iOS notifications
Android UI Kit for notifications
Flutter widgets for notifications
### SDK
JavaScript SDK integration
React Native SDK integration
Swift SDK integration
Android SDK integration
Flutter SDK integration
## Quick Navigation
Configure delivery channels for in-app and push notifications
Organize notifications with categories for filtering
Create reusable notification templates with variables and versioning
Create and manage targeted notification campaigns
## Limits
| Resource | Limit |
| ----------------------- | ------ |
| Recipients per API call | 10,000 |
## Common Use Cases
### Transactional alerts
Order shipped, payment receipt, password reset, security alert. One templated message per event, dispatched in real time, with per-recipient variable substitution (`{{order_id}}`, `{{user_name}}`).
### Marketing campaigns
Product launches, promotional offers, re-engagement nudges. Schedule the send, upload a recipient list, and deliver across in-app and push channels.
### Operational messages
Maintenance windows, policy updates, account changes. Dispatched to a broad audience and routed through the in-app feed so users can revisit them.
## Frontend Integration
Integrate Campaigns into your client application using either the pre-built UI Kit components or the Chat SDK for custom implementations.
### UI Kit
Pre-built React components for notifications
Native mobile components for React Native
Swift UI Kit for iOS notifications
Android UI Kit for notifications
Flutter widgets for notifications
### SDK
JavaScript SDK integration
React Native SDK integration
Swift SDK integration
Android SDK integration
Flutter SDK integration
## Quick Navigation
Configure delivery channels for in-app and push notifications
Organize notifications with categories for filtering
Create reusable notification templates with variables and versioning
Create and manage targeted notification campaigns