> ## Documentation Index
> Fetch the complete documentation index at: https://www.cometchat.com/docs/llms.txt
> Use this file to discover all available pages before exploring further.

# Create an AI Agent with Mastra

> Connect a Mastra agent to CometChat, customize it with UI Kit Builder, and ship it as React UI Kit code or a Chat Widget.

## What you’ll build

* A **Mastra** agent with tools/actions
* The same agent **connected to CometChat** (Agent ID + Deployment URL)
* A **customized chat experience** using **UI Kit Builder**
* An export to **React UI Kit code** *or* **Chat Widget** for integration

***

## Prerequisites

* A CometChat account and an app: **[Create App](https://app.cometchat.com/apps)**
* A Mastra agent (ID + public Deployment URL) — follow Mastra’s quickstart:\
  **[Mastra Quickstart](https://mastra.ai/agents)**

***

## Step 1 - Create your CometChat app

<Steps>
  <Step title="Create or open an app">
    Sign in at <b><a href="https://app.cometchat.com/apps">app.cometchat.com</a></b>. Create a new app or open an existing one.
  </Step>

  <Step title="Copy credentials">
    Note your <b>App ID</b>, <b>Region</b>, and <b>Auth Key</b> (needed if you export the Chat Widget later).
  </Step>
</Steps>

***

## Step 2 - Connect your Mastra Agent

Navigate to **AI Agent → Get Started** and then **AI Agents → Add Agent**.

<Steps>
  <Step title="Choose provider">
    Select **Mastra**.
  </Step>

  <Step title="Basic details">
    Provide:

    * **Name** and optional **Icon**
    * (Optional) **Greeting** and **Introductory Message**
    * (Optional) **Suggested messages**
  </Step>

  <Step title="Mastra configuration">
    Paste the following from your Mastra deployment:

    * **Mastra Agent ID**
    * **Deployment URL** (public URL that CometChat can reach)
  </Step>

  <Step title="Save & enable">
    Click **Save**, then ensure the agent’s toggle is **ON** in **AI Agents** list.
  </Step>
</Steps>

> **Tip:** If you update your Mastra agent later (prompts, tools, routing), you won’t need to re-connect it in CometChat—just keep the **Agent ID** and **Deployment URL** the same.

***

## Step 3 - Define Frontend Actions (Optional)

<Steps>
  <Step title="Add an action">
    Go to <b>AI Agent → Actions</b> and click <b>Add</b> to create a frontend action your agent can call (e.g., “Open Product,” “Start Demo,” “Book Slot”).
  </Step>

  <Step title="Define fields">
    Include:

    <ul>
      <li><b>Display Name</b> — Shown to users (e.g., “Open Product Page”).</li>
      <li><b>Execution Text</b> — How the agent describes running it (e.g., “Opening product details for the user.”).</li>
      <li><b>Name</b> — A unique, code‑friendly key (e.g., <code>open\_product</code>).</li>
      <li><b>Description</b> — What the tool does and when to use it.</li>
      <li><b>Parameters</b> — JSON Schema describing inputs (the agent will fill these).</li>
    </ul>
  </Step>

  <Step title="Validate inputs (schema)">
    Example parameters JSON:

    ```json theme={null}
    {
      "type": "object",
      "required": ["productId"],
      "properties": {
        "productId": {
          "type": "string",
          "description": "The internal product ID to open"
        },
        "utm": {
          "type": "string",
          "description": "Optional tracking code"
        }
      }
    }
    ```
  </Step>

  <Step title="Handle in your UI">
    At runtime, listen for tool calls and execute them client‑side (e.g., route changes, modals, highlights).
  </Step>
</Steps>

***

## Step 4 - Customize in UI Kit Builder

<Steps>
  <Step title="Open variant">From <b>AI Agents</b> click the variant (or Get Started) to enter UI Kit Builder.</Step>
  <Step title="Customize & Deploy">Select <b>Customize and Deploy</b>.</Step>
  <Step title="Adjust settings">Theme, layout, features; ensure the Mastra agent is attached.</Step>
  <Step title="Preview">Use live preview to validate responses & any tool triggers.</Step>
</Steps>

<Frame>
  <img src="https://mintcdn.com/cometchat-22654f5b/2U5tVIzH12dbbFtr/images/ai-agent-chat-builder-preview.png?fit=max&auto=format&n=2U5tVIzH12dbbFtr&q=85&s=7e5a476c0f779f984406b979ed12f972" width="5760" height="3200" data-path="images/ai-agent-chat-builder-preview.png" />
</Frame>

***

## Step 5 - Export & Integrate

Choose how you’ll ship the experience (Widget or React UI Kit export).

<CardGroup>
  <Card title="Widget Builder" icon={<img src="/docs/images/products/ai-agents.svg" alt="Widget" />} description="Embed / script" href="/widget/ai-agents" horizontal />

  <Card title="React UI Kit" icon={<img src="/docs/images/icons/react.svg" alt="React" />} href="https://www.cometchat.com/docs/ui-kit/react/ai-assistant-chat" horizontal>Pre Built UI Components</Card>
</CardGroup>

> The Mastra agent from Step 2 is included automatically in exported variants—no extra code needed for basic conversations.

<Steps>
  <Step title="Decide delivery mode">Pick <b>Chat Widget</b> (fastest) or export <b>React UI Kit</b> for code-level customization.</Step>
  <Step title="Widget path">Open <b>Widget Builder</b> → Get Embedded Code → copy script + credentials.</Step>
  <Step title="React UI Kit path">Export the variant as code (UI Kit) if you need deep theming or custom logic.</Step>
  <Step title="Verify agent inclusion">Preview: the Mastra agent should appear without extra config.</Step>
</Steps>

***

## Step 6 - Deploy & Secure (Reference)

<Callout>
  Don’t have a public Mastra agent yet? Use these reference blocks to define, expose, and deploy one securely.
</Callout>

<AccordionGroup>
  <Accordion title="Define an agent with tools">
    Minimal agent definition. (Adjust imports per current Mastra release.)

    ```ts theme={null}
    // mastra/agent.ts
    import { defineAgent } from "mastra";

    export const supportAgent = defineAgent({
      name: "My Agent 1",
      instructions: `You are a helpful support agent for Acme. Use tools when appropriate.`,
      tools: [
        {
          name: "open_product",
          description: "Open a product by ID in the UI",
          parameters: {
            type: "object",
            required: ["productId"],
            properties: { productId: { type: "string" } }
          }
        }
      ]
    });
    ```
  </Accordion>

  <Accordion title="Expose a public HTTP endpoint">
    <Tabs>
      <Tab title="TypeScript (Express)">
        ```ts theme={null}
        // server.ts
        import express from "express";
        import { supportAgent } from "./mastra/agent";

        const app = express();
        app.use(express.json());

        app.post("/mastra/agent", async (req, res) => {
          const { messages } = req.body;
          const result = await supportAgent.respond({ messages });
          res.json(result);
        });

        app.listen(process.env.PORT || 3000, () => {
          console.log("Mastra agent running");
        });
        ```
      </Tab>

      <Tab title="JavaScript (Express)">
        ```js theme={null}
        // server.js
        const express = require("express");
        const { supportAgent } = require("./mastra/agent");

        const app = express();
        app.use(express.json());

        app.post("/mastra/agent", async (req, res) => {
          const { messages } = req.body;
          const result = await supportAgent.respond({ messages });
          res.json(result);
        });

        app.listen(process.env.PORT || 3000, () => {
          console.log("Mastra agent running");
        });
        ```
      </Tab>
    </Tabs>
  </Accordion>

  <Accordion title="Run & Deploy Your Mastra Agent">
    <h4>Local Development</h4>

    <ol>
      <li><code>npx mastra dev</code> starts local API (commonly <code>[http://localhost:4111/api](http://localhost:4111/api)</code>).</li>
      <li>Custom Express route? Keep path consistent in production.</li>
    </ol>

    <p><b>Quick test</b> (replace <code>AGENT\_ID</code>):</p>

    ```bash theme={null}
    curl -X POST http://localhost:4111/api/agents/AGENT_ID/generate \
      -H "Content-Type: application/json" \
      -d '{"messages":[{"role":"user","content":"ping"}]}'
    ```

    <h4>Temporary Public Tunnel</h4>

    ```bash theme={null}
    ngrok http 4111
    cloudflared tunnel --url http://localhost:4111
    loca.lt --port 4111
    ```

    <p>Append route (e.g. <code>/api/agents/chef/generate</code>) to the forwarded HTTPS URL.</p>
    <h4>Production Patterns</h4>

    <ul>
      <li><b>Serverless:</b> Single API route invoking the agent.</li>
      <li><b>Container:</b> Long‑lived Express/CLI process; add health checks.</li>
      <li><b>Edge:</b> Keep tools stateless; externalize persistence.</li>
    </ul>

    <h4>Vercel Example</h4>

    ```ts theme={null}
    // api/agents/chef/generate.ts
    import type { VercelRequest, VercelResponse } from '@vercel/node'
    import { chefAgent } from '../../mastra/agents/chef-agent'

    export default async function handler(req: VercelRequest, res: VercelResponse) {
      if (req.method !== 'POST') return res.status(405).json({ error: 'Method not allowed' })
      try {
        const { messages } = req.body || {}
        const result = await chefAgent.respond({ messages })
        return res.status(200).json(result)
      } catch (e:any) {
        return res.status(500).json({ error: e.message || 'Agent error' })
      }
    }
    ```

    <h4>Security</h4>

    <ul>
      <li>Rate limit by IP + user.</li>
      <li>Add auth (Bearer / JWT) for non-public agents.</li>
      <li>Log tool calls (id, latency) for observability.
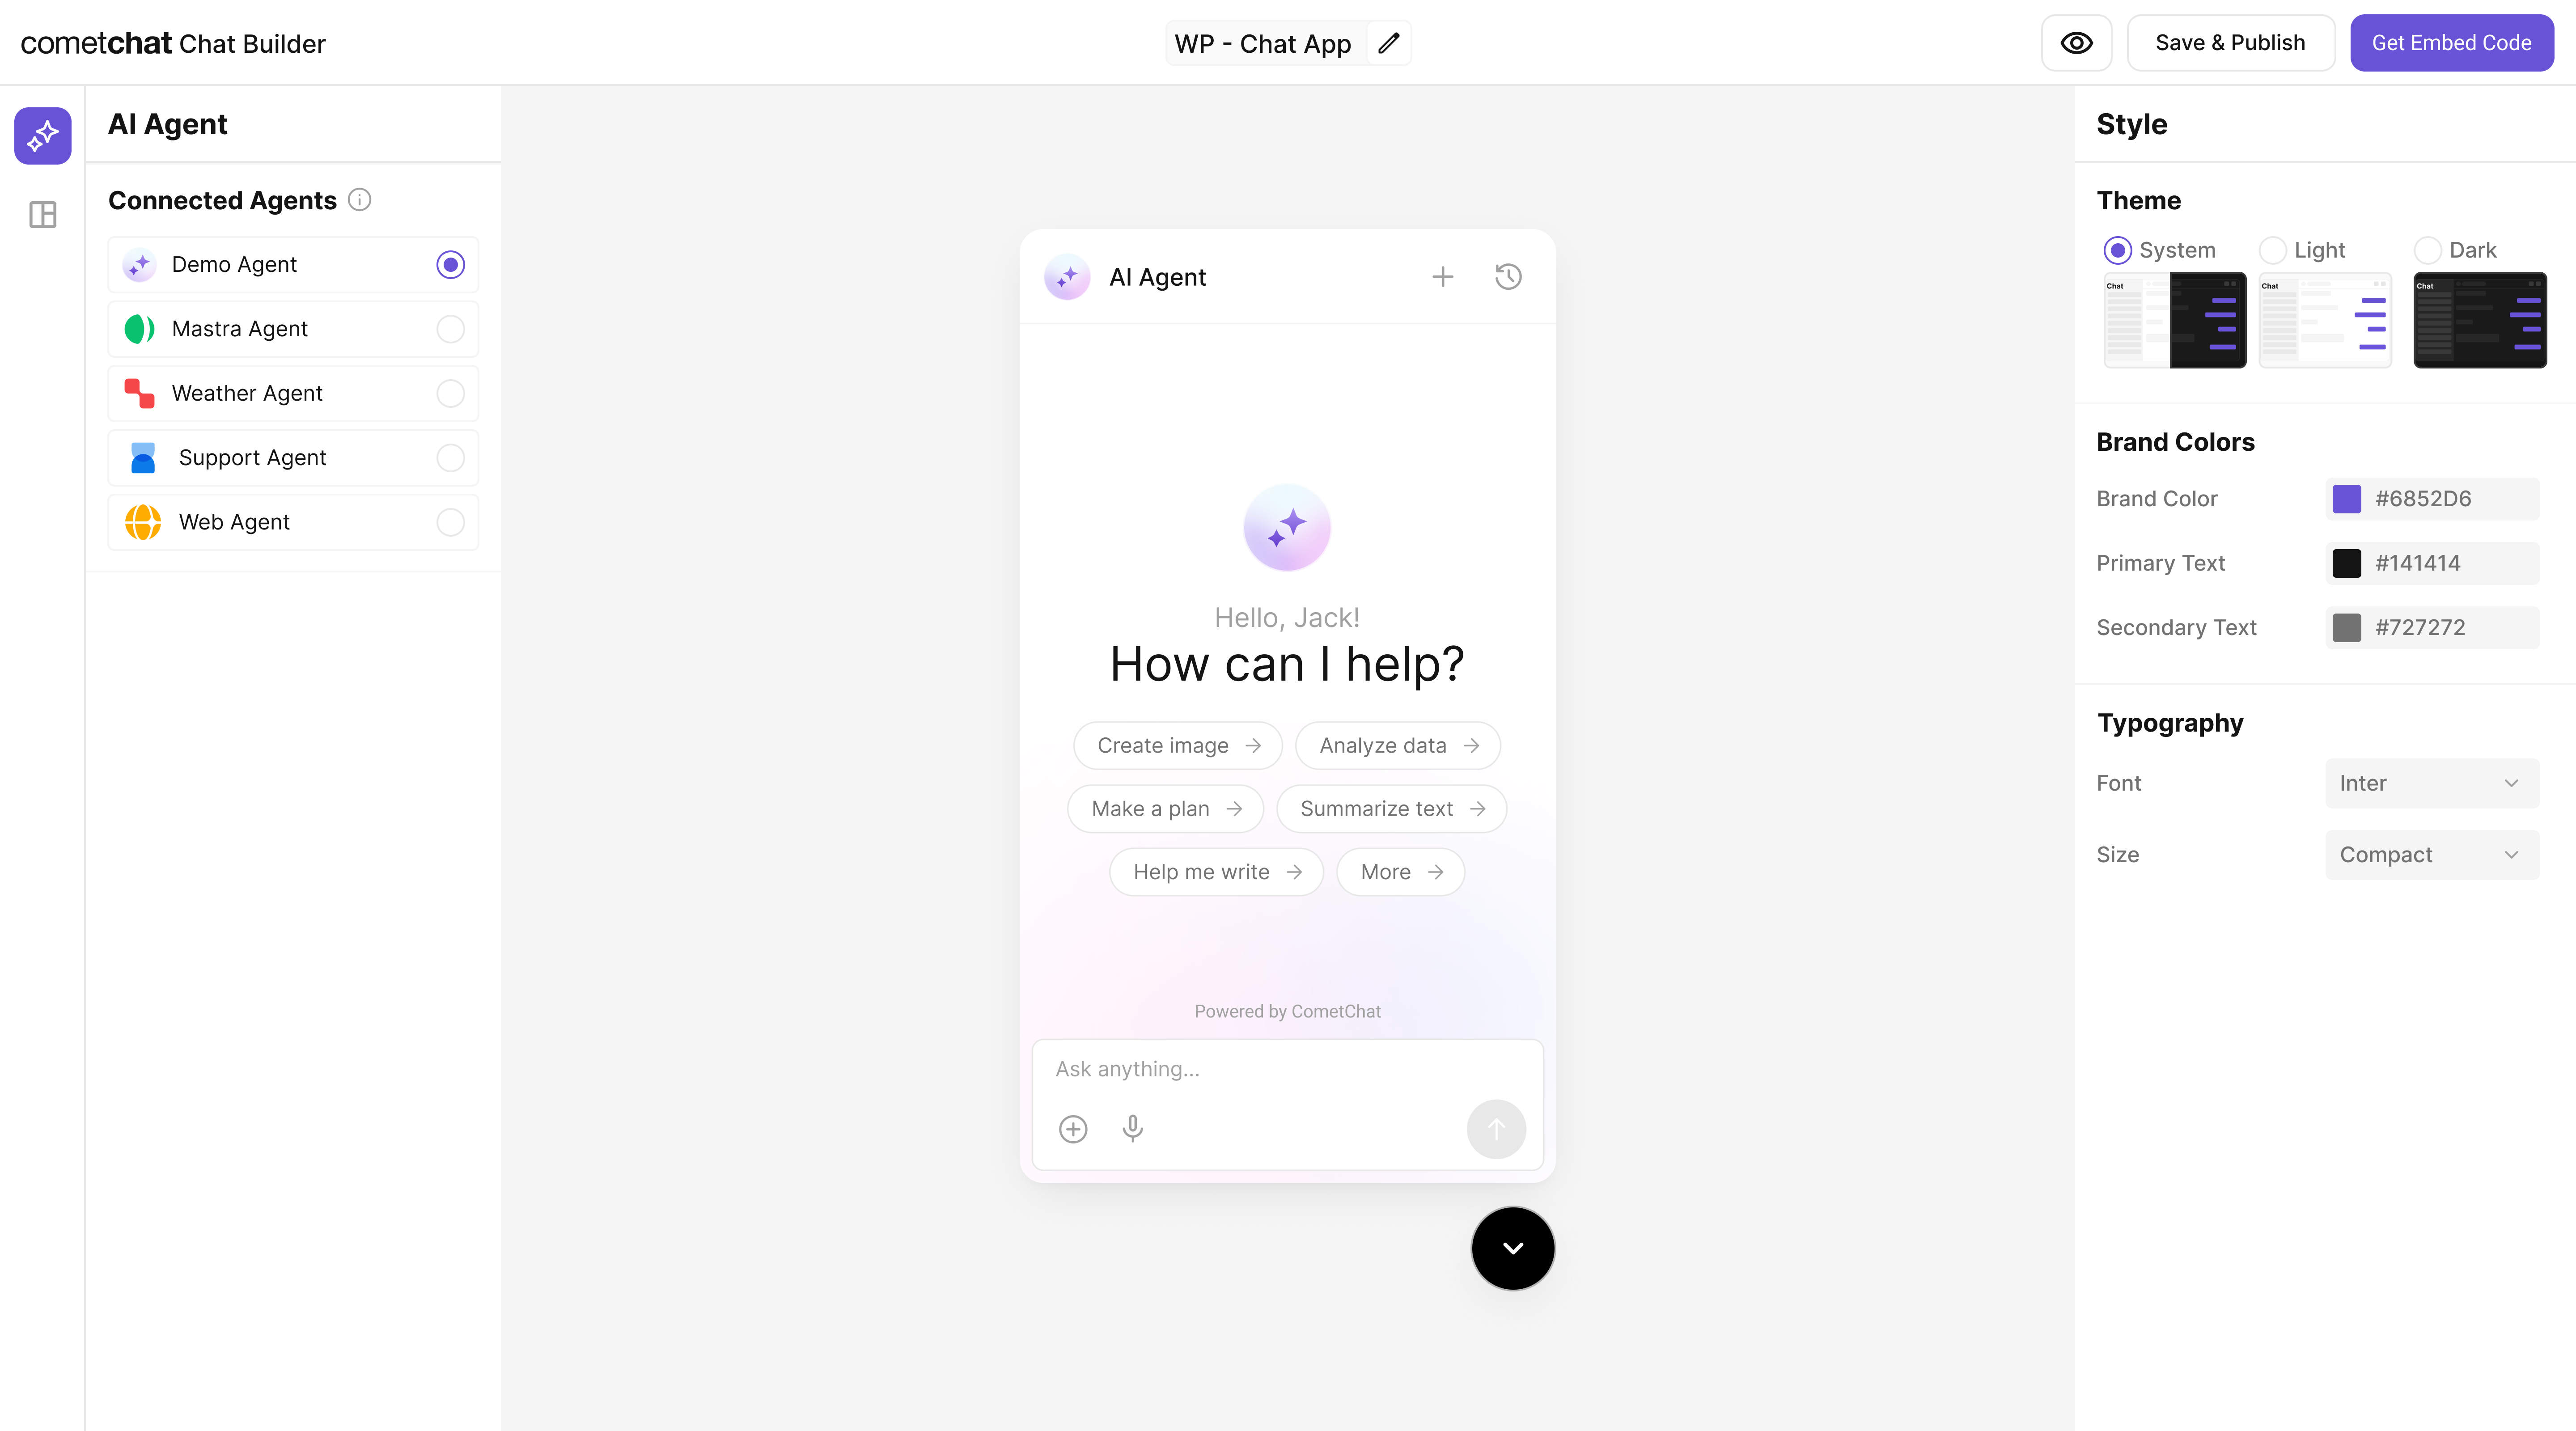
</li>
    </ul>

    <h4>CometChat Mapping</h4>
    <p>Use the final HTTPS URL + path for <b>Deployment URL</b> and the agent key (e.g. <code>chef</code>) for <b>Mastra Agent ID</b>.</p>
  </Accordion>

  <Accordion title="Deploy & copy IDs">
    Deploy (Vercel, Render, Fly, etc.) then copy the <b>public URL</b> as your <b>Deployment URL</b> and the <b>Mastra Agent ID</b> from config.

    <br />

    <br />

    <b>Docs</b>: [https://mastra.ai/agents](https://mastra.ai/agents)
  </Accordion>
</AccordionGroup>

***

## Test your setup

<Steps>
  <Step title="Enable the agent">In <b>AI Agents</b>, ensure your Mastra agent shows <b>Enabled</b>.</Step>
  <Step title="Preview in UI Kit Builder">Open <b>UI Kit Builder</b> and start a preview session.</Step>
  <Step title="Validate conversation">Send a message; confirm the agent responds.</Step>
  <Step title="Test actions">Trigger a <b>Frontend Action</b> and verify your UI handles the tool call.</Step>
</Steps>

***

## Troubleshooting

<AccordionGroup>
  <Accordion title="Agent not responding">
    <ul>
      <li>Verify your <b>Deployment URL</b> is publicly reachable (no VPN/firewall).</li>
      <li>Check server logs for 4xx/5xx errors.</li>
    </ul>
  </Accordion>

  <Accordion title="Tool call not executed">
    <ul>
      <li>Confirm the Action’s <b>Name</b> in CometChat exactly matches the tool name your UI listens for.</li>
      <li>Validate the <b>Parameters</b> JSON Schema; the agent uses this to fill inputs.</li>
    </ul>
  </Accordion>

  <Accordion title="Auth issues in exports">
    <ul>
      <li>Use <code>authKey</code> only for development. For production, implement a <b>secure token</b> flow for user login.</li>
    </ul>
  </Accordion>
</AccordionGroup>

## REST API Reference

To manage agents, tools, knowledge bases, and MCP servers via API instead of the dashboard, see the [BYO Agent REST APIs](/rest-api/byo-ai-agents-apis/overview) for Mastra-based agents or the [Agent Builder REST APIs](/rest-api/ai-agents-apis/overview) for native agents.
